Create Disc on Surface
![]()
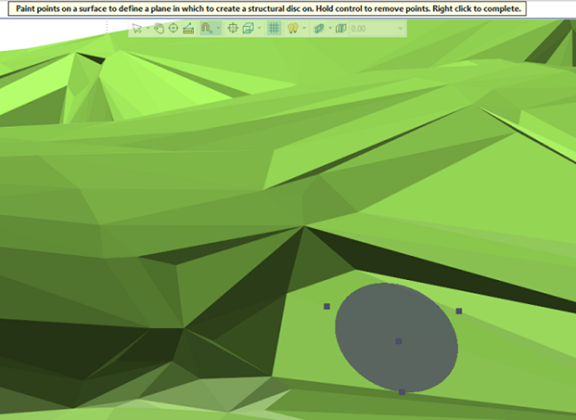
The cursor will change to a square and you can click to create points or hold down the left mouse button to 'paint' points on the surface to define a plane in which to create a structural disc.

Points will be added to the snapped surface, whether a point cloud or wireframe. A preview circle will be displayed as points are added, showing the plane of best fit, and the location of its centroid.
You can remove points by holding down CTRL and clicking them or dragging over them.
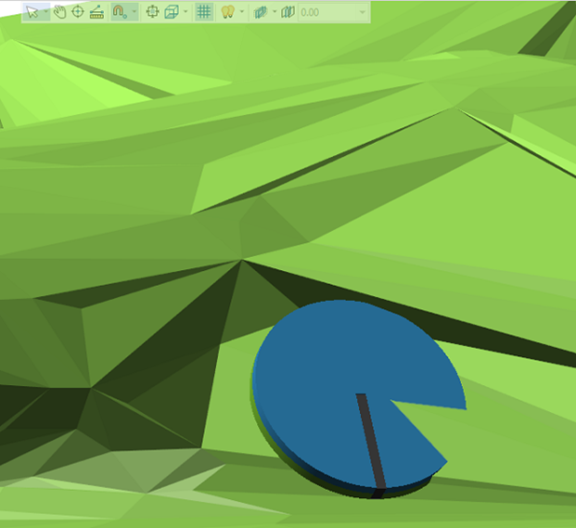
When the disc has been added as required, right click to exit the tool and create the disc.

You can make changes to the location, dip direction and dip angle for the new disc using the methods outlined in Interacting with Structural Data.
To add lineation cones to the Vizex display, use the Add Lineations tool.
You can delete discs using the Delete tool.