Export
![]()
If a layout is already open in the Plot Editor, on the Plot Editor tab, in the Plot group, click Export Plot.
- In the Export Plot form, enter the name of the output file:
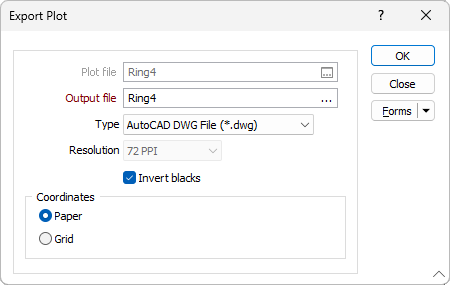
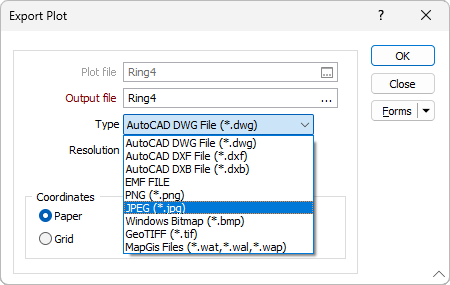
- Select an output file Type from the drop-down list provided:
EMF files are scalable and can be imported into other applications such as Microsoft Word. Transparency effects in some charts may not be correctly rendered in the Plot Editor, but will be correctly rendered when sent to an output device such as an XPS printer.
- If you have chosen an Image file type, specify the Resolution of the image.
- Since AutoCAD often displays white lines and labels on a black background, the option to invert blacks to white when exporting colours is provided. Selecting this option may ensure that exported text and line features are visible in AutoCAD.
- If you have chosen a CAD file type, specify whether Grid or Paper Coordinates will be output to the file. When you output to Grid coordinates, the coordinates of the Master plot frame are used.
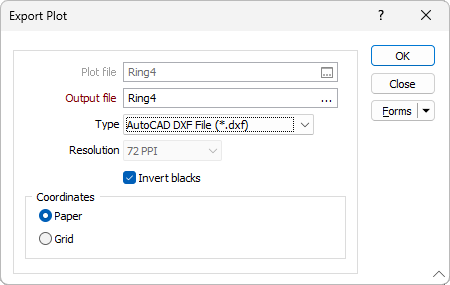
Remember that for DXF files, the various parts of the plot will be output to different layers. That is, all grid and frame information will occupy a layer, all line work will occupy another layer, and the labels another layer still. The Title frame is also treated as a separate layer.
To "batch" export a sequence of plots
Here is an example of the Export Plot form for a batch export of plots:
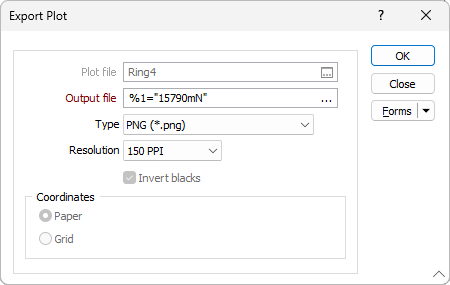
It is clear that you can control the name of the output file from the macro. What is not so obvious, is that you can also use replaceables (%) to control the parameters embedded in the selected PEX file, the obvious example being the name of the PEL file.

In fact, it works in exactly the same way as the Plot > Print process, except in this case the PEX file is nominated in the Plot File field of the macro file:
