Buffer
Buffers are only created in plan, and not in vertical or inclined views.
Input
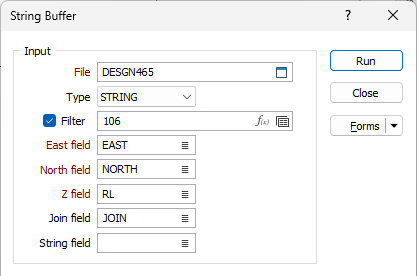
File
In the String Buffer form, select a file type and then double-click to select the file that contains the strings you want to buffer. If required, define a filter to selectively control the records to be processed.
East, North, Z fields
Specify the names of the Easting, Northing and Z coordinate fields in the Input file.
Join field
In forms that require polylines as an input, the values in this field define whether the data points in the input file should be joined by a line. If successive records have the same value in this field, a line will join the points. If two-factor topology is required, the values in a String field may also be used to segment the lines.
String field
In most forms, the String field is an optional generic attribute used to store a secondary input such as a code. Traditionally, this field has also been used with the Join field to define whether data points should be joined by a line, or strung, hence the name.
String Buffer Options
Buffers
Specify a Width and a Label for each of the buffers you want to create around the input strings. For polygons, a negative width can be specified if you want to create an inside buffer. To create buffers both inside and outside, select the Create inner and outer buffers for polygons check box option.
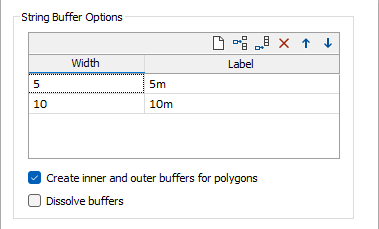
Use the buttons on the local toolbar to Manage the rows in the list.
Create inner and outer buffers for polygons
By default, external buffers are created around each string. If the string is closed, internal buffers will also be created if you select this option.
Dissolve buffers
When multiple buffers are defined, select this option to dissolve the lines between them.
Output
File
Select a file type and then enter (or double-click to select) the name of the Output file to which the buffer strings will be written.
Label field
Double-click (or click on the Select icon) to select the name of the field to which the Label values will be written.
Auto load
Select this check box to load the generated output in Vizex.
Forms
Click the Forms button to select and open a saved form set, or if a form set has been loaded, save the current form set.
Manage
To save the types, attributes and names you have defined and re-use them in other functions, select Manage button to create a form set or load an existing form set.
Save
Click Save to save your changes as the default form set.
Save As
Click Save As to save your changes as a new form set.
Reset
Click Reset to clear the form of all values and reset the form to its default state.
Run
Click the Run button to run the process.