Clipping to View Sections
Clipping mode allows you to view sections or "slices" of an object. This is very useful feature, especially when you want to have a look inside a wireframe or view the seams in a deposit.
You can also toggle Clipping on or off via the status bar.
![]()

To modify the size of the clipping window, on the Vizex | Section tab, in the Section group, click Display Limits.
![]()
To Save the current view as display limits, use the drop-down menu:
![]()
In Clipping mode, you can use the Next section and Previous section buttons on the toolbar to toggle Clipping mode on and off, and move from the current section to the next or previous regularly spaced section.
![]()
![]()
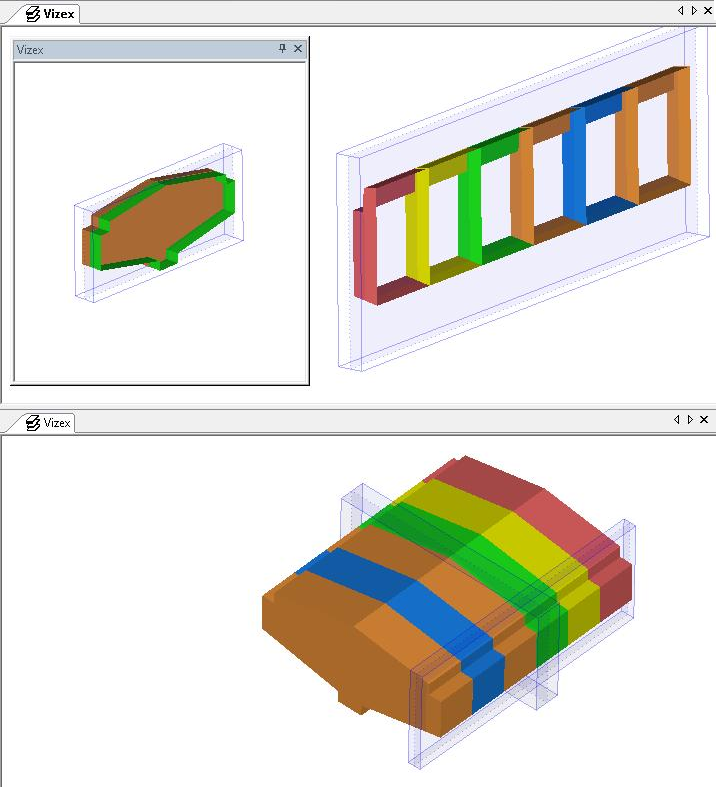
When you open other Vizex windows, a visual representation of the section is provided as a transparent bounding box which shows the away and toward clipping extents.
The Clipping tab of the Project Options | Vizex form, can be used to define the default clipping values to be applied when data is loaded in Vizex.
You can override these defaults using the Clip to window and Window Away and Towards parameters in the Display Limits form. The values you enter define the width and position of the data corridor (the “thickness” of the slice).
These are similar to the parameters you use to define the sections in a polygonal model. The only difference here. is that you enter parameters to control how the slices will be displayed on the screen, not how a model will be formed.
For more advanced clipping options, including the ability to create sections interactively, move between irregular spaced sections, load named sections from a section control file, and save named sections to a sections control file, refer to the Sections Pane and Section Tools topics.