Install and Activate a Network Licence
-
Remotely access the server where you intend to host the network licence.
-
Move the MICROMINE Network Licence Server Installer folder to the server.
-
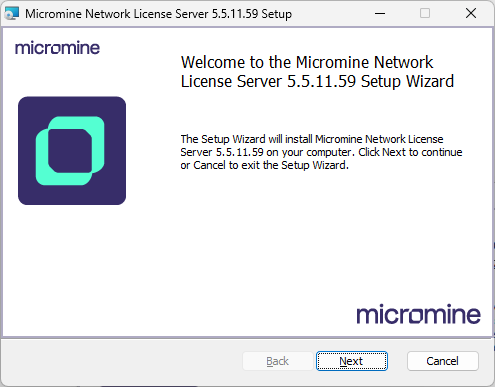
Extract the files and run the installer to install the Micromine Network Licence Server.
-
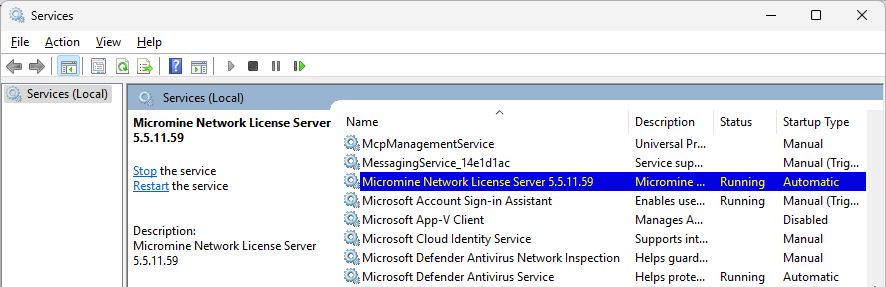
Check Services.msc to ensure the service is currently running.
-
Ensure ports TCP/UDP 6200 and TCP 6000 are open between the Network Licence Server and PC’s. More information can be found in the Notes for IT topic.
-
On a client computer, launch Origin & Beyond. (If this is your first-time launching Origin & Beyond, Skip to step 8).
-
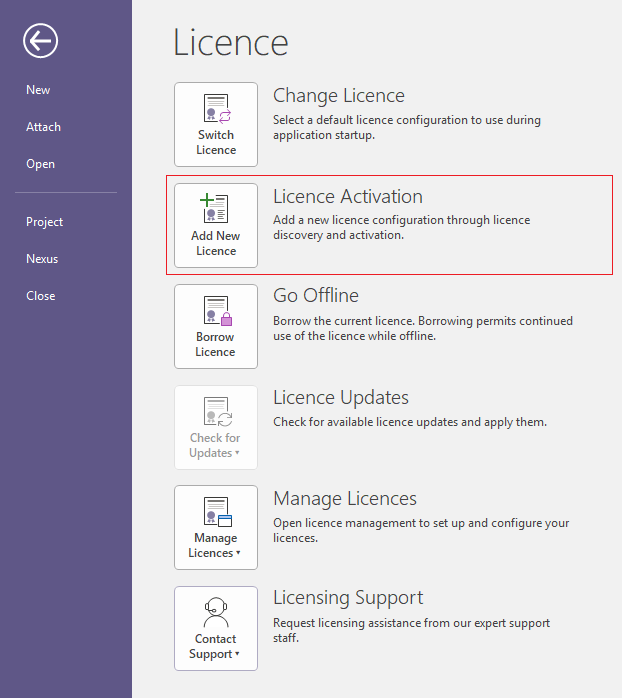
Go to Project | Licence | Add New Licence.
-
In the Welcome window, click Connect to a Network Licence Server.
-
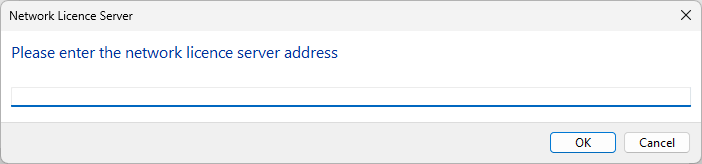
In the Network Licence Server dialog that opens, enter the IP address of your network licence server in the following format 6200@IPAddress or 6200@Hostname). If you don't know what the IP address is, you may need to clarify with your IT department/provider.
-
Click OK to connect to the server.
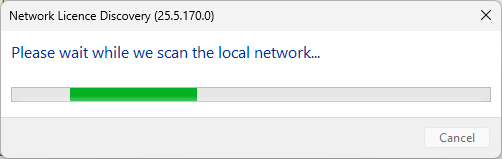
A progress prompt will be displayed and the server will be connected:
Note: When a Network Licence Server is already connected, you can use the Find local network licences option in the Welcome window to find and connect to an available network licence.
-
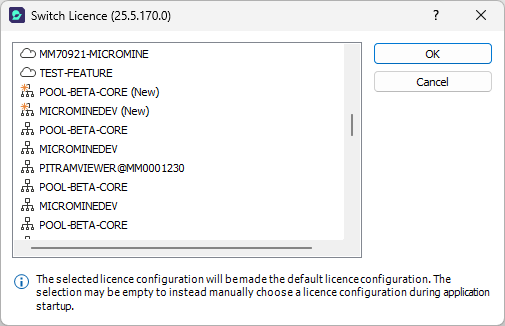
When the local network has been scanned, the available licences will be displayed in the Switch Licence dialog:
-
Select the Network licence you want to connect to and click OK.
A prompt to restart the application will be displayed:
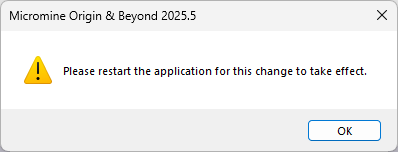
When you restart Micromine Origin & Beyond, you will be able to login using the selected network licence.