Merge Georeferenced Images
![]()
Merging multiple georeferenced images into a single output image allows the creation of a single, high resolution image containing all of the available georeference information from all the input files combined. This can be useful when, for example, you want to drape multiple georeferenced satellite images (geotiffs) onto a Topography layer.
Input Images
The Input Images grid in the Merge Images form is used to add georeferenced images to be 'stitched' together, or merged, to create a new image for output.
File
Specify the name of the Input image file. To navigate to the location of the file, press F3 with the cursor in the File box, or click the ellipsis to the right of the File box.
To add a second image for the merge, use the buttons in the tool bar to Manage the rows in the list.
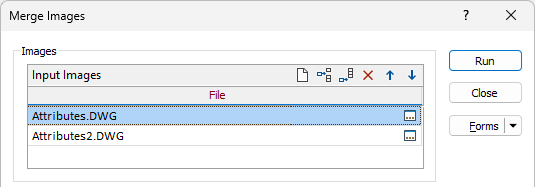
When the required images to be merged have been added to the Input Images grid, you can configure the parameters for the Output image.
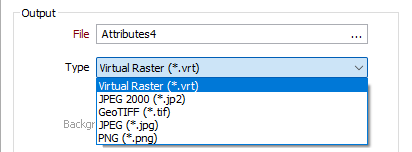
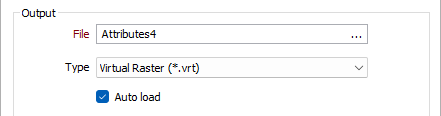
Output
The Output parameters on the Merge Images form determine the name and type of the output file for the selected images to be merged.
Output image formats such as Virtual Raster Tile (VRT), Jpeg2000 and GeoTIFF are supported. The VRT format is the default output, because it is a meta image which takes no extra disk space and is fast to create.
File
Specify the name of the Output image file. To navigate to the location of the file, press F3 with the cursor in the File box, or click the ellipsis to the right of the File box.
Type
Select an Output image file format. The formats that you can convert to will depend on the Input file format.
You can also compress an image to a JPEG2000 format ouptut. If you select the format for the output, the Compression Options are enabled.
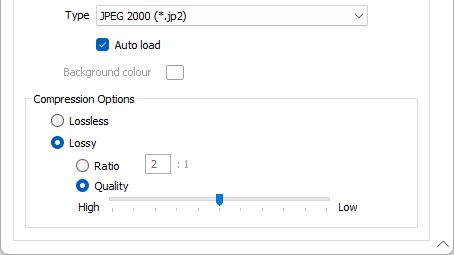
SEE: Compress
If you select an output format that does not support transparency, such as JPEG, the Background colour option is enabled and you can double click the colour box and select a default background colour for the output image.
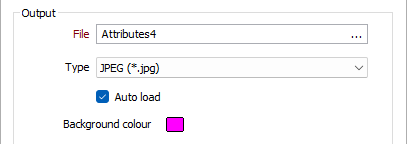
Auto load
To display the data in Vizex once the file(s) have been imported, select the Auto load option.
Forms
Click the Forms button to select and open a saved form set, or if a form set has been loaded, save the current form set
Run
When you have specified an input file and an output file, selected an output file type and optionally entered parameters, click Run to begin the conversion process.