Interval Hatch
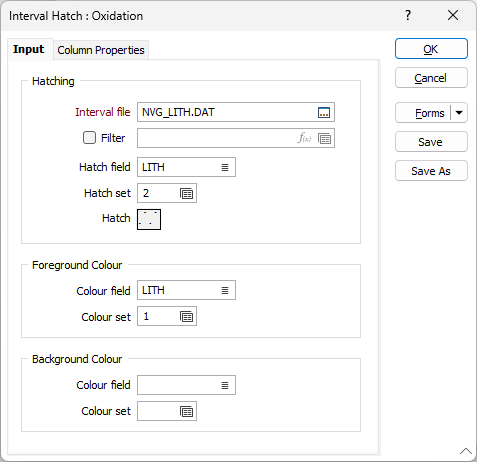
On the Input tab of the Interval hatch form, select the input data for Hatching and set fill pattern and colour options.
Hatching
Interval File
Double-click (or click on the Select icon) to select the name of the file that contains the data you want to display. Select the Filter check box if you want to apply a filter to the file.
Enter a Filter Number in the adjacent box. Double click (F3) to see a list of existing filters. Right click (F4) to open the dialog box where you can create a new filter.
A filter can be useful when you want to apply a restriction on a field other than the one being displayed, for example, to show the assays in a particular zone, or show the assays for specific holes.
Foreground Colour and Background Colour
Set the hatch foreground and background colours.
Colour field
Specify the name of a field which contains the values that will be used to colour-code the display.
You can choose to select colour values directly from the Colour field without selecting a Colour set. In this case, the values in the Colour field must be valid RGB, Hex, or Integer colour definitions.
| Format | Example |
|---|---|
| R,G,B | 89,169,215 |
| HTML Hex | #59A9D7 |
| Hex | 0x59a9d7 |
| int | 5876183 |
Colour set
To map values in the Colour field to the colour values in a Colour set, double click (F3) to select the set that will be used to control the display colour. Right-click (F4) to create or edit a Colour set.
Default colour
Double-click (F3) to select the colour that will be used when a Colour field or a Colour set is not defined - or when a value in the Colour field is either not valid or is not mapped in the Colour set.
You can also apply hatching to graphs displayed on a drillhole log.