Drillholes
The Drillholes tab of the Drillhole Log form defines the holes to be displayed in the log, and the columns of information that make up the log.
Drillhole List
If “All Holes” is selected, the Drillhole Log function will cycle through all holes in the DHDB (using Next and Previous).
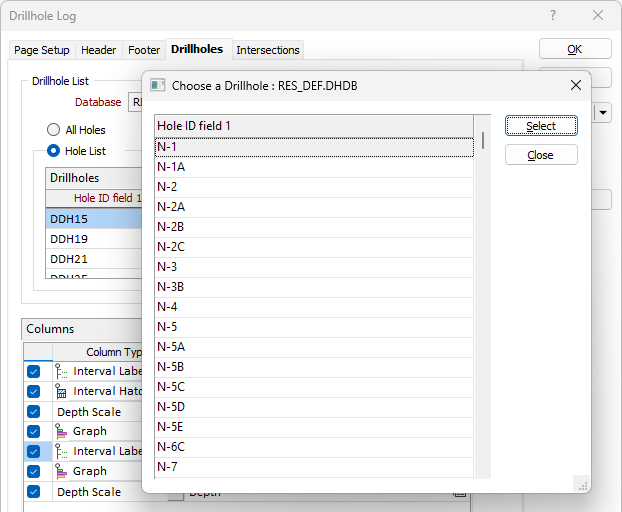
Defining a Hole List restricts the holes to be displayed by the DH Log function. To populate a hole list, click on the icon at the right of the response field to select a hole name:

Use the Shift and/or the Ctrl key to select multiple holes.
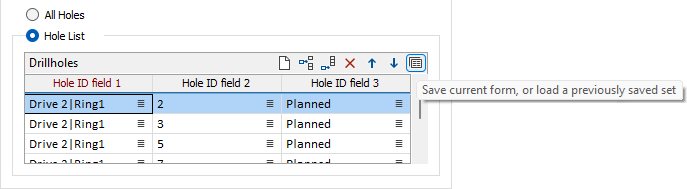
A hole list can be saved (as a form set):
Columns
The Columns grid defines the columns of drillhole information to be displayed in the log for each hole.

There are 6 different types of column:
- Interval Hatch
- Interval label
- Graph
- Depth Scale
- Event
- Imaging
A column is defined by selecting a type, defining the appropriate parameters for that type and then saving those parameters as a form set.
When you use this function for the first time, the grid list (defining the columns) will be empty.
Double clicking (or using the toolbar icon) will bring up the Drillhole Log form set manager. Initially there will not be any saved forms, so the first step is to define and save a form set.
In most cases the first tab will define the input file (from the DHDB) and how the data will be displayed (font, hatch, colour sets etc). Most of these parameters will be very similar to their Vizex equivalents.
Use the buttons on the local toolbar to Manage the rows in the list.
In most cases the first tab will define the Input Data (from the DHDB) and how the data will be displayed (font, hatch, colour sets etc). Most of these parameters will be similar to their Vizex equivalents. Right click and select Edit (F4) to edit their properties:
- Interval Label
- Interval Hatch
- Graph and Graph Display
- Depth Scale (shows the vertical depth of your downhole data)
- Event
- Imaging (show core images tied to From-To intervals)
The second tab defines the Column Properties.
Section Border
Select the check box to display a border.
Double-click on the icon to set the colour for the frame border. This input is disabled when a NULL fill colour is selected.
Select a line thickness value (in millimetres) for the border of the frame. THIN, MEDIUM, THICK, or a Custom thickness can be selected. This input is disabled when a NULL fill colour is selected.