Extrapolate Reference Seam
![]()
The elevation of the Reference Seam is modelled to provide a horizon that becomes the starting point for the stacking of thickness grids for all layers defined in the Stratigraphy column.
Normally the Reference Seam is chosen because it is intersected more often than any other seam. However there can still be occasions where a hole does not intersect the Reference Seam, because its assumed location is either above collar (now eroded away) or below the end of hole (hole not drilled deep enough). This may mean that the modelling process does not match your understanding of the geology.
To cater for this, the location of the Reference Seam can be modelled for holes that do not intersect it (using thickness information from surrounding holes). As well as writing this information to the Seam file, a separate output file is generated, containing both the actual and modelled intersections. This file can be used in the modelling process, and should give a more accurate representation of the Reference Seam horizon. After comparing the modelled results against your ‘visual’ interpretation, it is possible to adjust the location of the modelled points and, if justifiable, add additional points to this file before re-modelling.
For any hole that does not intersect the (selected) Reference Seam, Stratigraphic | Seams | Extrapolate Reference Seam models the stratigraphy before the first (or after the last) point of observation. If necessary, the hole’s direction at the collar (or end of hole) is used to continue modelling stratigraphic layers until the Reference Seam is reached.
All intervals are inserted into the Seam file, but the FROM and TO fields are not populated if they fall outside the range of the hole. The thickness and coordinates are calculated for all intervals.
Seam thickness is modelled based on surrounding holes. There are options to insert either a zero thickness or a modelled thickness. The default action can be overridden, for specific holes. This is done by adding a field to the collar file that contains ‘1’ for any hole where seam thickness will to be opposite to the default action. This field must be selected as an Attribute field in the Drillhole Database (on the Collar Attributes tab).
Input
Specify the following inputs in the Extrapolate Reference Seam form:
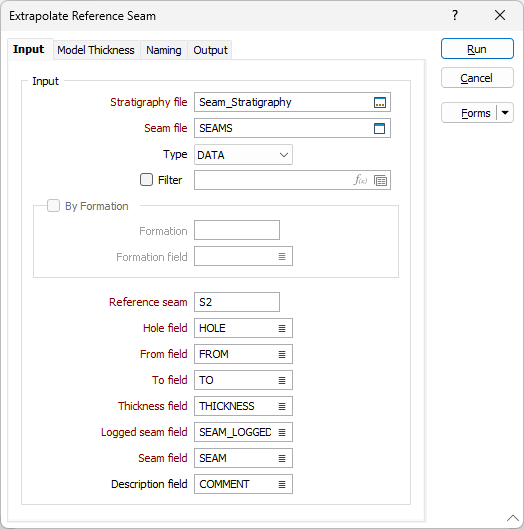
Stratigraphy file
Double-click (F3) to select the name of an input Stratigraphy file. A Stratigraphy file is a compiled file that is used to interpolate and display the stratification of the seams in a Seam file.
You can right-click (F4) in the File box to view the Stratigraphy file and manipulate the stratigraphy sequence.
Seam file
Enter or double-click (F3) to select the name of an input Seam file generated by the Generate Seam File function. A Seam file is an Interval file which has additional fields that record the status of all logged and inserted seams. The Seam file is used as an input to various Seam Stratigraphic functions.
By Formation
This option is only available when a Formation field exists in the input Stratigraphy file. Select this option to force the Reference Seam to be part of a chosen formation.
Formation and Formation field
If the By Formation check box option is selected, double-click (F3) to select the name of the field that contains the Formation codes, then double-click in the Formation box to select the Formation you want to restrict the process to.
Reference Seam
Enter the identifier of the Reference Seam. A Reference Seam is a consistent seam, typically the ply intersected by the most holes, within a formation. While all seams will be modelled for Thickness, the Reference Seam will also be modelled for Elevation.
To identify a Reference Seam, you can use File | Fields | Extract Unique. This function will tell you how many holes intersect each seam.
Hole, From and To fields
Double-click (F3) to select the names of the fields in the Interval file that contain Hole identifiers and From and To intervals.
Thickness field
Double-click (F3) to select the name of the field that contains the Thickness values calculated from the From and To interval values in the Interval file.
Logged seam field
Double-click (F3) to select the name of the field that contains a record of the seams originally logged in the Seam file. The content of the Seam field is duplicated into a field with a “_LOGGED” suffix. The content of the Seam field can be modified by subsequent processes, however the _LOGGED field remains unchanged, to indicate the original seam coding for that interval.
Seam field
Double-click (F3) to select the name of the field that contains the values used to identify each seam.
Description field
(Optional) Double-click (F3) to select the name of a Description field. The Description field will be populated by comments that indicate the derivation of each interval.
Forms
Click the Forms button to select and open a saved form set, or if a form set has been loaded, save the current form set.
Run
Finally, click the Run button to run the Extrapolation process.