Contours
![]()
On the Input tab of the Create Contours from Grid form, you can control the contour line spacing, including the use of irregular intervals controlled from a separate file. In addition, you can apply smoothing.
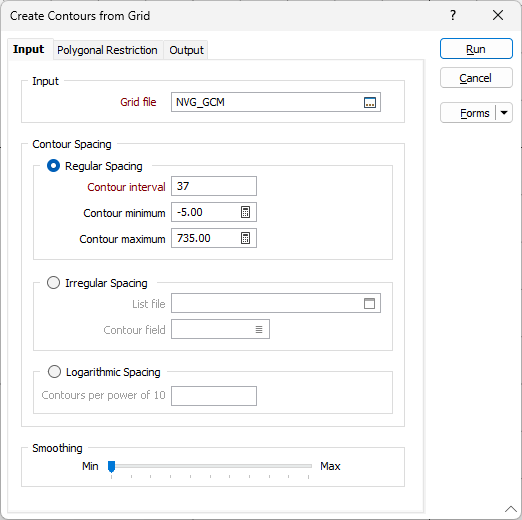
Input
Grid file
Enter or double-click (F3) to select the name of the grid file containing your data. When you specify a new file, a prompt asks if you want to load new values. Answer YES to have the program calculate new coordinate limits and contour interval to suit the new data, or NO to leave those settings as they are.
Contour Spacing
Choose a Spacing type:
Regular
Select this option for an even spacing of contour lines. Enter the Minimum and Maximum values to display, plus the required Interval.
Irregular
Select this option for an irregular spacing of contour lines. Enter the List file to be used, and the name of the Contour field. Contours with values corresponding to the values in this field will be displayed.
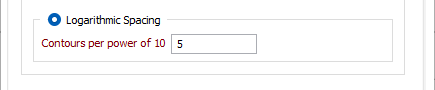
Logarithmic
Select this option to divide contour intervals logarithmically rather than linearly. Enter the number of contours to be displayed between powers of 10. The number of contours you specify in the Contours per power of 10 input must be a whole number between 1 and 10; this will always produce contour values that include powers of ten: 0.1, 1, 10, 100, etc.
Smoothing
Use the Smoothing control to apply a tension value. The higher the tension value, the closer the shape of the smoothed string will be to the original. On a sliding scale of 1 to 10, a value between 7 - 9 usually gives the best result.
Forms
Click the Forms button to select and open a saved form set, or if a form set has been loaded, save the current form set.
OK
When you have set input and output parameters and optionally applied a polygonal restriction, click OK to begin the process.