Edit Charge Templates
![]()
Click Edit to define the explosive interval lengths, detonator/booster primer pairs and depth, for the selected charge template:
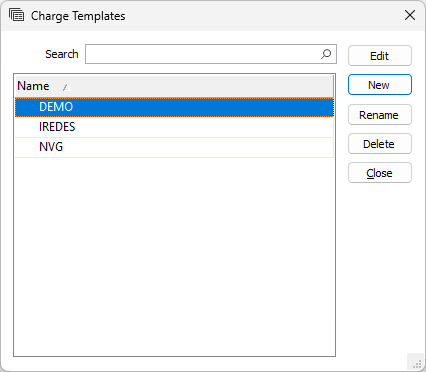
Alternatively, click New to create a New Charge Template.
Explosives and Others
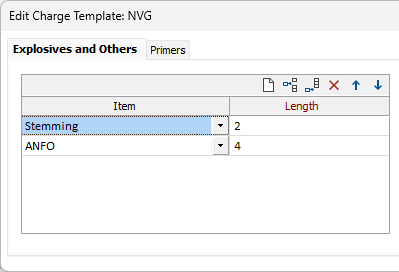
On the Explosives and Others tab of the Edit Charge Template form, select the explosives or other material that can be used to load the holes.
Item
This column allows you to select bulk or packaged explosive or consumables defined on the Other tab of the Consumables Library.
Length
For each explosive charge, specify the length of the interval. This is a mandatory field.
Note: If the combined lengths of a charge template’s intervals is greater than the length of the selected hole(s), then the intervals that extend beyond the length of the hole(s) will not be assigned to the hole(s). This is technically treated as an invalid charge template definition.
In the case of packaged explosives
-
A length specified here does not have to match the length specified in the Consumables Library - for example, to allow for the definition of tamped cartridges.
-
If multiple packaged explosives are used to load a hole, then an interval should be defined for each item. Failure to do so will result in incorrect cost calculations.
Primers
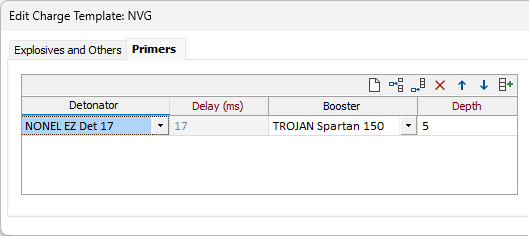
On the Primers tab of the Edit Charge Template form, configure the detonator/booster combinations and the downhole depth of each primer. You can add rows to the grid to define multiple detonator and booster combinations, for example to model deck priming.
Autofill
The Primer grid can be automatically filled using the Autofill button. When you click the Autofill button, the Primers form opens:
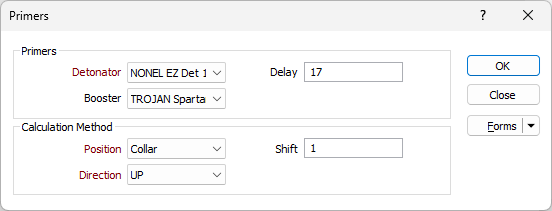
In the Primers section of the form, you can select the Detonator, Booster and Delay for the Primers.
Use the Calculation Method section of the form to select the Position, Direction and Shift value for the autofill calculation
Click OK to autofill the Primer grid according to the configured form.
Detonator
Select a Detonator for each primer using the drop-down control.
Delay
This value is shown for information only and cannot be edited since it is the time delay in milliseconds entered in the Consumables Library for the chosen detonator.
Booster
Select the Booster for each primer using the drop-down control - or set the Booster to <None> when a primer is made up of cartridge explosive carrying a detonator.
Depth
The Depth of each primer charge.
Preview
A depth scale and a downhole (Collar on top) preview of the charge template is shown on the right-hand side of the Edit Charge Template form:
OK
When you have created or modified the charge template, click OK to save your changes.
The charge templates you create and edit can be assigned to holes using the Charging | Assign Charge Template function.
Any modifications made to a charge template will update the charge information of any assignee holes charged by that template.
Note: When Charge Template settings are saved as a form set, the name of the form set is shown in brackets alongside the name of the template at the top of the form:
Template
The Template button is only available for Template Forms. Template Forms inherit saved or previously used values.
Click the Template button to select and open a saved form set template.
Load Template
Click the Load Template button to select and open a saved template to populate the fields of the form.
Save Template
Click the Save Template button to save the details of the current form as a template that can be loaded at a later time.
Manage
Click the Manage button to open the Template Forms manager which can be used to open, save, delete, import and export the template forms for your project.
Undo and Redo
Click Undo (CTRL + Z) to undo recent changes in the form. After an Undo, click Redo (CTRL + Y) to restore the last change that was undone.
Collapse
Collapse (roll-up) the form to preview a chart, or preview the results of an operation in Vizex, or obtain input values from Vizex, the Property Window, the File Editor, or the Plot Editor.