Tools
Tools applicable to underground ring design are available on the Mining | Ring Design tab. To enable the ribbon you will need to select a Ring Design layer as the Active Layer.
Not all the tools on the ribbon will be enabled. The Create Boundary tool, for example, will be disabled until you select Edit | Edit Ring to enter Edit Ring mode. Conversely, Add Drive, Set Drive Wireframe, and Create New Ring tools are unavailable when you are in Edit Ring mode.
Layer
On the Mining | Ring Design tab, in the Layer group:
-
Click New to create a new ring design.
![]()
-
Click Open to load an existing Ring Design into the form for display.
![]()
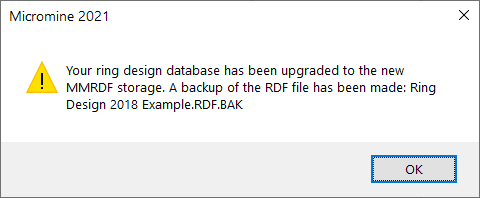
If you open a ring database created in an earlier version of the application, a backup copy will be made before the database is upgraded and an information message will be displayed.
-
Click Edit Form to open the form for the selected layer.
![]()
Parameters
Plot Options are available on the Mining | Ring Design tab, in the Parameters group.
-
Click Setup to set ring design settings and display options.
![]()
-
Click Plot Options to set ring design plot options.
![]()
Drive
Use the tools on the Mining | Ring Design tab, in the Drive group, to Add Drives in the current Ring Design layer.
-
Select Add Drives to add drives using the drive strings in a nominated String file, and the drive profiles in a nominated Drive Boundary Wireframe.
![]()
-
Click Add Drive (Interactive) to add drives to a ring design interactively using the drive strings and boundary wireframes you have loaded in Vizex.
![]()
-
Click Edit Drive to edit a selected drive with the details from a specified Wireframe or Profile shape.

-
Click Drive List to display a list of the Drives for the Ring Design and optionally manage the details for each.

Ring
-
Click Create New Ring. Before you create a ring you will need to select an existing drive in the display, or add a drive to the display.
![]()
-
Click Edit Ring to put the display into Edit Ring mode.
![]()
-
Click Replicate Ring Along Drive to copy a ring along the drive multiple times.
![]()
-
Click Arrange Rings on Drive to create rings with boundaries which are determined by the proximity of a selected ore body and arrange those rings along the drive using the specified burden distance between them.

-
Click Move/Copy Ring to copy the currently selected ring to a new location on any drive. Once in Copy mode, you can select a point on any drive (including the drive the source ring is located on) as the location for a new ring.
![]()
-
Click Delete Selected Ring Design Object (or press the DELETE key on the keyboard) to delete all currently selected (drive, ring, or hole) objects.

-
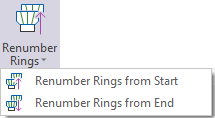
When a ring is selected (Edit Ring mode is not active) the option to Renumber Rings in both directions is provided.


Report
Use the tools on the Mining | Ring Design tab, in the Report group, to generate Ring Design Plots and Reports.
-
Click Generate Ring Plot to generate a Ring Plot.
![]()
-
Click Generate Batch Rings Plot to generate a batch of plots for multiple rings.
![]()
- Click Ring Wireframe Report to generate wireframes which represent the area that will be blasted for either the current ring, or all of the rings on the selected drive. You also have the option of estimating tonnes and grades for the blasted area.
![]()
-
Click Summary Report to generate a database and drive summary report.
![]()
Import/Export
Ring Design Import and Export functions are available on the Mining | Ring Design tab, in the Import/Export group.
-
Click Import IREDES to import a Ring Design in IREDES file format.
![]()
-
Select Import Surveyed Holes to Import survey data (collar and toe locations) manually collected manually in the field.

-
Click Export to IREDES to export a Ring Design to IREDES file format.
![]()
-
Click Export to Drillhole Database to convert a Ring Design to a Drillhole Database (DHDB) format.
![]()
-
Click Export Drive Wireframe, to generate a wireframe and save a selected drive and centreline string file for the selected ring design drive.
![]()
Search
-
Click Find to find ring design objects using wildcards and/or regular expressions, and optionally zoom to selection.
![]()
Pin
Click the Pin icon to display the ribbon even when it is out-of-context (in other words, the Vizex layer or the editor or function it relates to loses focus or is closed). The ribbon will be displayed until you either click the icon again to unpin it, or Close it.

Close
Toggle the Pin button to close the ribbon. The ribbon is displayed automatically when it is in-context (in other words, the Vizex layer it relates to is opened as the active layer, or the editor or function it relates to is opened.

Save your changes
You must explicitly save any changes you make to the objects in the Ring Design layer. This applies when you edit rings, drillholes, and ring boundaries. If you do not save your changes, you will be prompted to do so when you either close the display layer, exit Vizex, or exit the application.