Solid Colour Sets Wizard
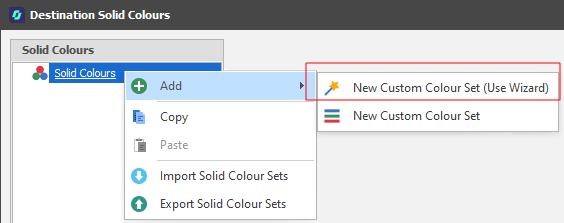
To create a Custom Colour Set using the Wizard: In the Solid Colours dialog, right-click on the Solid Colours node and select Add | New Custom Colour Set (Use Wizard):
Note that the Source/Destination Table must be set for the Case. If not, a warning message is displayed:
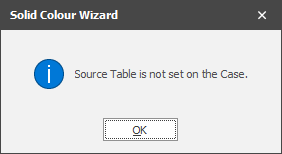
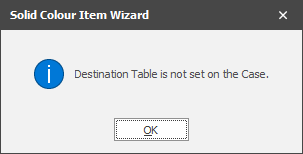
To resolve this problem, in your Scenario Settings:
-
On the General tab of your Scenario Settings, in the Simulations group, make sure the Source/Destination Scheduling check box option is selected.
-
On the General tab of your Scenario Settings, in the Data group, make sure a Source/Destination Table has been specified.
Mode
Select a colour-coding mode. A colour set can be applied by Level, Reporting Level, Time Period or Table Field Values. The mode you select will determine which options available in the Solid Colour Wizard dialog.
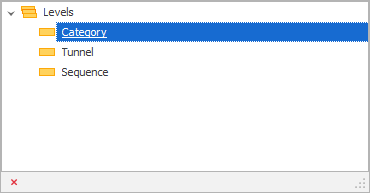
When Level is the selected mode:
-
Select the Level to colour code by, for example, Category:
-
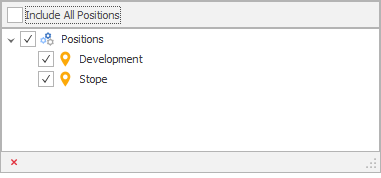
Select Positions for the selected Level:
-
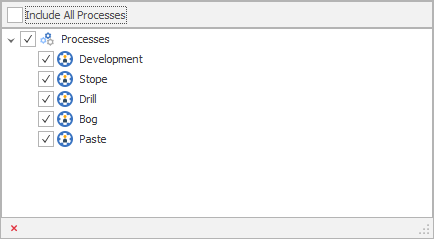
Select the Processes to apply the Colour Set to:
-
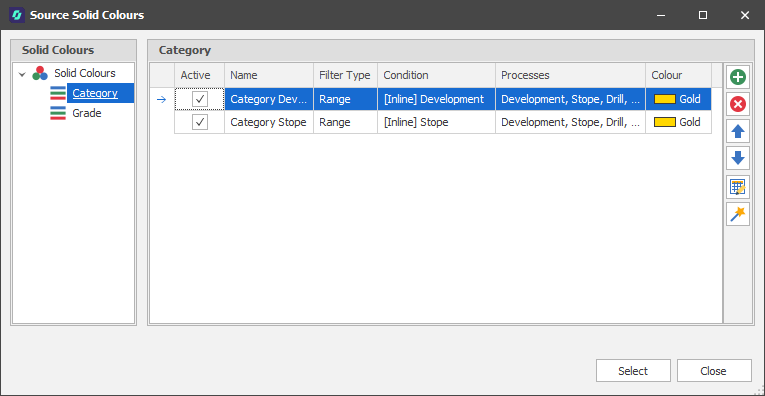
Finally, click Accept to generate the Colour Set.
-
Use the tools provided in the Solid Colours window to customise the Colour Set further.
|
|
Add a new item to the list. |
|
|
Delete the item(s) currently selected in the list. |
|
|
Move the currently selected item(s) Up to reorder the list. |
|
|
Move the currently selected item(s) Down to reorder the list. |
|
|
Use the Bulk Editor to make bulk modifications to the items in the list. |
|
|
Use a Wizard to semi-automate the process. |
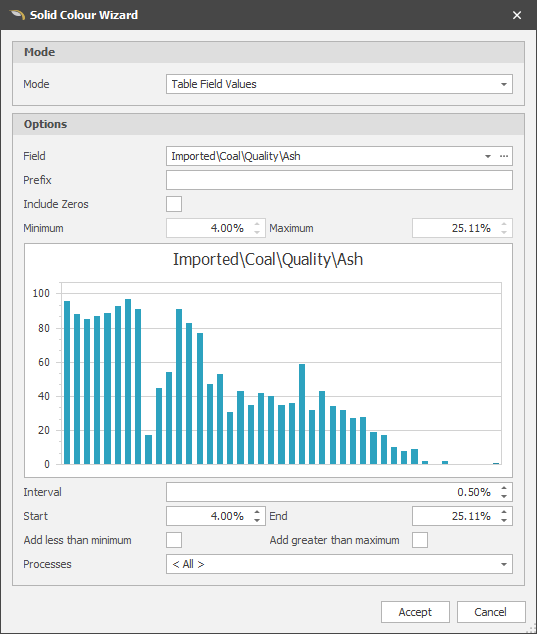
When Table Field Values is the selected mode:
-
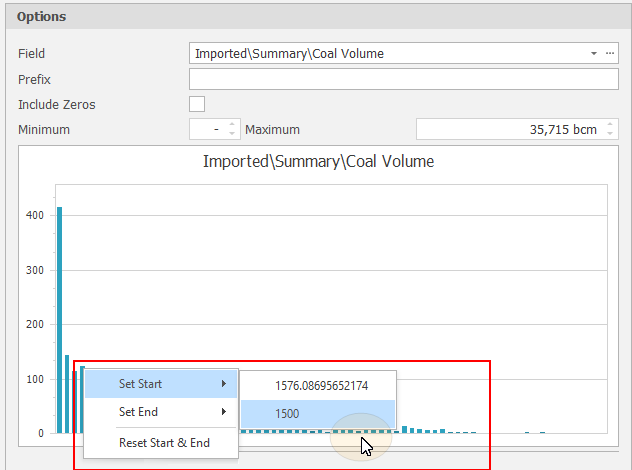
Select the Field to colour code by:
-
Optionally specify a Prefix. This might further help to identify the field when its properties are displayed.
-
Choose whether to include fields with zero values.
-
Specify a Minimum and Maximum value for the chosen field.
-
Set an Interval for the Colour Set. Colours wil be ramped by the Intervals you have defined.
-
Optionally specify a Start and End value. These will default to the Minimum and Maximum field values you have specified.
You can also right-click on the bar chart to set values for the Start and End spin edits (or Reset the Start and End to the Minimum and Maximum):
The first Value is the accurate horizontal value based on the cursor position.
The second Value is the nearest interval the cursor is over. If setting the Start, it will use the start of the interval. If setting the End, it will use the end of the interval.
-
You can choose to Add values less than the Minimum to the Start interval.
-
You can choose to Add values greater than the Maximum to the End interval.
-
Choose which Processes to apply the Colour Set to. The default is <All>.
-
Finally, click Accept to generate the Colour Set.
-
Use the tools provided in the Solid Colours window to customise the Colour Set further.