Charge Energy Distribution
![]()
The calculation requires the geometry of the hole pattern, the hole diameter, charge quantities, and the density of the explosive and the rock mass. The results of the calculation are reported as kilograms of explosive kg/m3 or kg/t.
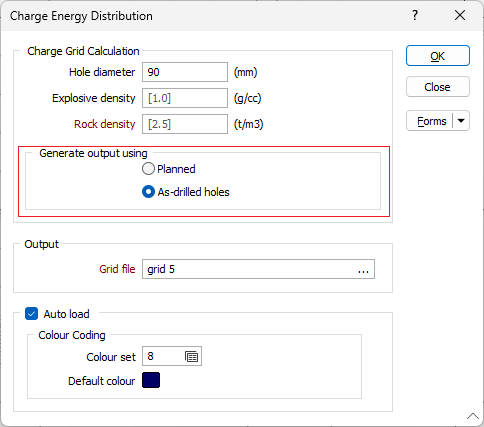
Hole diameter
Enter the diameter of the holes in millimetres.
Charge density
Enter the density of the explosive charges in grams per cubic centimetre.
Rock density
Enter the density of the rock in tonnes per metres cubed.
Generate output using
Choose whether to generate output using As-drilled or Planned drillholes. Whenever drillhole data is imported into a Ring Design database the hole type property is set to As-drilled. These as-drilled holes can then be reconciled against planned holes (drillholes prepared during the planning phase but not yet drilled).
Output
Grid file
Enter (or double-click F3 to select) the name of the output Grid file.
Double-click (or click on the Form Sets icon) to select a wireframe set. The wireframes in the set will be saved as a single wireframe. Double-click (or click on the ellipsis) to select an Output Wireframe Type. Double-click (or click on the Select icon) to select the Name of the Output Wireframe.
Auto load
Optionally, select the check box to Auto load the generated grid in Vizex.
Colour set
Colour sets are one of the most important ways of making it easy to differentiate between values, regions and other objects in the display. The tools you use to create colour sets in the application are particularly powerful. Because colour sets are saved as form sets they can be used anywhere in a project and can even be exported to other projects.
Double-click the Colour Set input box if you want to select an existing colour set. Right-click in this box to edit the selected colour set or to create a new one.
Default colour
Accept the default colour or double-click to select a default Colour for the Output wireframe. Optionally, click on the Attributes button to edit the standard attributes of the wireframe and add one or more user-defined attributes.
Forms
Click the Forms button to select and open a saved form set, or if a form set has been loaded, save the current form set.
By design, the Forms button is not available for loaded Vizex layers (i.e. when opening the form set properties of a layer in the Vizex Layer Display pane). In Vizex, the Forms button is only available for new forms opened via the Home tab or the Vizex tab, in the Layer group (or by double-clicking on a form type node in the Vizex Layer Types pane).
Save and Save As
Click the Save button to save the changes you have made to the form set. Click Save As to save your changes as a new form set. Save As will default to the first available form set number.
Reset
Click Reset to clear the form of all values and reset the form to its default state.
Reset Tab
For tabbed forms, select Reset Tab to clear the active tab of all values and reset the tab to its default state - without making any changes to other tabs in the dialog.
Undo and Redo
Click Undo (CTRL + Z) to undo recent changes in the form. After an Undo, click Redo (CTRL + Y) to restore the last change that was undone.
Collapse
Collapse (roll-up) the form to preview a chart, or preview the results of an operation in Vizex, or obtain input values from Vizex, the Property Window, the File Editor, or the Plot Editor.