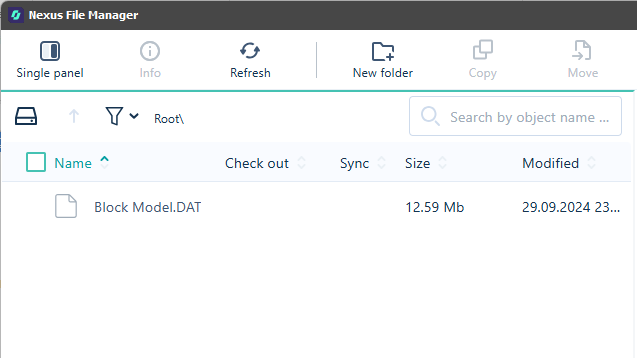
Nexus File Manager
Micromine Spry integration with Micromine Nexus requires a connection to the Nexus server. In the Nexus panel, in the Workspace group, when you have attached your active Micromine Spry project to a Nexus workspace and project, click Manage Files to view and manage the project files uploaded to Nexus.
![]()

Display mode
You can choose to display a single panel of information or (typically) display local files and uploaded Nexus files side-by-side in dual panels:


Choose what to display in the panel(s):

|
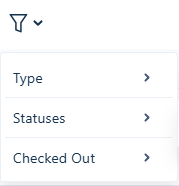
Nexus files. Show the folders and files in your Nexus workspace project. You can filter the files by Type, Status and Checked Out By:
|
|
|
Local files. Show the folders and files in your local Micromine Spry project.
|

|
Click the Up button to return to the root folder in the tree navigation. |
|
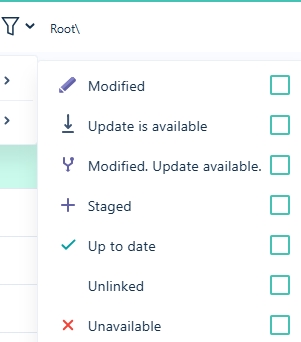
You can filter the files by Checked Out By and by Source Control/Versioning Status. Use the drop-down Filter menu to open a list of Status options that can be used to filter the display in the panel. Any files not matching the selected status option/s will not appear in the file list.
If Unlinked is selected, only files not linked to Nexus will be displayed. Files with an Unavailable status are missing information and have most likely been moved or deleted. Using the Filter for Unavailable status, you can locate and fix these files. When a filter is applied, the Filter button will indicate that an active filter is applied. Clicking the Filter button when filters are applied will Clear All Filters. Options for the files and folders in the File Manager are also available from the context menu. |

Search
Search for
Info
When a file is selected, click Info to show file information for that file.
For more information, see: File Info
Refresh
Click to Refresh the page. The data and metadata on the page is refreshed by querying project storage. You can also press the F5 function key (or the Ctrl + R shortcut key).
New folder
When a panel showing Nexus files has focus, click to create a New Folder in your Nexus project folder or a sub folder.
Copy/Move
Use these tools to Copy/Move a selected file to another location in your Nexus project.
Remove
Click to Remove the selected file(s) or folder. The files or folder (and its contents) will be deleted from project storage. You will be prompted to confirm the deletion.
Upload
When a panel showing local files has focus, click to Upload files to your Nexus project folder or a sub folder.
Download
When a panel showing Nexus files has focus, click to Download files to a local project folder or sub folder. Download will create a copy of the existing file without overwriting it.
Pull Changes
When a panel showing Nexus files has focus, click to Pull Changes from the Nexus project to your local project.
Revert
When a panel showing local files has focus, click to Revert to the previous saved version of the file(s).