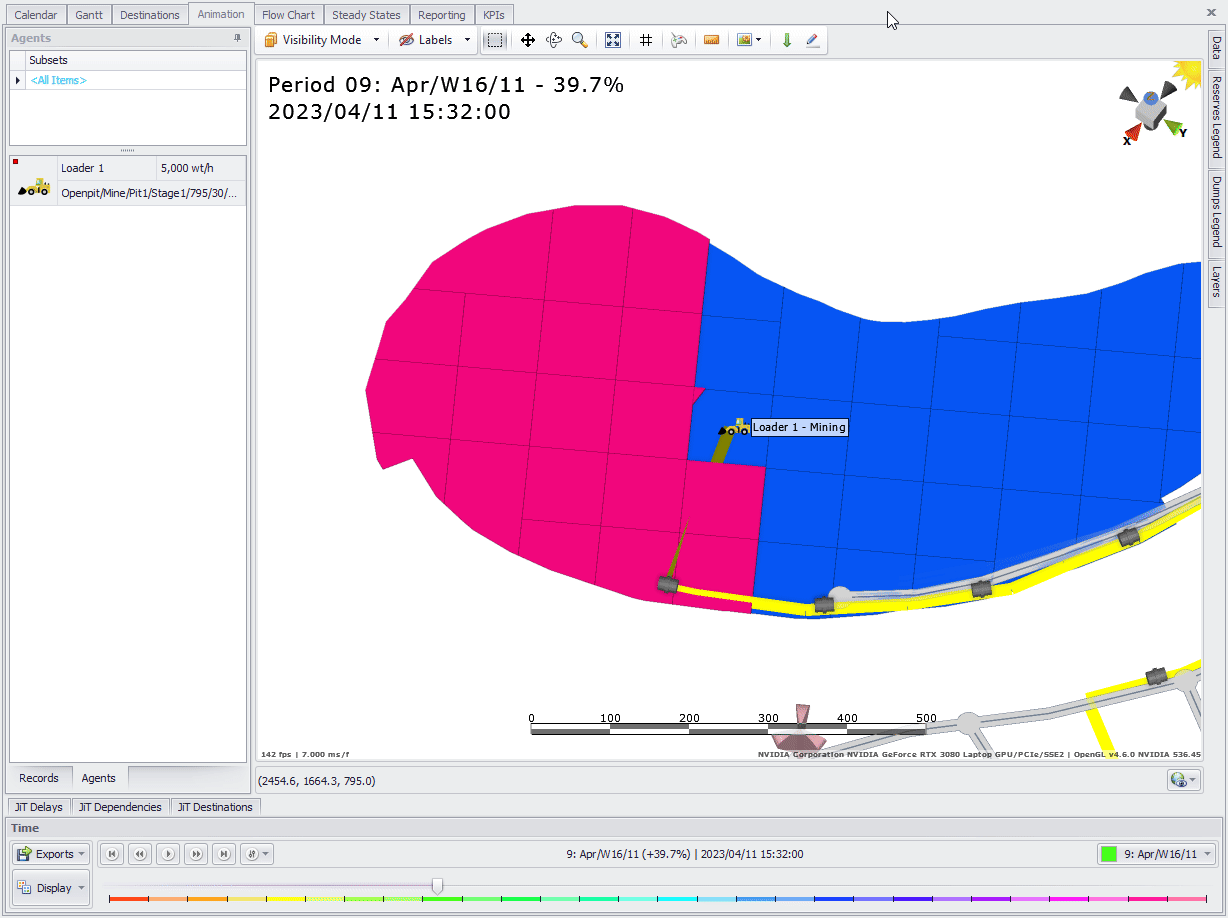
Toolbar
The Animation tab's toolbar provides the following tools and settings:
| Button | ||
|---|---|---|
|
Visibility Mode button |
|
Graphics view mode. Change current viewing mode which affects how data is displayed in the viewport below.
Click on the drop-down list to select "View All" or "View Selected" (based upon what is selected in Records (Left Hand) Panel). |
|
Labels display button |
|
Click this button to enable/hide labels.
Click on the drop-down list to open the Label Display Settings window, where you can set the visibility of labels, their colors, font, size, or flag “Hide labels for small or obscured blocks”. |
|
Selection |
|
Left click and drag. |
|
Pan |
|
Middle click and drag. |
|
Rotate |
|
Right click and drag. |
|
Zoom |
|
Scroll wheel. |
|
Zoom to Extents |
|
Zooms to show extents of data. |
|
Grid |
|
Places grid in Viewport. Only appears when in plan view. |
|
Place Drone button |
|
Places a drone into the Viewport which can be flown around.
|
|
Measure Distances button |
|
Left click in Viewport to measure distances between items. |
|
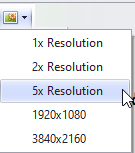
Capture Screenshot button |
|
Takes a screen shot of the Viewport and places it in the Clipboard. Use <Ctrl+V> to paste. Select a resolution required.
|
|
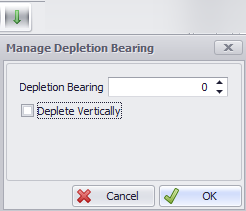
Set Mining Direction arrow |
|
Set the direct of block depletion in Animation.
Note: Changing the Mining Direction will not affect the order in which blocks or parcels are mined. |
| Annotations |
|
Click on the Pencil icon to open the Drawing Panel: |
The Drawing Panel has its own toolbar and tools, as described below. |


Drawing Panel Tools
| Button | ||
|---|---|---|
|
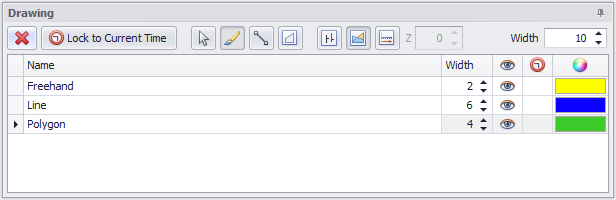
Delete |
|
Used to delete selected objects in the animation viewport or the selected annotation layer. The Delete key can be used to delete selected objects, not the selected annotation layer. |
|
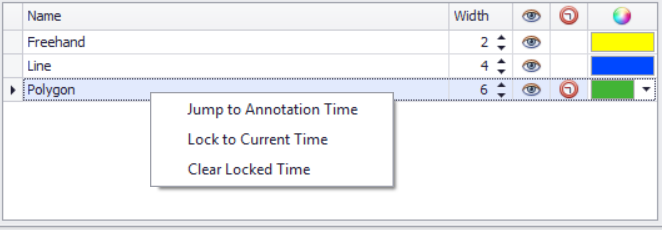
Lock to Current Time |
|
Use the Lock to Current Time button to have the drawing appear in the animation based on the current slider location.
Note: Selecting an annotation in the list and right clicking provides the same Lock option. You can also use the right-click menu to clear the time lock or jump to the animation time (if the annotation is time locked).
|
|
Select |
|
Click the Select cursor icon to select annotation objects from the animation viewport. |
|
Freehand |
|
Freehand draw tool. Click and drag in the animation to draw a shape. |
|
Line |
|
Polyline drawing tool. Click for each point to add to the polyline. Press Enter to finish drawing. |
|
Polygon |
|
Polygon drawing tool. Click for each point to add to the polygon. Press Enter to close polygon. |
|
Draw at default Z offset |
|
Sets the annotation elevation to the highest point contacted by the annotation. |
|
Snap to Solids |
|
Snaps annotation points to the solid/surface. |
|
Draw at Preset Z value |
|
The annotation will be drawn at the Z value specified in the input box:
|
|
Annotation Width |
|
Sets the default annotation width.
Note: Each annotation layer in the list can have its width adjusted as required. |
|
Annotation Visibility |
|
Used to control the annotation visibility. See video below. |
| Annotation Colour |
|
Used to control the annotation colour. See video below. |