Output
On the Output tab of the Evaluate Pit Shell form, you can specify Loss and/or Dilution wireframes to be generated from the input evaluation to display the differences between the selected design vs reference shells. Additionally, you can set calculation options and provide a file for the evaluation report.
Save Loss Wireframes
Select the Save Loss Wireframes option to specify and define a loss solid(s) wireframe for the evaluation. Loss solids represent the parts missing from the reference design.
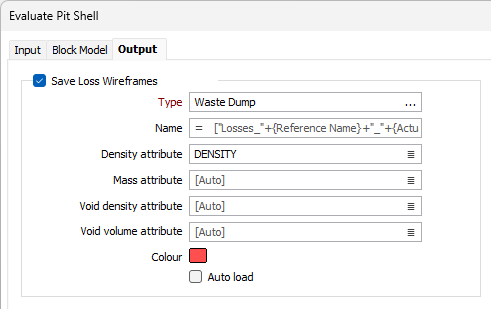
Type
Use the Type field to select the wireframe for the loss solid(s) information. You can enter a Name or Expression in the field, or leave the default Auto value.
Density Attribute
Double-click to select a field in the loss wireframe that contains Density information.
Mass Attribute
Double-click to select a field in the loss solid(s) wireframe that contains Mass information.
Void density attribute
Double-click to select a field in the loss solid(s) wireframe that contains information for Void density.
Void volume attribute
Double-click to select a field in the loss solid(s) wireframe that contains information for Void volume.
Colour
Double click the Colour box to select a default colour for display of the loss solid(s) wireframe.
Autoload
Select the option if you want the loss solid(s) wireframe to be automatically loaded to Vizex on completion of the evaluation.
Save Dilution Wireframes
Select the Save Dilution Wireframes option to specify and define a dilution solid(s) wireframe for the evaluation. Dilution wireframes represent the region not present in the reference pit.
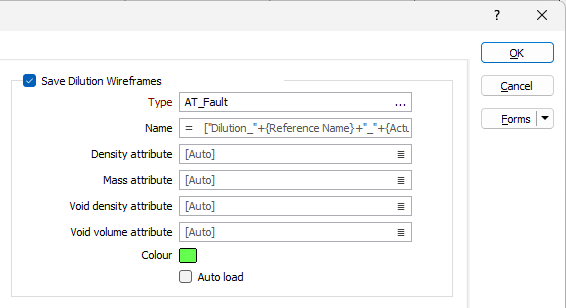
Type
Use the Type field to select the wireframe for the dilution solid(s) information. You can enter a Name or Expression in the field, or leave the default Auto value.
Density Attribute
Double-click to select a field in the dilution solid(s) wireframe that contains Density information.
Mass Attribute
Double-click to select a field in the dilution solid(s) wireframe that contains Mass information.
Void density attribute
Double-click to select a field in the dilution solid(s) wireframe that contains information for Void density.
Void volume attribute
Double-click to select a field in the dilution solid(s) wireframe that contains information for Void volume.
Colour
Double click the Colour box to select a default colour for display of the dilution solid(s) wireframe.
Autoload
Select the option if you want the dilution solid(s) wireframe to be automatically loaded to Vizex on completion of the evaluation.
Report File
In the Report file field, enter the Name of the report output file. This is where the report containing the evaluation of the current design vs the selected reference will be saved.

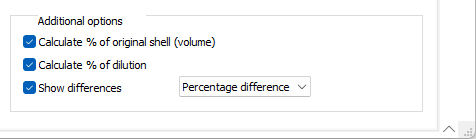
Additional Options
The Additional options group contains options to configure various calculations in the evaluation.
Calculate % of original shell (volume)
Select the Calculate % of original shell option to calculate a percentage value for the volume of the original shell that is included in the evaluation.
Calculate % of dilution
With the Calculate % of dilution option selected, a value will be included in the evaluation to represent the dilution wireframe percentage included.
Show differences
The Show differences option, when selected, indicates that the differences between the current design and the selected reference will be calculated and shown in the report.
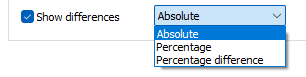
From the drop down list, the following difference options are available:
-
Absolute - Calculates the difference relative to the reference design in absolute values.
-
Percentage - Calculates a percentage value for the difference between attributes.
-
Percentage difference - Calculates a percentage value for the total difference between the reference design and the current pit shell.
When the Evaluate Pit Shell form is configured, click OK to execute the tool. The composite pit design and any resultant report will be displayed:
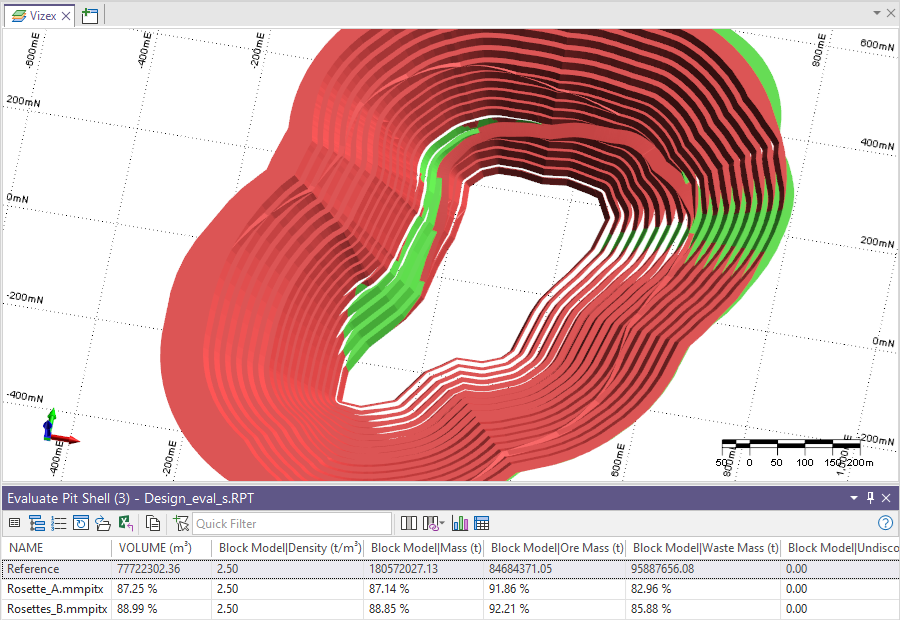
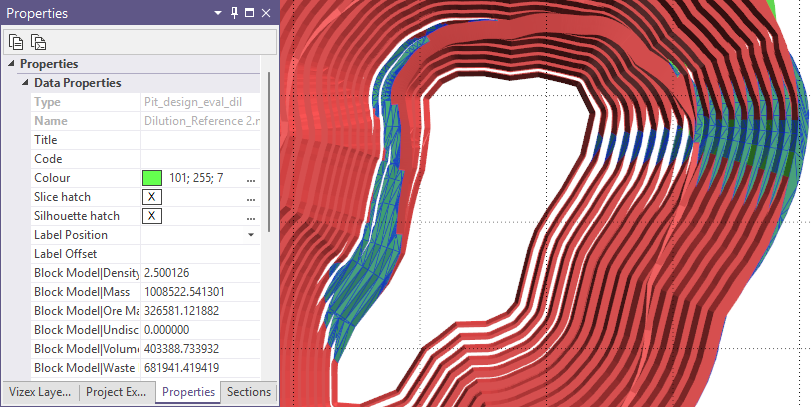
The pit shell displayed shows the differences between the pit surfaces configured for the tool. Any Loss and/or Dilution wireframes marked to be saved will also be displayed in the design. You can select these in the design displayed in Vizex:
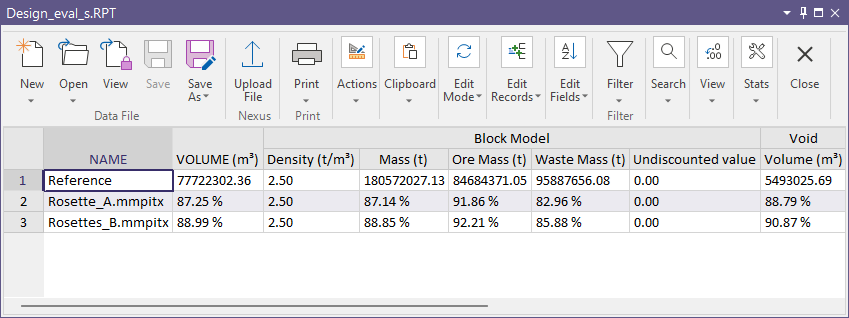
The Evaluate Pit Shell report can be also opened from the form or the Report Viewer.
Forms
Click the Forms button to select and open a saved form set, or if a form set has been loaded, save the current form set.
By design, the Forms button is not available for loaded Vizex layers (i.e. when opening the form set properties of a layer in the Vizex Layer Display pane). In Vizex, the Forms button is only available for new forms opened via the Home tab or the Vizex tab, in the Layer group (or by double-clicking on a form type node in the Vizex Layer Types pane).
Save and Save As
Click the Save button to save the changes you have made to the form set. Click Save As to save your changes as a new form set. Save As will default to the first available form set number.
Reset
Click Reset to clear the form of all values and reset the form to its default state.
Reset Tab
For tabbed forms, select Reset Tab to clear the active tab of all values and reset the tab to its default state - without making any changes to other tabs in the dialog.
Undo and Redo
Click Undo (CTRL + Z) to undo recent changes in the form. After an Undo, click Redo (CTRL + Y) to restore the last change that was undone.
Collapse
Collapse (roll-up) the form to preview a chart, or preview the results of an operation in Vizex, or obtain input values from Vizex, the Property Window, the File Editor, or the Plot Editor.