Form Designer
The Form Designer provides a broad set of tools for a Micromine Geobank Administrator to build forms which combine data and process.
A Form is a configurable user-interface object that can be assigned to users, through a profile, to provide a front-end to database tables and views.
Forms are commonly configured to:
- Display geological data in a traditional form view or grid view.
- Provide action buttons to carry out tasks such as managing data and opening other tools.
- Provide access to resources, such as Micromine Geobank’s online knowledge base.
Recommended form planning and design steps
Since each form will have a specific purpose, it is important to adopt a structured approach. It is recommended you take the following steps when you design and build a form:
- Understand and document the business purpose of the form you wish to create
- Identify what data needs to be accessed, both datasets and parameter data
- Build the data you will access in the form (setup views and table functions in the SQL Database)
- Identify which data-related actions need to be initiated from the form
- Build your actions in the SQL Database as stored procedures
- If the form will need to be deployed at multiple sites using change control, add to or create an "admin set-up" form which creates the sql views etc (using action queries) for data access
- Plan the layout of the form (sketch on paper - layout, tabs, etc)
- Begin documenting the form's usage instructions
- Build the form in the Micromine Geobank Form Designer
- Test the form
- Finish documenting the form's usage instructions – incorporate these as a tab in the form if this adds to the form's usability.
- Distribute and use the form
Micromine Geobank supports the use of Forms in Unattended Mode. When in Unattended mode, forms automatically start, log errors instead of displaying errors, and automatically close when complete. In Unattended mode, when tasks have been completed (or errors logged), Micromine Geobank will automatically close.
When you create a form, or edit a form, the form is opened in a Form Designer window:
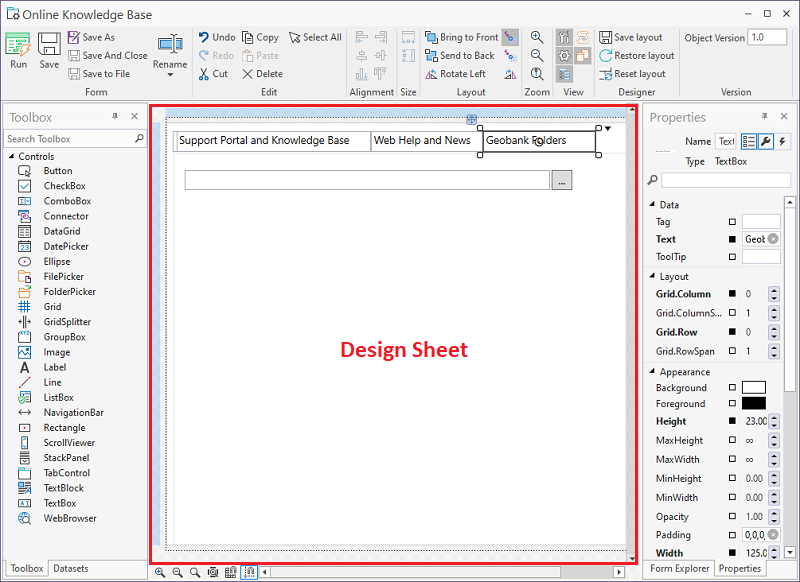
There are four (Toolbox, Datasets, Form Explorer, Properties) tabbed panes, two to the left, and two to the right of the Design Sheet:
This is the default window layout. However, you can save and restore your own window layout. See: Window Layouts.
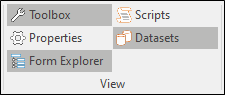
You can also toggle the visibility of these panes (and a Scripts pane) on and off using the options in the View group on the ribbon:
Design Sheet
The Design Sheet is where the design of the form takes place. When you create a form, a default grid is superimposed onto the Design Sheet of the form. A grid is the primary container for the controls you add to the form. Controls may be positioned interactively by dragging them from the Toolbox pane and onto the Design Sheet with the mouse.
Use the options on the Zoom toolbar to zoom in and out on the Design Sheet. You can also set raster and snapline placement options.
Ribbon
The Ribbon above the Design Sheet provides the tools and options you need to show or hide panes in the Form Designer window, navigate and manipulate the controls you have added to the form, and finally save and execute the form.
See: Ribbon
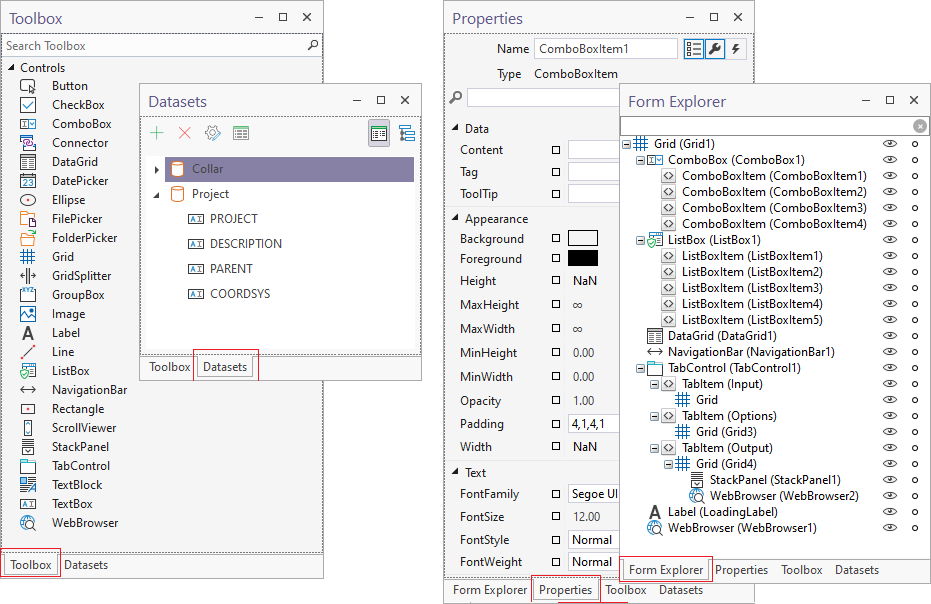
Toolbox
The Toolbox pane contains a list of the container and user interface controls that can be dragged and dropped onto the Design Sheet.
See: Toolbox
Datasets
The Datasets pane shows the tables and fields you have defined for the form. The tables can be shown as a list or a hierarchy. You can hide or show the pane using a toggle button on the ribbon.
Fields or tables in the Datasets pane can be dragged and dropped directly onto the Design Sheet:
- When you drag a dataset onto the Design Sheet, the dataset is automatically bound to a DataGrid.
- When you drag a dataset field onto the Design Sheet, the dataset field is automatically bound to a control (the type of control that is bound to the field will depend on the data type of the field).
-
When you drag a dataset field onto the Design Sheet with CTRL and SHIFT, this creates a Label control with the name of the field and its Content (display text).
-
To add fields in a standard ‘form’ layout, select a Grid in the design canvas then, from the Dataset field list, use right-click to open the context menu which offers options for adding fields in a standard ’form’ layout.
Use the ALT key after the drag and before the drop to place the control in a "container".

Select the fields required in the sequence in which they should be displayed.

This adds controls bound to the data with labels in the layout below:

Form Explorer
The Form Explorer
The Grid is the top-most control in the hierarchy and is the primary container for the controls you add to a form. When you create a form, a Grid is superimposed on the Design Sheet in the Form Designer. For more detail on the Grid, see: Working with Containers
See: Form Explorer
Properties
The Properties pane allows the properties of the selected control (or the shared properties of multiple controls) to be viewed and edited.
See: PropertiesScripts
The Scripts pane allows you to modify the underlying scripts that control the behaviour of the controls you have added to a form.
See: Scripts Pane