Custom Shadings
Creating a simple custom shading
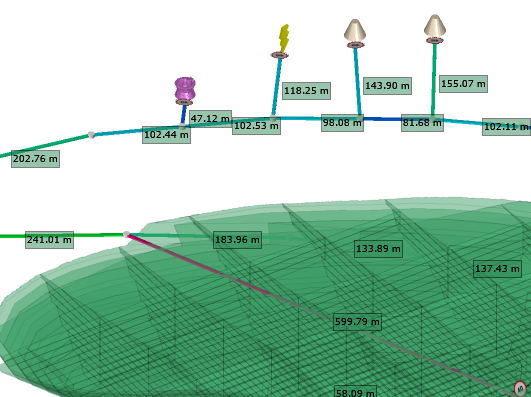
Simple Segments Shading
-
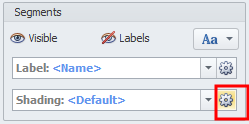
Select the gear icon next to the Segments Shading drop-down. This opens the configuration dialog.
-
Click the blue plus icon to add a new shading set.
-
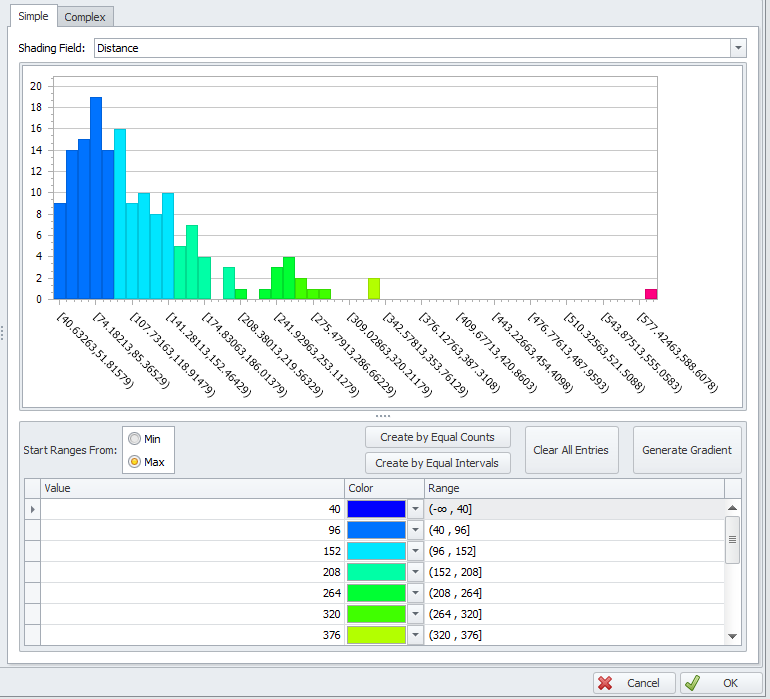
Rename the shading to "Distances".
-
Drop down the Shading Field and select “Distance”.
-
Click the Create by Equal Intervals button to populate 10 intervals.
-
Generate Gradient or assign a colour to each interval.
-
Click OK to accept.
-
Select the newly created shading from the Segments > Shadings dropdown and review the result.
|
|
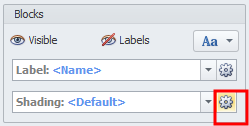
Simple Blocks Shading
-
Select the gear icon next to the Blocks Shading drop-down. This opens the configuration dialog.
-
Click the blue plus icon to add a new shading set.
-
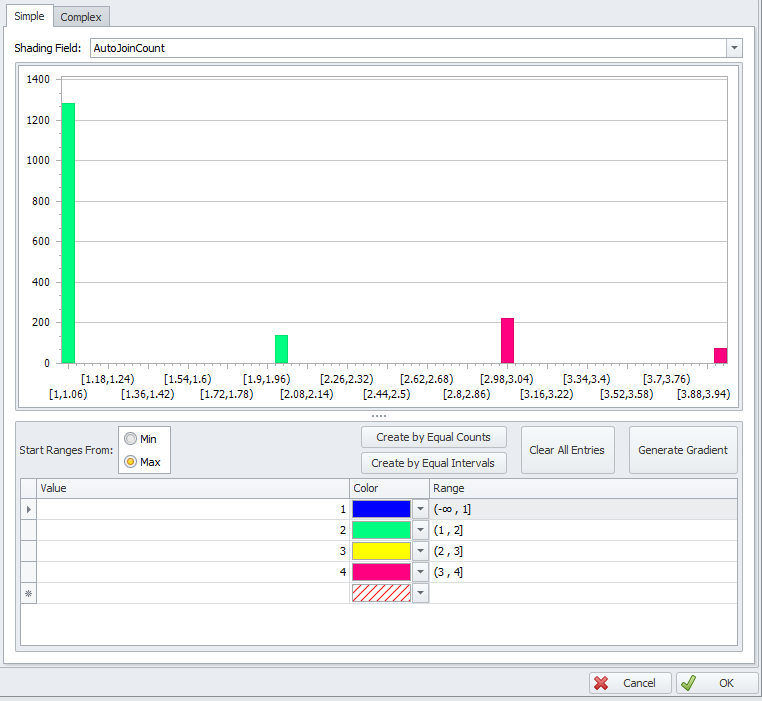
Rename the shading to "AutoJoinCount".
-
Drop down the Shading Field and select “AutoJoinCount”.
-
Click the Create by Equal Counts button to populate intervals.
-
Generate Gradient or assign a colour to each interval.
-
Click OK to accept.
-
Select the newly created shading from the Blocks > Shadings dropdown and review the result.
|

|
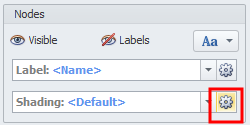
Simple Nodes Shading
-
Select the gear icon next to the Nodes Shading drop-down. This opens the configuration dialog.
-
Click the blue plus icon to add a new shading set.
-
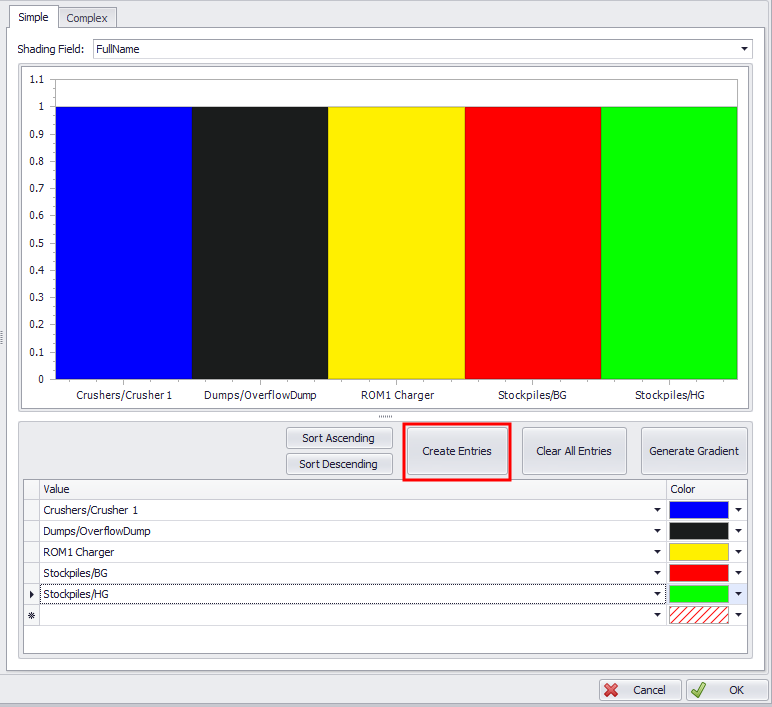
Rename the shading to "byName".
-
Drop down the Shading Field and select “FullName”.
-
Click Create Entries to auto populate the list. Only available for Text fields.
-
Assign a colour to each node or Generate Gradient.
-
Click OK to accept.
-
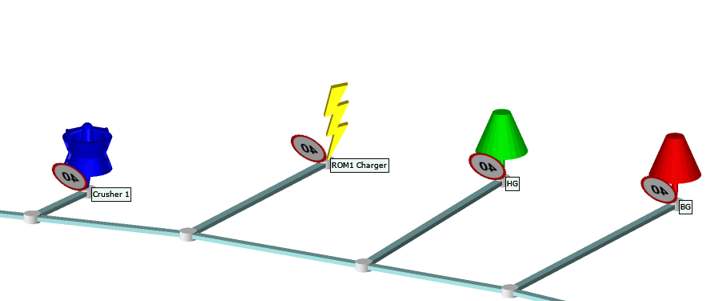
Select the newly created shading from the Nodes > Shadings dropdown and review the result.