Viewport Display
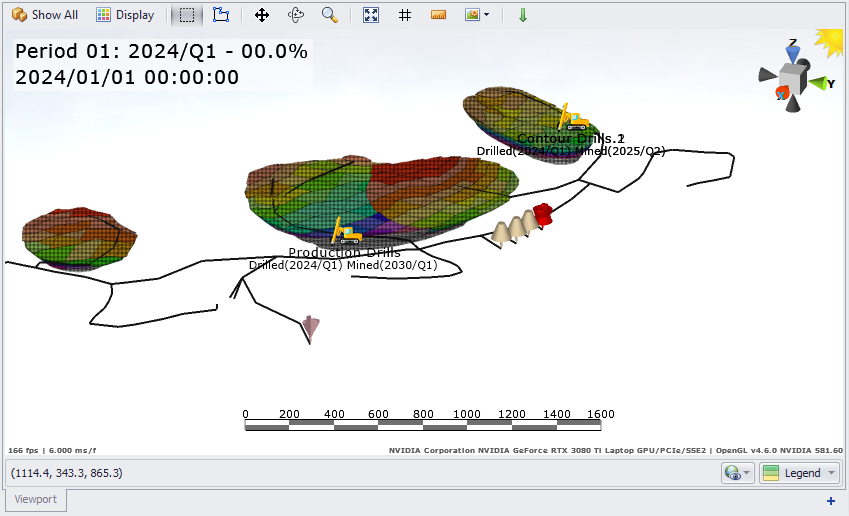
The Viewport Display provides a graphical representation of all the solids of Reserves and Dumps on a mine site. The user can select the levels to be displayed (Mine / Pit / Stage / bench, etc.), switch to the display of dumps or open pits, and zoom in to one or multiple solids.
On the Animation tab, the Viewport also provides an animated representation of the work in progress on the mine site, the fleet used and the haulage routes.
Viewport > Animation tab
The following buttons and fields are provided at the top of the viewport, they are useful for customizing the schedule display according to preference.
Other viewport tools and functions are also available:
Graphics View mode
The Graphics View mode button affects how data is displayed in the viewport. Click to toggle between Show All to show the entire mine at that time in the schedule, or Selected to display the blasts/benches/stages selected in the Records Panel.

Note that in “Selected” mode, Animation cannot be played.
Display
Click the Display button to open Label and Shading options.
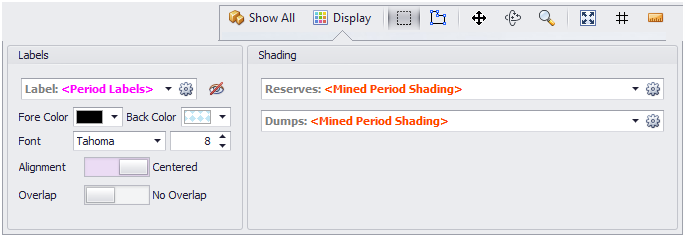
Labels
-
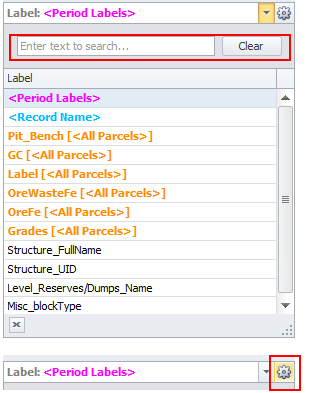
Use the drop-down to select which labels you want to display in the viewport. To facilitate searching through the list of available labels, a Search tool is provided.
You can also click the 'cog' wheel to create custom labels, for more information see: Create Custom Labels.
Custom labels will appear in bold orange.
-
Toggle Visible/Invisible to enable/hide labels.
-
Customise the label display using Fore and Back Colors, Font and Size.
-
Specify the way labels will be displayed: Aligned / Centered and with Overlap / No Overlap.
The difference between Aligned and Not Overlapping labels vs Centered and Overlapped labels is illustrated in the image below:

Reserves/Dumps Shading
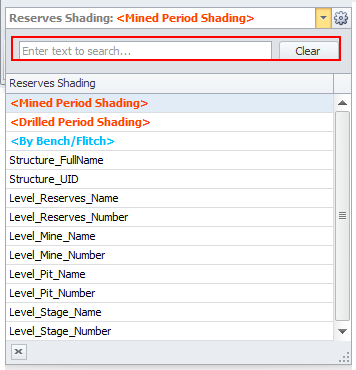
To simplify working with solids, use the drop-down menu to select the Reserves/Dumps shading type to display in the viewport.
To facilitate searching through the list of available shadings, a Search tool is provided.
Click the 'cog' wheel to create custom shading, for more information see: Reserves Shadings.
Custom shadings will appear in bold orange.
To view the colour coding of the selected shading, use the Legend button located in the bottom right corner below the viewport.

Viewport Display (Top)
Other Tools
The following tools are available on the local toolbar above the Viewport. These and other tools common to all Alastri applications are described in the Toolbar topic.
| Box Selection |

|
Left click and drag to select multiple blocks |
|---|---|---|
| Polygon Selection |

|
Draw a polygon around the desired area |
| Zoom |

|
Scroll wheel |
| Pan |

|
Middle click and drag |
| Orbit |

|
Right click and drag |
| Zoom Fit |

|
Left click on the compass widget |
| Grid |

|
Toggle grid |
| Measure |

|
Function for measuring the distance between two marked points |
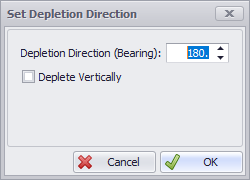
| Set Depletion Direction |

|
Used to set the visual mining direction of blocks. Set individually by clicking on the icon, then clicking and dragging on a block in the desired direction. |
|
|
|
To set the direction on multiple blocks, select the blocks, then click on the icon to open Set Depletion Direction dialog:
Note: The dialog may also be accessed from the Animation by highlighting the desired blocks, right clicking and selecting Set Depletion Direction. |
Viewport Display (Top)
Adding Viewports
Click the ‘plus’ icon in the bottom right of Viewport Display to add a new viewport. The new viewport will be added as a tab to the Viewport Display. Viewports can be docked together and moved to other screens to help view and compares scenarios.
Note: The main viewport is conveniently named ‘Viewport’. This viewport cannot be closed or edited.

|
Name |
Used to identify viewport. |
|
Schedule Scenario |
Use the drop-down to select which scenario the viewport will reference. The Focused Scenario will update the viewport to the scenario selected in the Scenario Panel. |
|
Lock Shadings |
Tick on the force all viewports to use the same shadings as the main viewport. |
|
Lock Labels |
Tick on the force all viewports to use the same labels as the main viewport. Label display can still be turned on and off for each viewport. |
Editing Viewports
Viewports can be rearranged by left clicking on a specific viewport tab at the bottom of the Viewport Display and dragging the viewport to the desired location.
Right clicking on the viewport tab will open a context window with varying options based on the selected viewport and the current configuration of the windows.
|
Edit Viewport |
Opens the same UI as when adding a new viewport. |
|
Close |
Will close the viewport. Not available for the main viewport. |
|
Close All But This |
Will close all other viewports, except the main viewport. |
|
Float |
Will undock the viewport to its own window. |
|
Float All |
Will undock all viewports to their own window. |
|
New Horizontal Tab Group |
Will arrange all viewports in the current window horizontally. |
|
New Vertical Tab Group |
Will arrange all viewports in the current window vertically. |
|
Move to Next/Previous Tab Group |
Will move a viewport between viewport windows. |
Viewport Display (Top)
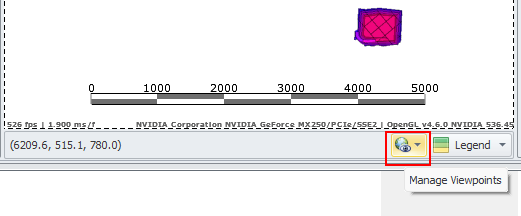
Manage Viewports
Sometimes you may need to save a particular view to provide consistent screenshots in your reports. To save the current view of any object or selection in the Viewport, click the Manage Viewpoints button at the bottom-right corner of the Viewport:
-
In the Manage Viewports pane, you can add multiple viewpoints of different areas of the mine you need quick access to.
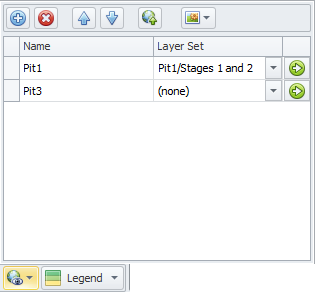
-
Optionally, select a set of surfaces (a Layer Set) preconfigured in the Configure Layer Display Settings dialog.
When a set is selected, the layers in the set will be shown in the Viewport even if they are not toggled in the Layers panel.
For more details about Layer sets, see: Layers/Overlays Panel and Layer Sets for Exporting Views
-
To view a saved Viewport, click the green arrow icon to the right of the Viewpoint name:

-
To update a selected Viewpoint to the current animation view, click the globe icon on the local toolbar:

-
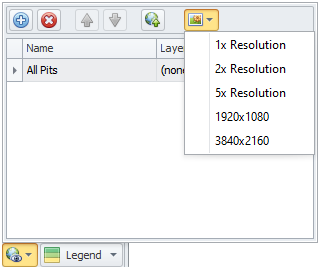
You can also take a screenshot of all saved Viewpoints at the resolution you prefer, using the screenshot tool menu located at the the far right of the local toolbar:
Legend
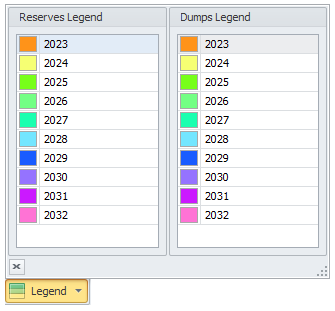
Click the Legend button to see the color coding for Reserves and Dumps as per the selected shading.
Viewport Display (Top)