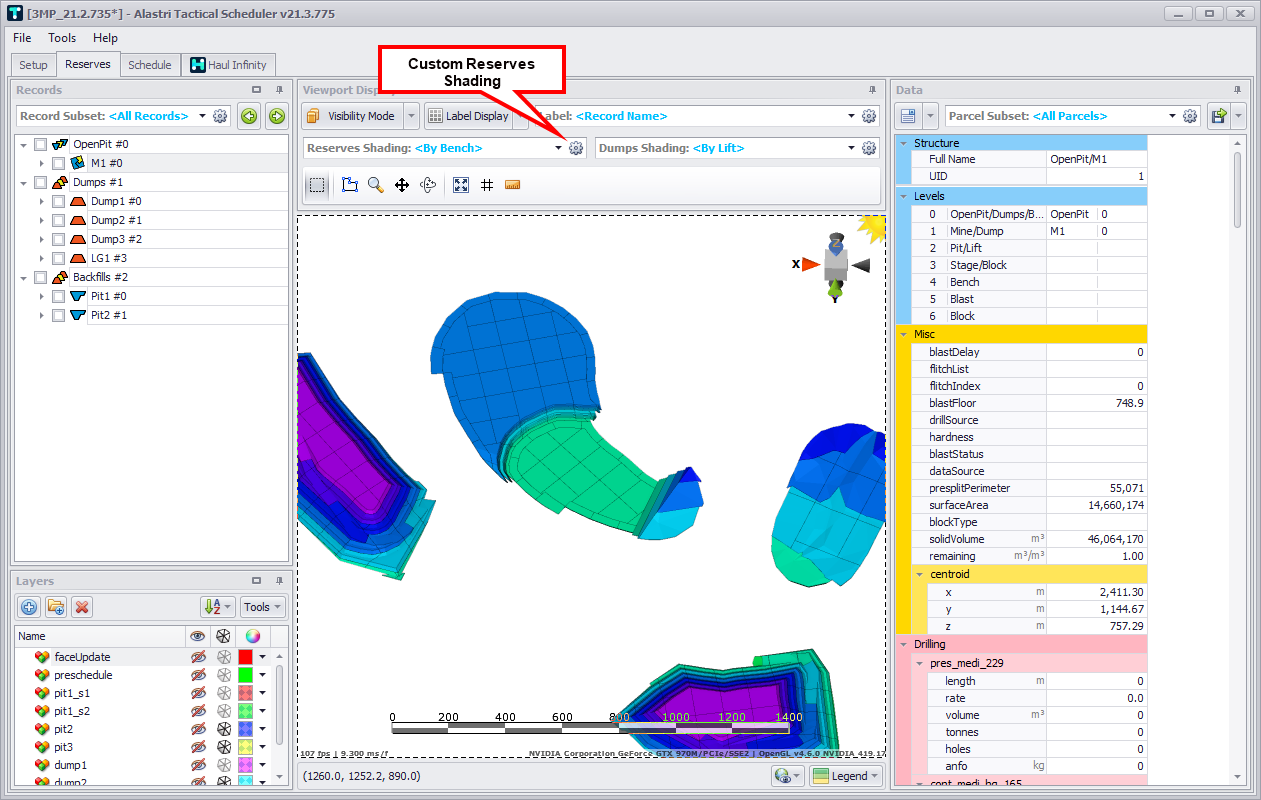
Reserves Shadings
In the Reserves tab in the Viewport Display panel locate the Reserves Shading / Dumps Shading field and press the gear icon on the right: there is a preloaded list of automatic shadings for the level hierarchy and reserves fields. We can add to this list by configuring custom shading sets.
Instructions to colour the scheduling blocks in a useful and meaningful way provided below.
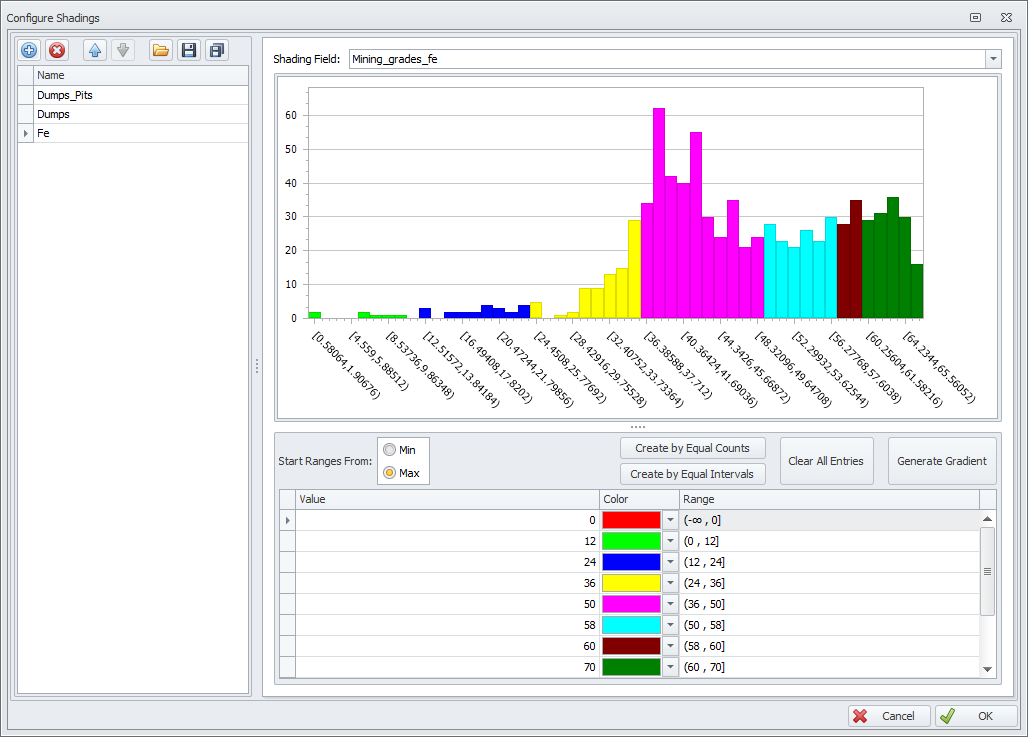
Shade by Block Model Field
Activate the Reserves tab and press the gear icon next to the Reserves Shading drop-down:

Within the Configure Shadings dialog:
-
Click the blue plus icon to add a new shading.
-
Enter the name of the shading in the Name field.
-
Drop down the Shading Field: and select the shading criteria, such as "Mining_grades_fe".
-
Enter the cutoff grades in the table below the histogram.
-
Either type numbers directly in the Value field, or
-
Press Create by Equal Counts or Create by Equal Intervals button to generate a colour range based on count or intervals.
-
-
Click OK to finish.
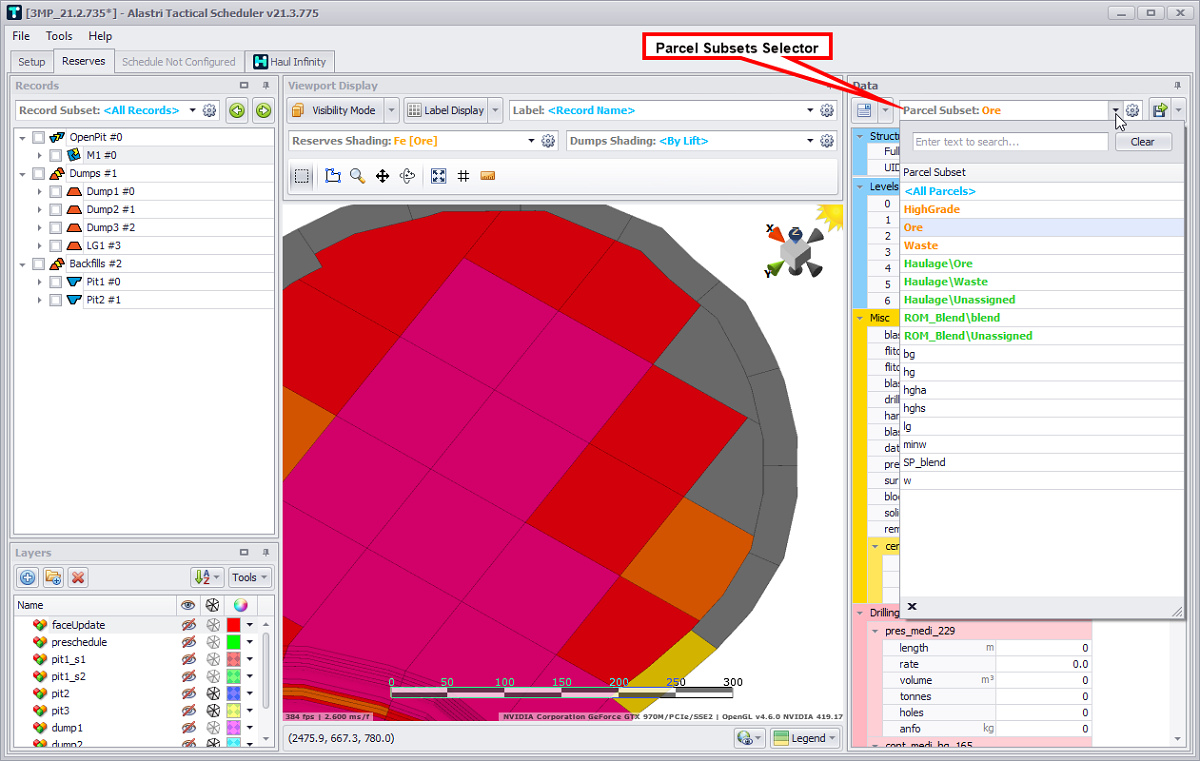
Within the Data panel:
-
Drop down the Parcel Subset selector.
-
Select the parcels to be shaded.
Only blocks that contain the selected parcels will be shaded, all other blocks will be shown in grey.