Sync
The Sync Manager component of Data Transfer is designed to synchronise data between a Central Geobank system and a Subsidiary system on a field device or separate mining or exploration site, with filtering to control subsidiary data.
Synchronisation involves two systems which can be referred to as:
-
Central - A central database Geobank system which contains information to be updated, and
-
Subsidiary - A system on a field device or separate site which contains data to synch to the Central database
Synchronisation Setup
When setting up and carrying out synchronisation, the performance of each step needs to be undertaken on the correct system. As a general rule, any configuration on the Backstage menu should be performed on the Subsidiary system, while any steps carried out in the Sync Manager should be on central side.
Central Database
To begin the synchronisation setup procedure, the Central Database Connection String must be configured in the Subsidiary system.
To do this, in the Configuration Manager in the Subsidiary system,
-
Click the Settings button to open the System Settings form.
-
Click the Sync tab of the System Settings form.
-
Use the field provided to enter the Connection String for the Sync Central database.
You can use the Build button to set the connection string using the Data Link Properties form - see Connect to a Configuration Database.

Note: On the Central system, the Connection String setting can be left blank.
When the connection string has been configured correctly,
-
Click OK to save the Subsidiary System Settings.
Now that the Central database has been configured for the Subsidiary system, you will need to request authorisation from Central. .
To request authorisation from Central, from the Subsidiary system menu,
-
Click File to open the Backstage menu.
-
Click the Sync tab to display the Synchronisation Setup screen.
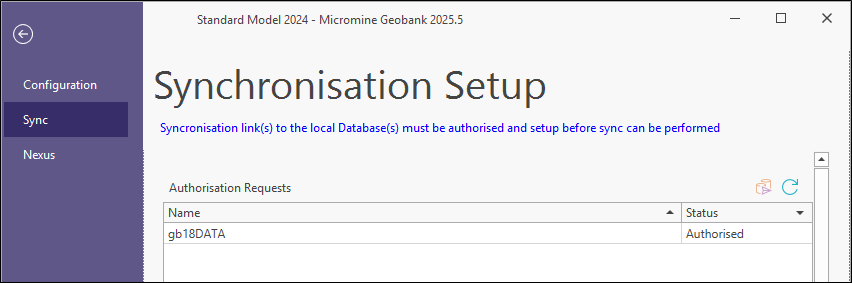
The Synchronisation Setup screen within the Subsidiary system should be used to request authorisation for the Central database you configured in the Settings | Sync Connection String field.
The Authorisation Requests grid displays the available databases that can be registered for synchronisation. The database you entered in the system settings will appear in the grid to be registered.
You can click the Refresh button to update the list with the latest data.
Register a Database
You can request authorisation from Central for the selected database using the Register button.

-
With your database selected, click Register.
The Status will change to Pending.
For the database to be used for synchronisation, it will require registration approval by an Administrator for the Central database. This is carried out in the Central system using the Sync Manager .
Approve a Database
To approve a pending database request, from the Central system,
-
In the Configuration Manager, under Data Transfer, double click the Sync Manager option to open the Sync Manager.
-
Click the Databases tab.
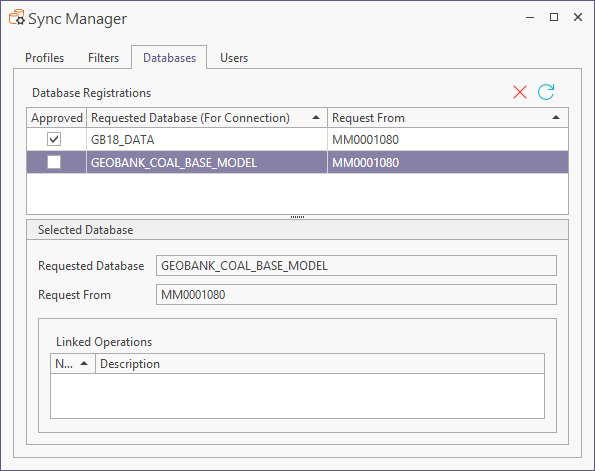
The Databases tab of the Sync Manager displays the active database registrations for synchronisation. Approved and pending registered databases will be displayed.
To approve a database for registration, an Administrator for the Central database must,
-
Select the check box in the Approved column for the database/s.
-
Click the cross at the top right to close the Sync Manager.
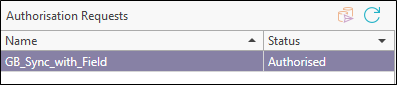
With the database approved for registration, in the Subsidiary system, you can open the Synchronisation Management page from the File | Sync menu to see the status of the database as Authorised.
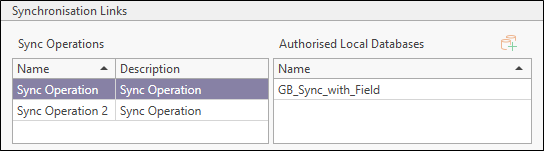
The database will also appear in the Authorised Local Databases list in the Synchronisation Links section of the page; for example.
Sync Operations
When an authorised link between the Central and Subsidiary systems has been established, the next step is to determine the database tables and fields that will be synchronised between the two. This is achieved using Sync Operations which are created in the Central system using the Sync Manager.
To open the Sync Manager from the Central system,
-
In the Configuration Manager, under Data Transfer, double click the Sync Manager option to open the Sync Manager.
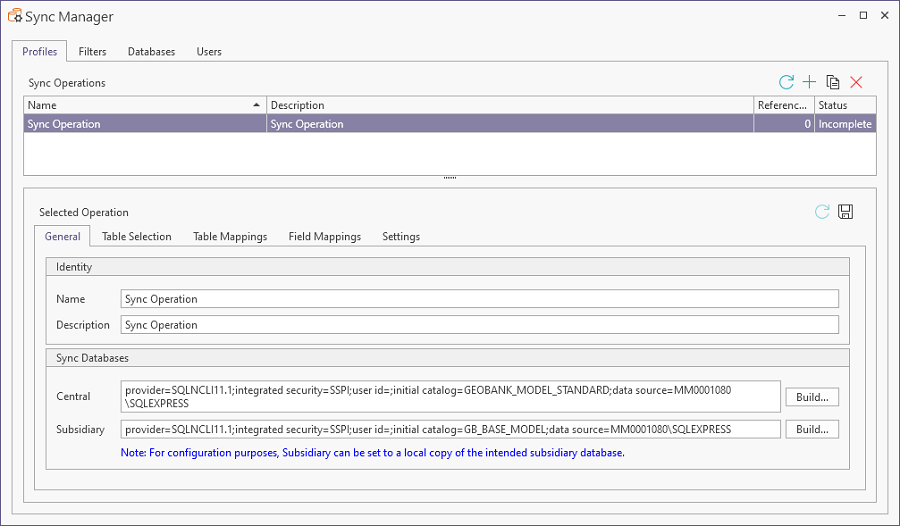
The Sync Operations created in the Central system must be linked with the approved databases in the Subsidiary system from the Backstage menu. For information on setting up Sync Operations, see Create Sync Manager Operations.
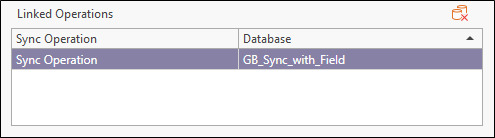
Linked Operations
In the File | Sync Synchronisation Setup screen of the Subsidiary system, Linked Operations can be created to represent the link between a Sync Operation and an authorised database.
To create a Linked Operation, in the Sync Operations grid,
-
Select the Sync Operation to be linked to the authorised database.
-
Select the Central database for the link in the Authorised Local Databases grid.
-
Click the Add button in the Authorised Local Databases panel.
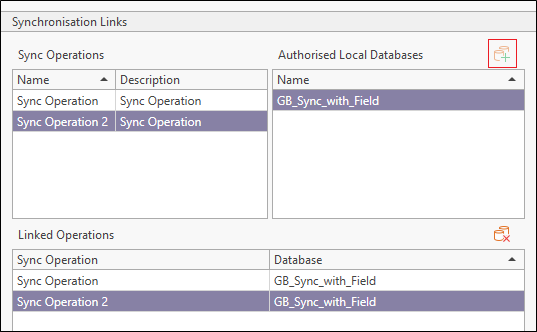
The Linked Operation is created and will now appear in the Sync Manager in the Subsidiary system for connecting to and synchronising.
Sync Data
When the authorised link between the Central and Subsidiary systems has been created, and the relevant Sync Operation is in place, the synchronisation process should be carried out in the Subsidiary system when data marked for sync has been added/modified.
To connect to a Sync Operation, from the Subsidiary system in Configuration Manager | Data Transfer | Sync Manager,
-
Click the Connect button.
-
Select the Sync Operation for synchronising from the drop-down list.
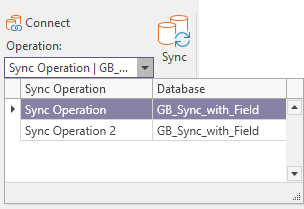
With the sync operation selected, the Sync button is active.

Information on using Sync Operations in the Subsidiary system Sync Manager is contained in Syncing Your Data