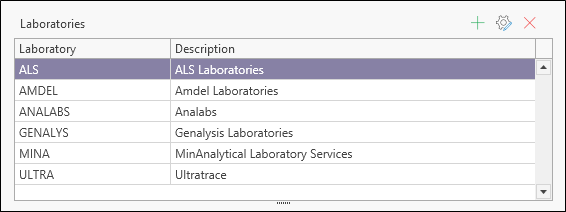
Laboratories
Execute Configuration Manager | Metadata | Sample Tracker Metadata and select the Laboratory option to enter metadata for the laboratories that samples can be despatched to and received from.
To add a laboratory, select New | Laboratory from the ribbon menu, or click the Add button on the local toolbar. You can also use the tools on the local toolbar to manage the items in the grid:
|
|
Add a new item to the list. |
|
|
Properties: view or edit the item currently selected in the list. |
|
|
Delete the item currently selected in the list. |


When you add, edit, or remove metadata items, you can click the Refresh button on the ribbon to commit those changes to the underlying database and refresh the Metadata view to show the changes you have made.

New
Click the Add button to add a new laboratory to the list of labs:
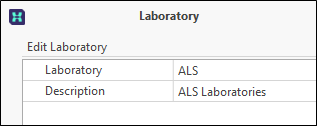
Laboratory
On the Laboratory page of the Sample Tracker Metadata, you can select and edit the properties of the labs that can be despatched to and their results received from.
Laboratory ID
A unique identifier for the laboratory.
Description
A short description should clearly identify the laboratory by name.
Lab Location
For each laboratory selected in the grid, one or more lab locations and their contact details are displayed:
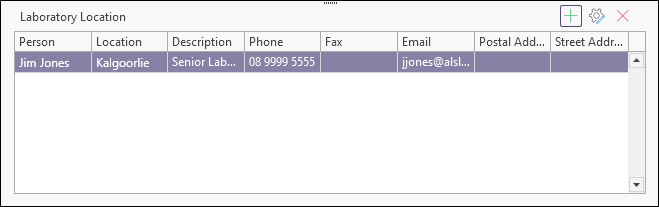
To add a lab location and contact details, select New | Laboratory Location from the ribbon menu, or click the Add button on the local toolbar. You can also use the tools on the local toolbar to manage the locations in the grid:
|
|
Add a new item to the list. |
|
|
Properties: view or edit the item currently selected in the list. |
|
|
Delete the item currently selected in the list. |
When you add, edit, or remove metadata items, you can click the Refresh button on the ribbon to commit those changes to the underlying database and refresh the Metadata view to show the changes you have made.
Since they can be applied to more than one lab, lab methods are defined separately. See: Laboratory Methods
The following setup pages are also provided: