Using the Geology Toolkit
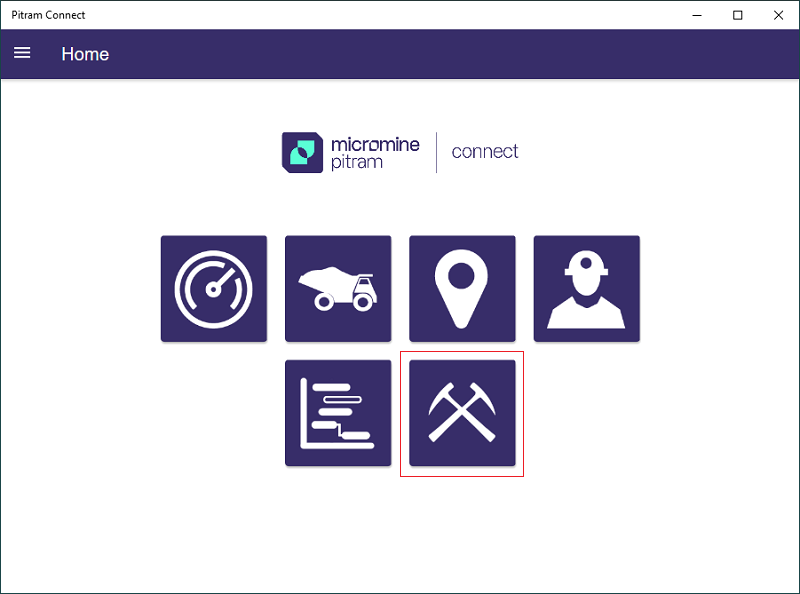
The Geology Toolkit icon will appear on the Pitram Connect Home page for all authorised users. If any of the prerequisites are not met, the icon will be unavailable. See: Pitram Connect Prerequisites.
Add an Observation
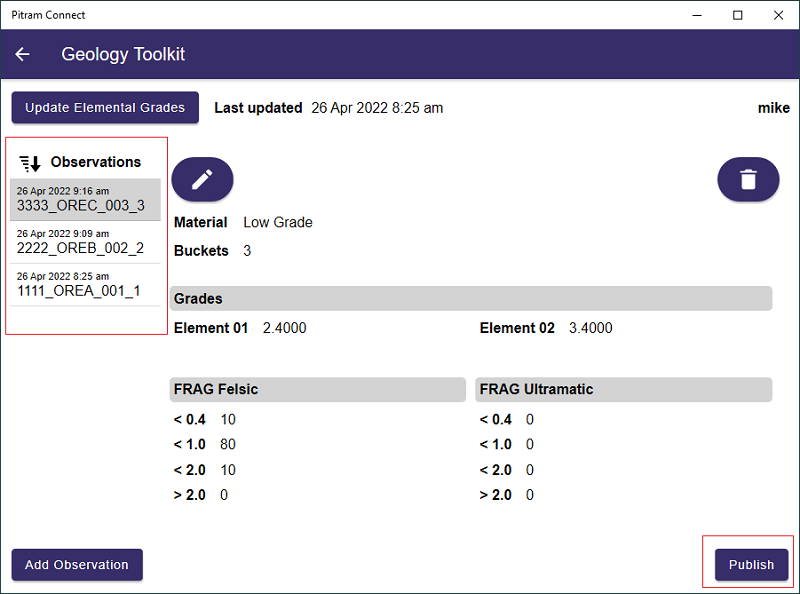
Upon opening the Geology Toolkit, you will see a summary screen of all observations not yet uploaded (published). On first use, this will be empty.
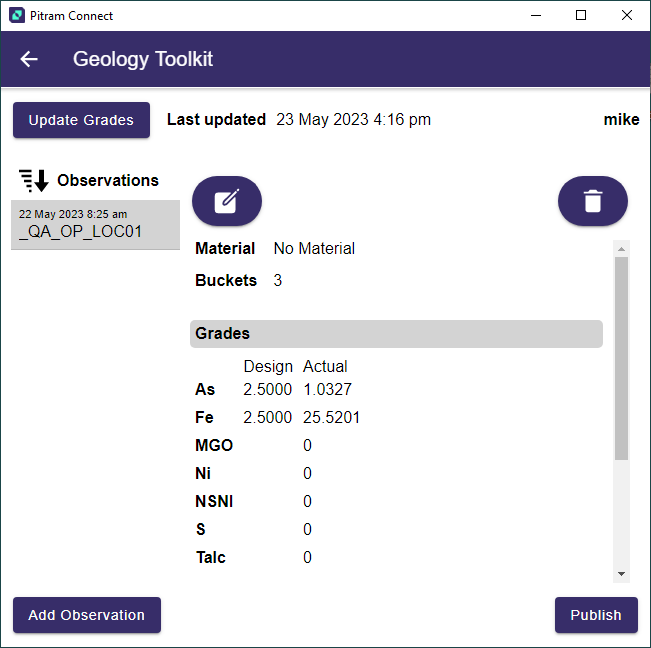
The Update Grades button is used to refresh the Geology Toolkit with the latest version of the Elemental Grades and Design Grades information. If you click the button, a prompt is displayed.

When the latest grades have been added successfully, a second prompt is displayed.
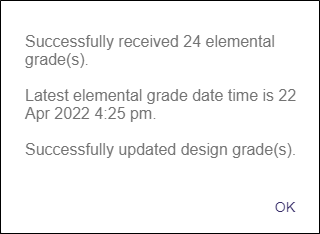
Click OK to continue to use the Geology Toolkit.
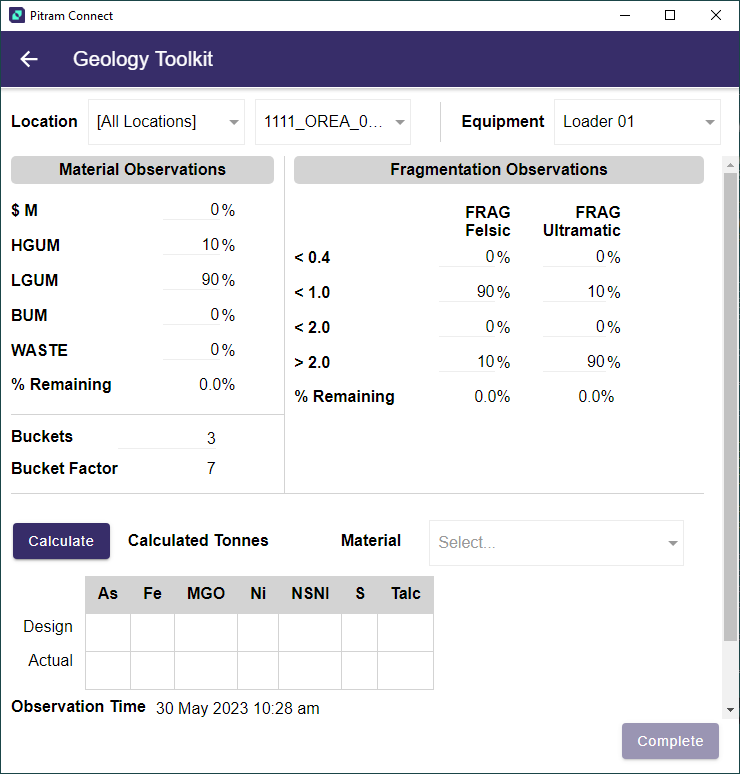
The Add Observation button opens a screen that allows you to enter a new Observation. For tablet or desktop devices, the Observation screen appears as follows:
For phone devices, the Observation screen will be modified accordingly. With the phone User Interface, the user will see the summary list and will need to tap to go to the details.
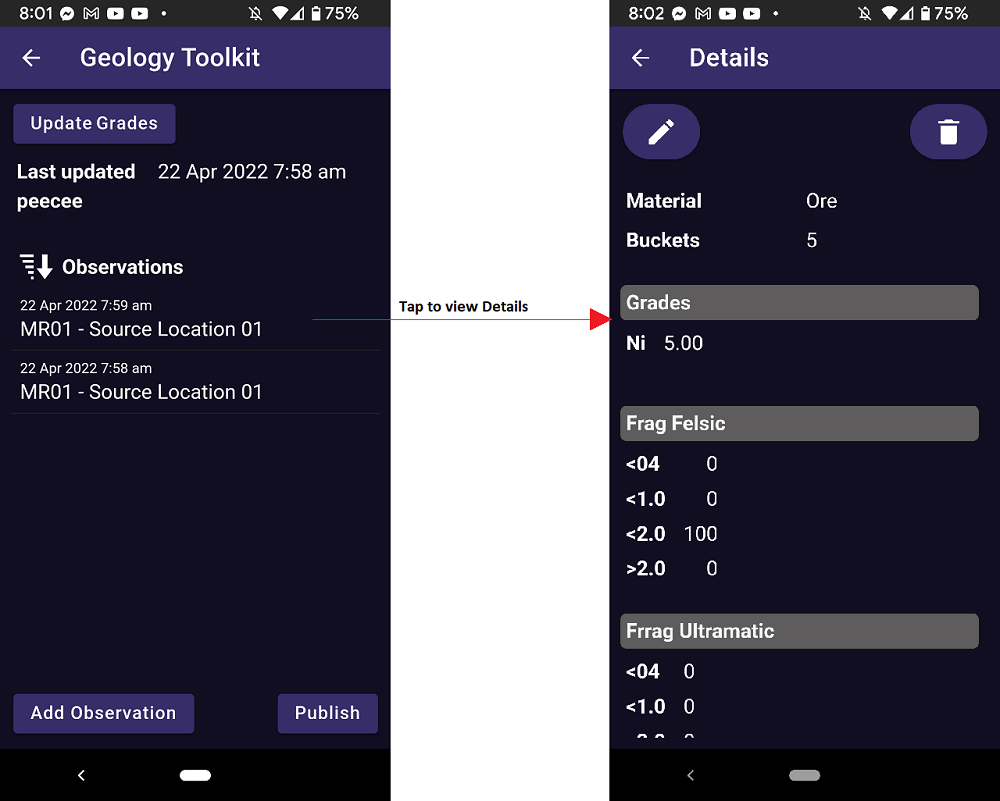
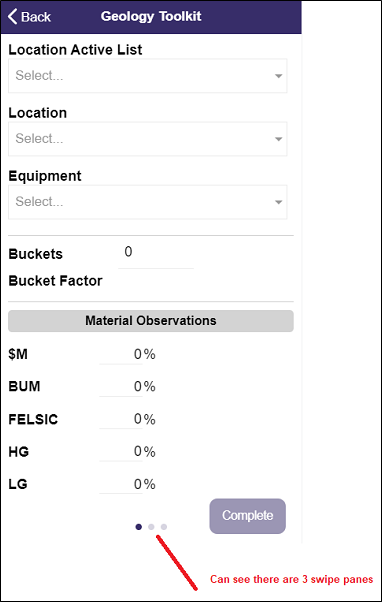
For the observation details in the phone interface, edit regions are split into separate swipe regions; i.e. swipe to get to the next part of the screen.
|
|
|
The same details for entering the observation on tablet and desktop devices are as follows:
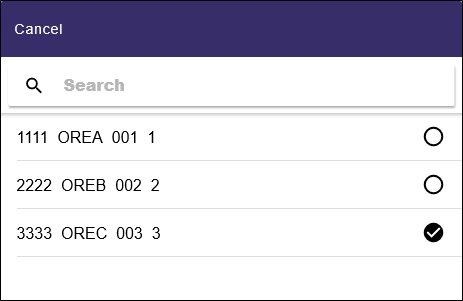
Location
Use the Location menu to select the active list which contains the locations that appear in the Elemental Grade Reference Data table. Only Locations which exist in elemental grades will be displayed for selection.
Equipment
Click the Equipment drop down list to select the equipment for the observation.
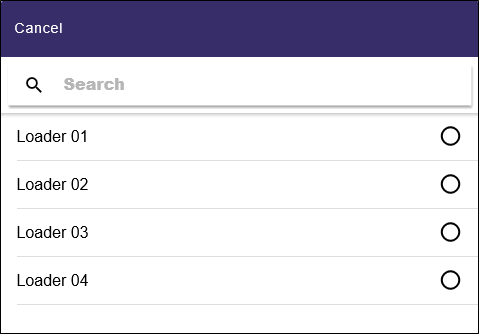
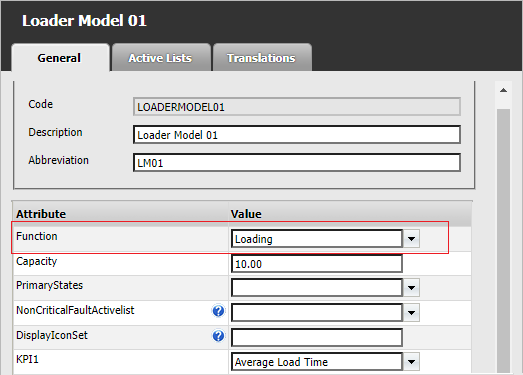
Selectable equipment for the site will be equipment with a function set to Loading (i.e. Loaders).
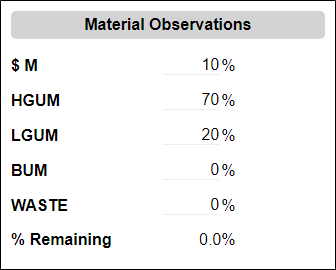
Material Observations
Rock types configured in Reference Data are used to define the rows of the Material Observations panel in the Geology Toolkit.
The Rock Types you have configured are displayed in the Material Observations panel. The percentage for each listed rock type can be entered manually in the cells provided. The total of the values entered in the panel must be 100%.
The Buckets field is only required where you want to also calculate tonnes, along with the grades. If a value is entered, it must be greater than 0, and the selected equipment will require the bucketFactor attribute set. Note: the value allows 2 decimal places.
The Bucket Factor value is defined for equipment in Reference Data and is used to determine the Calculated Tonnes for the observation.
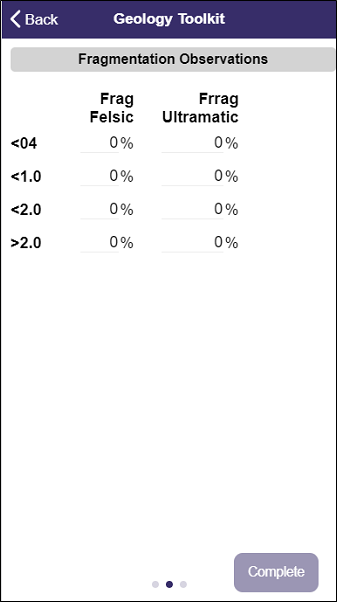
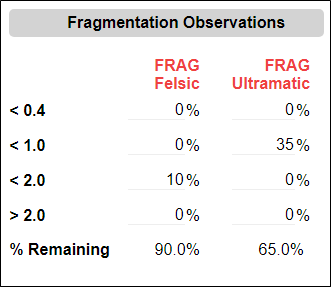
Fragmentation Observations
The Fragmentation types and corresponding thresholds configured in Reference Data are displayed in the Fragmentation Observations panel. A percentage for each listed type can be entered manually in the cells provided. The total of the values for each fragmentation type should be 100%.
The %Remaining field is automatically updated with the percentage of fragmentation value remaining to 100%.
The FRAG titles will display in Red while the total is under 100%, but Validation is not forced on the Fragmentation Observation values - so the observation can be saved without a 100% total.
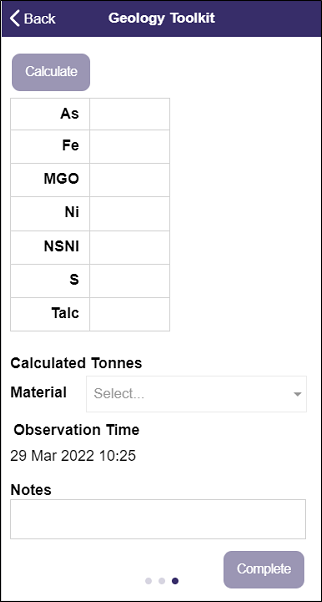
Calculate
Once all inputs in the Observation screen/s are valid, the Calculate button is enabled. Click the button to calculate the grades and tonnes for the observation. The Calculated Tonnes field is populated with the result. The table below the button is populated with each element with the attribute DisplayInGeologyToolkit. Calculated grades are shown only for elements (here As, Fe) for which the elemental grades are available (i.e. the ones imported at the beginning of the shift).
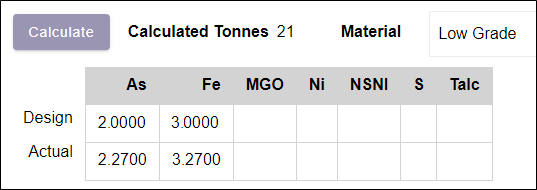
Material
You can use the Material drop down list to make a decision on the material grade based on the calculated grades value.

Observation Time
The Observation Time field is automatically populated, but can be edited to reflect the most accurate time at which the observation was made.
Notes
Optionally, any notes on the observation can be entered in the Notes field provided.
Complete
Click the Complete button to save the observation and return to the Summary screen. In the Summary screen, you will now see the list of observations that have been added/edited offline but not yet sent to the server.
Validation
When Pitram Connect is in network range and online, it will update the reference data whenever the Summary screen is displayed. The application will revalidate the stored observations if, for example, changes have been made to data which result in an invalid observation. If invalid data is found, an error will be displayed and you will need to correct the data or remove the invalid observation before publishing.
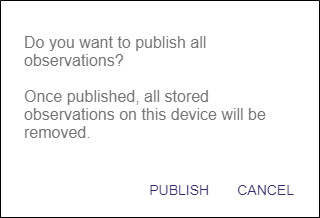
Publish
As new observations are added, they will appear in the Summary list. The Publish button is disabled while you are out of network range/offline. Once you are in network range, you can tap Publish to send the data to Pitram Portal, and have assign material to location events created.
All pending data will be revalidated by Pitram Connect and you will need to correct any errors, as previously noted.
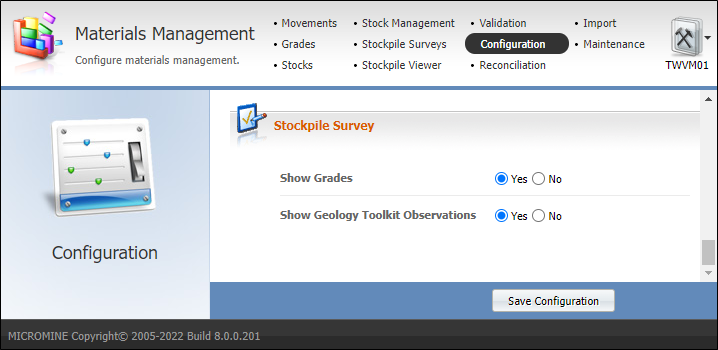
Published Observations are available in the Materials Management Stockpile Survey screen, but are not enabled by default. To enable the display of observations, in the Materials Management Configuration screen, set Show Geology Toolkit Observations to Yes.
The published observations will be displayed in the Stockpile Survey screen with header labels for the rock types and fragmentations you have configured - as in the example which follows:

For information on using observations in the Stockpile Survey screen, see Stockpile Survey Observations.