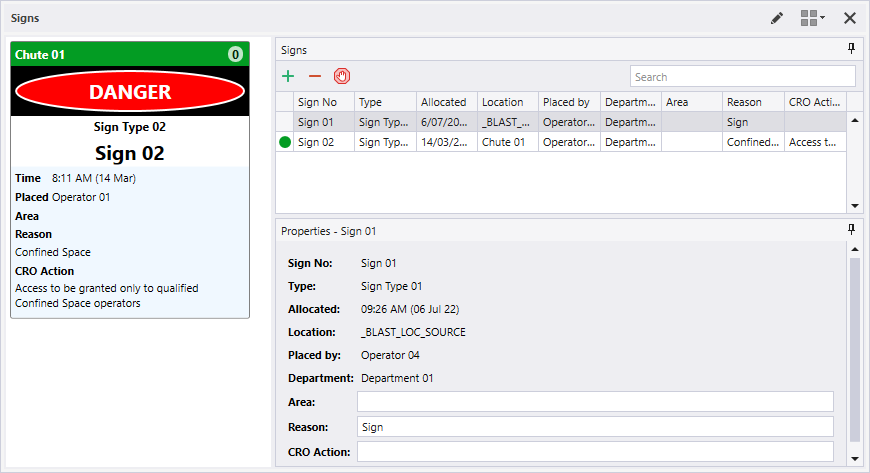
Controlled Area Panel
Controlled Areas panels are used to define the signs and permits that are active on site. To create a Controlled Area panel:
- Click on the Panels tab of the Display pane.
- Right-click on the Controlled Area panel type and select New Panel.
- Define the controlled areas type. Select either:
- Signs Controlled Areas if it is a sign.
- Permits Controlled Areas if it is a permit.
- Click Next and use the Select Sign Types screen to select which sign types are included in the panel for display.
- Click Next and use the Select Locations screen to determine which locations or location groups are included in the panel for display.
- Click Next and select whether to show alarms for all locations, or only selected locations.
- Click Finish to exit and create the new panel (or Cancel to exit without saving).
To display a panel, click on the name of the panel in the Panels tab of the Display pane and drag it onto an open canvas. You can add a panel to more than one canvas.

To modify a panel, right-click on the name of the panel in the Panels tab of the Display pane and select Properties from the right-click menu. Alternatively, if the panel is open, click the Properties button on the Panel toolbar. You can use the Panel toolbar to view the Allocated People for the equipment or the locations in that panel.
For information on the options available in the toolbar for the panel, see Panel Toolbar.