Working with Controls
This topic describes how to select, align, move, reorder and resize controls in the Design Sheet. To bind controls to the datasets and fields in a database, see: Working with Data
Selection
To select a control in the Design Sheet, click on it with the mouse. Note that you can use the Toolbox to make sure the right control has been selected.
When you click inside a GroupBox for example, the Grid container of the GroupBox is the object that is selected. To select the GroupBox itself, you need to click on the GroupBox header in the Design Sheet.
You can also select a control in the Form Explorer rather than select it in the Design Sheet.
To select multiple controls
Click and drag a selection rectangle in the Design Sheet with the mouse. All controls that intersect the rectangle are selected. Alternatively, hold down the SHIFT key or the CTRL as you click with the mouse to select multiple controls.
Positioning
All forms use a grid as their primary container. Additional grids may also be nested within this primary container or within other containers. For this reason, all controls have GridColumn, GridRow, GridColumnSpan and GridRowSpan settings which define their cell position within the grid.
For more information, see: Grid Columns, Rows and Spans
To drag and drop a control inside rather than over a container in the Design Sheet, press and hold down the ALT key as you release the mouse. Alternatively, in the Form Explorer, click and drag a control which is outside a container, and drag and drop it inside the container (in the hierarchy of controls).
Note: You can also drag and drop a control from the Design Sheet and drop it onto the Form Explorer so that it is inside the container.
ALT KEY SHORTCUT - CONTAINERSPlacement
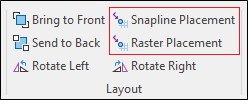
Controls can be accurately placed using Raster Placement, Snapline Placement, or both.
Hold down the SHIFT or CTRL key as you click the mouse to select multiple controls. You can then click and drag those controls with the mouse to reposition them.
To move controls between forms
- Select the controls you want to copy or move.
- Right click and select Copy or Cut from the menu.
- Open the destination form.
- Right click on the Design Sheet of the destination form and select Paste from the menu.
To move controls in a form
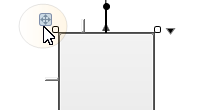
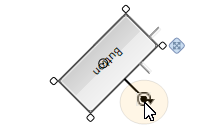
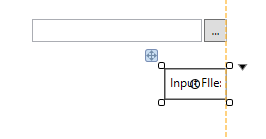
Click and drag the selected controls with the mouse. A cross-hair handle at the top-right of the selection makes this easy:
Alternatively, press the arrow keys on the keyboard to nudge the position of the selected controls Left and Right, and Up and Down. To increase the nudge increment, hold down the SHIFT key as you press the arrow keys.
To locate and relocate controls
The following navigation and placement tools are provided on the ribbon (and on a toolbar on the bottom edge of the Design Sheet).
| Zoom In and Zoom Out on the Design Sheet. |
 | Zoom to the Actual Size of the form. |
| The following controls are located at the bottom left of the form designer: | |
 | Zoom to Fit all controls in the Design Sheet. |
| When Raster Placement mode is enabled, you can snap to a 5 by 5 grid of pixels. |
| When Snapline Placement mode is enabled, snaplines are shown, allowing you to snap to other objects on the canvas as the control is moved. |


Scrollbars
Use the Horizontal and Vertical scroll bars to scroll the Design Sheet.
Layer Order
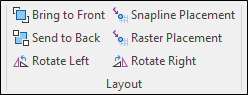
When one or more controls are selected, use the options in the Layout group to adjust the layer order or rotate the controls selected in the Design Sheet. You can also set placement options:
When you add a control, it is placed on its own layer. Each time you add a new control, it is placed on the top layer with the previous controls on layers beneath it. If necessary, you can move controls back and forth in the layer order. This may be necessary when a control, for example a filled rectangle, is obscuring the controls beneath it.
 | Click Bring to Front to move the currently selected control(s) to the front of the layer order. |
 | Click Send to Back to move the currently selected control(s) to the back of the layer order. |
| You can also move incrementally through the layer order using Forward and Back options on the right-click menu. | |
 | Click the Rotate Left button to rotate the selected controls 90° in that direction. |
 | Click the Rotate Right button to rotate the selected controls 90° in that direction. |
|
|
 | When Snapline Placement mode is enabled, snaplines are shown, allowing you to snap to other objects on the canvas as the control is moved. |
 | When Raster Placement mode is enabled, you can snap to a 5 by 5 grid of pixels. |
Alignment
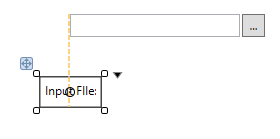
Alignment Guides
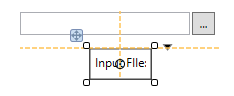
Horizontal and vertical alignment guides are shown on the Design Sheet as you click and drag controls with the mouse:
- Middle-to-middle:
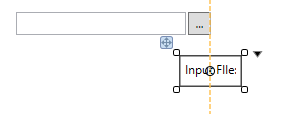
- Left-to-middle:
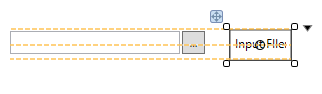
- Right-to-middle:
- Top, bottom, or in-line with content:
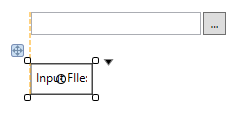
- Left alignment:
- Right alignment:
Alignment properties
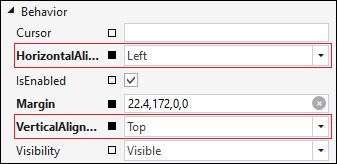
VerticalAlignment and HorizontalAlignment properties can be set to align controls to the Top, Bottom, Left, Right, or Centre of the form:
Alignment tools
When more than one control is selected, use the options in the Alignment group on the ribbon to adjust their (Left, Right, Centre, Middle, Top, Bottom) alignment.
The control that is selected first becomes the Master control, to which the other selected controls are aligned.

Alignment menus
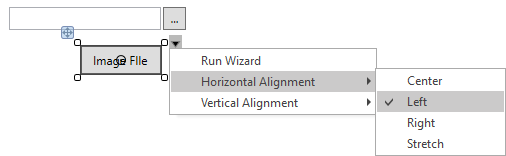
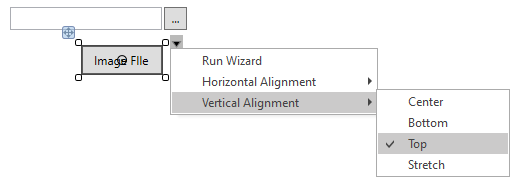
Each control on the Design Sheet also has a drop-down menu which allows you to:
- Set the Horizonal Alignment of a control on the form (or a child control on its parent control)
- Set the Vertical Alignment of a control on the form (or a child control on its parent control)
Alignment Type
If a “Stretch” horizontal alignment is applied, the width of the control is determined by the margins within the parent container, therefore the width will display as NaN (undefined) even when it is resized interactively or via the properties.
For information about specific controls, refer to the Toolbox topic.