Opening Inventories
Overview
Use the Opening Inventories step to set starting stockpile volumes, tonnes and grades.
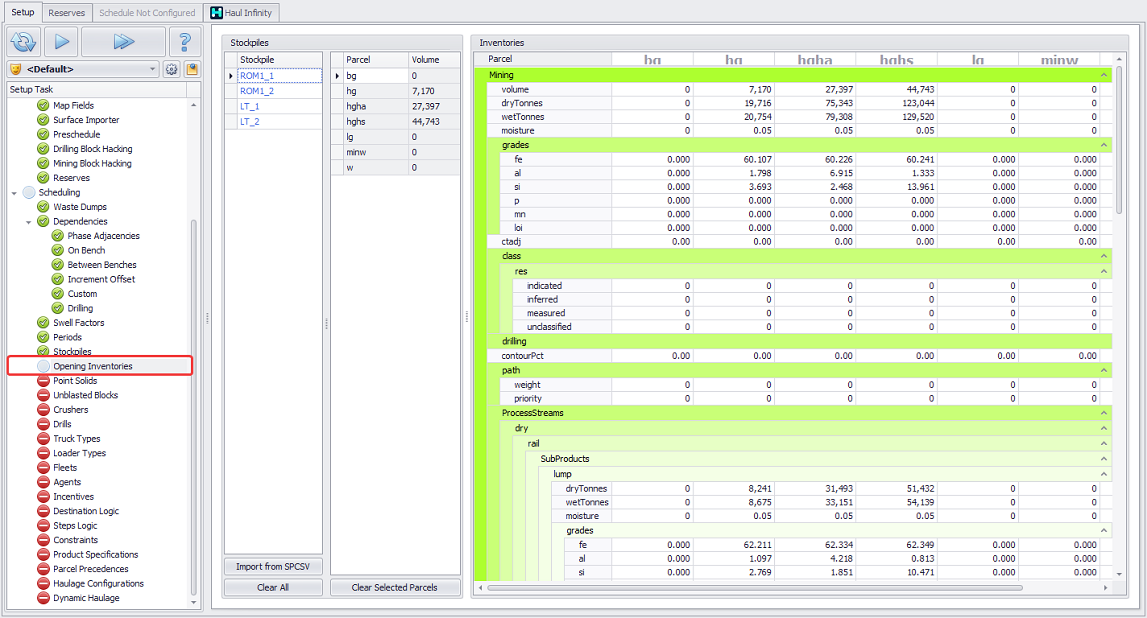
Opening Inventories step overview
Stockpile Inventories
-
Stockpiles populated with data are colored blue.

Stockpiles Inventories not populated (above) vs populated (below)

Control and Navigation
-
Switch between the stockpiles in the list to view the data for each of them.
-
Use <CTRL> and <SHIFT> buttons to display data on the selected parcels, or all of them.
-
Press Clear Selected Parcels to reset parcels to zero.
-
Press Clear All to reset all stockpiles to zero.
![]() Make sure that all product fields are populated in a stockpile, do not leave zeroes if there should be a value!
Make sure that all product fields are populated in a stockpile, do not leave zeroes if there should be a value!
Editing Stockpile Inventories
-
You can manually edit stockpiles inventories by typing or pasting required values in the Inventories fields, or
-
Import stockpiles inventories from SPCSV file, as described below.
-
Import via CSV and mapping UI.
-
Import via custom scripts which can read in other file types or directly access information for another database.
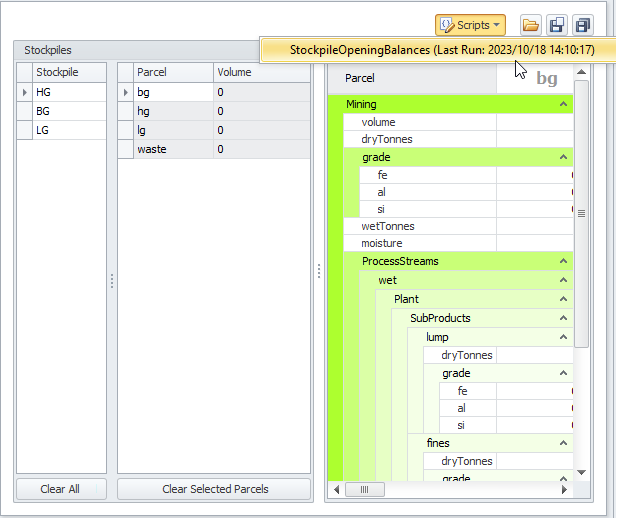
If custom import scripts are loaded, a Scripts button will appear at the top of the stockpiles list:
Exporting SPCSV
-
To get your stockpiles inventories data, navigate to Schedule > run the Schedule > Reporting tab.
-
You can preview inventories data in the default Inventory Report (shown in blue bold).
-
Press Export Special button and select “Stockpiles After Period (SPCSV)” option.
-
Choose an Export Period and press OK.
-
Name the exported file as required.
-
The exported file will be saved in “.spcsv” format.

Exporting stockpiles inventories after selected period
Importing from SPCSV
-
In the Opening Inventories step, click Import from SPCSV to populate stockpiles inventories with your site stockpile current state data:
-
Specify a path to the exported .spcsv file.
-
Stockpiles with populated data will be displayed in blue and you’ll see available data in the table on the right.

Importing stockpiles inventories from SPCSV file
Important note on modifying SPCSV file
If you need to make changes to the exported SPCSV file:
-
Change file extension from “.spcsv” to “.csv”.
-
Edit it as required and save.
-
Rename the extension back to “.spcsv”.
Importing CSV using mapping UI
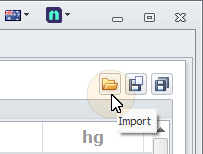
Stockpile Opening Inventories can be imported from a CSV file by clicking an Import CSV button at the top right of the screen:
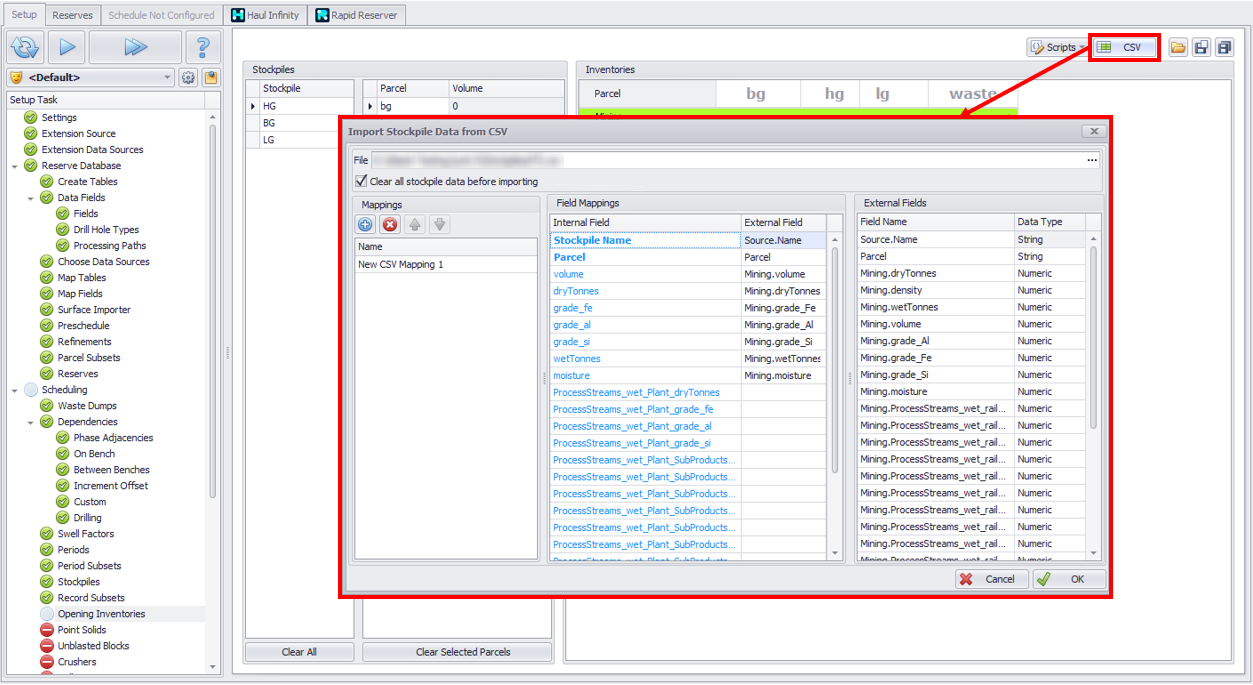
File – Select a CSV file containing the stockpile data
Clear all stockpile data before importing – Tick on to clear all stockpiles prior to importing
Mappings – Allows users to have multiple mappings
Field Mappings – A list of Internal fields from the Database that can be mapped to from external fields
External Fields – A list of fields from the imported CSV file
Map External fields from the right hand side to the Field mappings by drag and drop or double-clicking on a field.
Once all desired fields have been mapped, click OK to process the data.
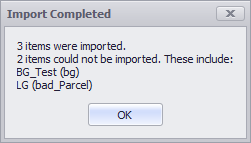
A pop up will show how many records were properly imported and which ones were not: