Manage Licences
The Nexus - Manage Licence service on Nexus - Home is used to view and manage the available licences for your company. Using the options provided, you can reserve licence seats, control permissions, invite users and view information on active sessions for the licences.
With Nexus - Home open,
-
Select Manage Licence to manage your cloud licence.
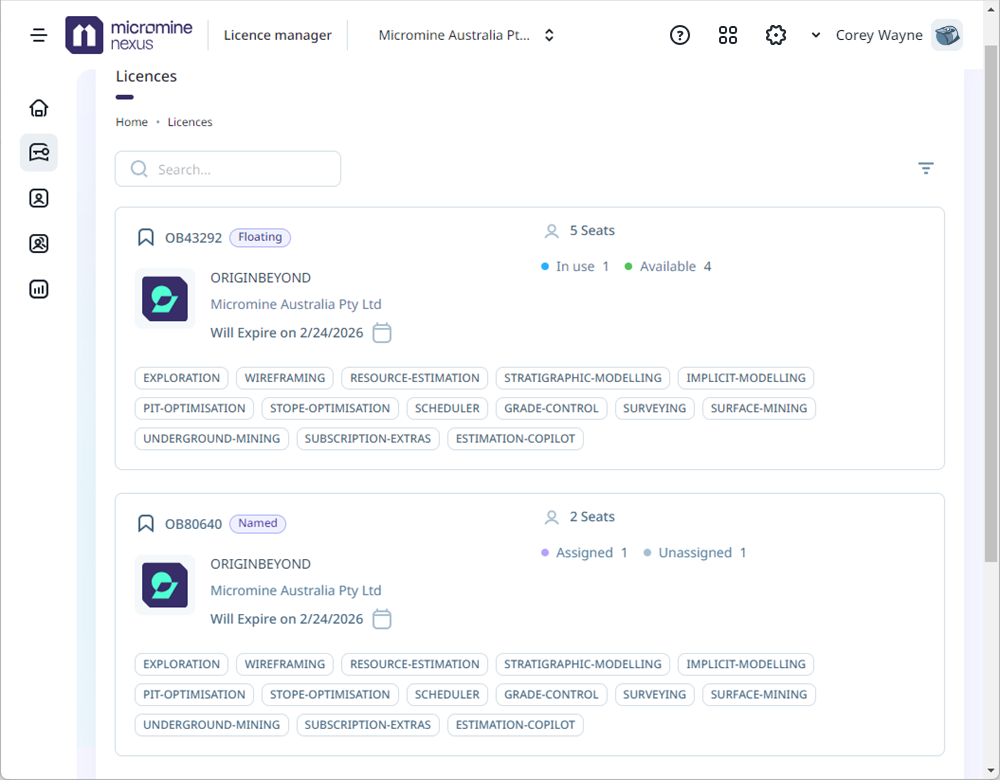
The Licences page is opened, with details of your available licence/s displayed:
Company
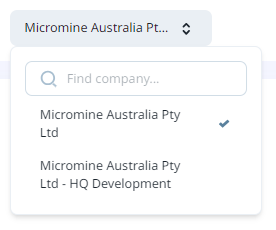
If more than one company is configured for Nexus, you can display the licences for a specific company by selecting it from the drop down at the top of the page:
Get Support
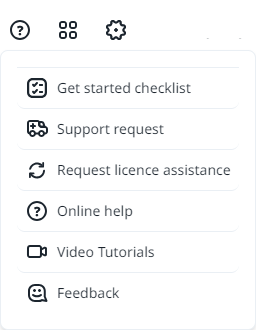
The Get Support icon at the top of the page provides access to a list of options to get help and support on the application.
The Get started checklist option opens the checklist at the bottom right-hand corner of the page.
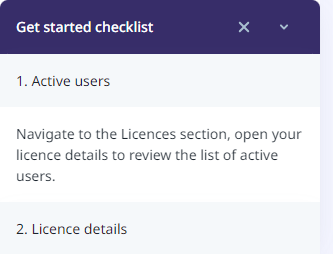
The Get Started checklist will contain information relevant to the user logged in. The list above if shown to a User who is not an Administrator. The Admin user checklist appears as follows:
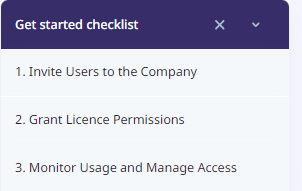
While the User checklist contains information on each step, from the Admin checklist, you can view short videos which illustrate how to:
-
Monitor Usage and Manage Access
Note: You can use the links above to view each video directly in your browser.
The Support Request option will open a form from which you can submit a request for support from Micromine Australia Pty Ltd.
If you click the Online Help option, the help for Nexus - Home will be opened in your default browser.
The Video Tutorials option opens a gallery of useful video tutorials that you can view in your browser:
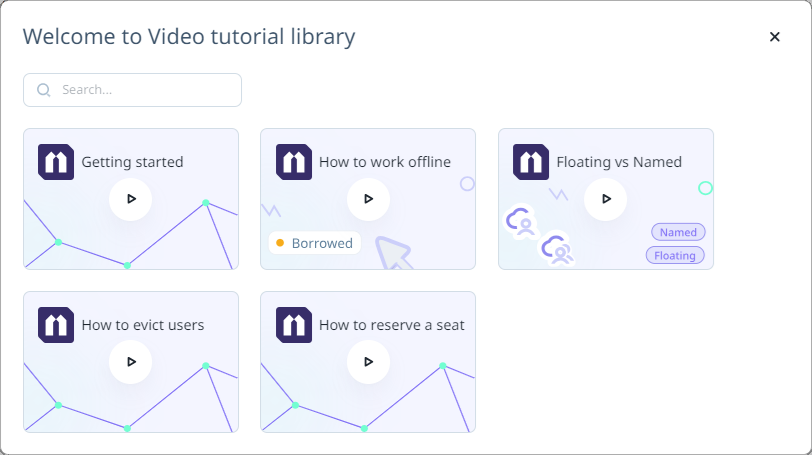
You can view the following videos using the links:
You can Search for a particular video using the field. More tutorials will be added to the gallery as they become available.
The Feedback option provides a pop up poll you can use to send feedback on the application:
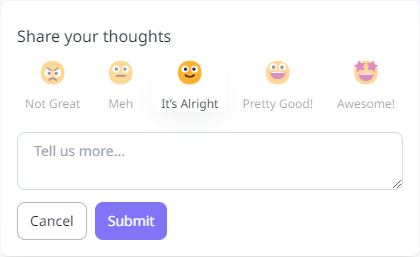
You can select an emoji to share your feedback and enter more details in the text box provided. Click Submit to send your response.
Licences
The Licences pane displays the current licences available for the selected Company.
Licence Types
The following licence types are available for the Micromine Origin & Beyond cloud licensing system:
-
Named- The seat is reserved for a specific person, tied to their identity/email. Only that user can access the licence.
-
Floating - Seats are available to all company users with Use permission to the license. Only a defined number of users can access the license simultaneously (based on the number of seats available). Some seats on the licence can be reserved for specific users.
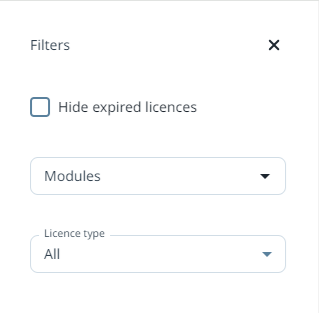
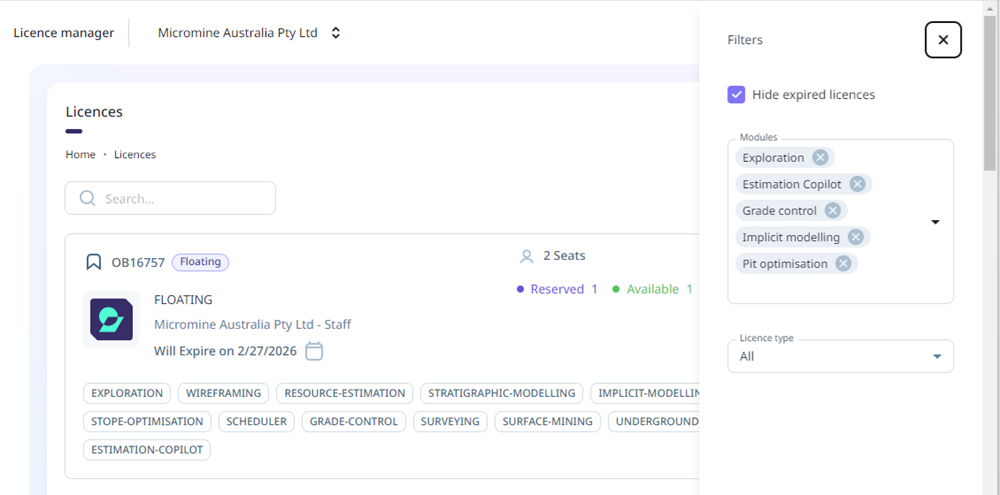
The Filters button  opens the Filters panel at the right.
A red dot on the icon indicates that active filters have been applied. If you open the Manage Licences page with active filters applied, a notification will appear in the footer:

Select the Hide expired licences check box in the Filters panel to remove any expired licences from display on the list.
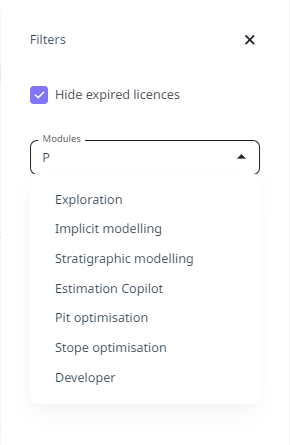
The Modules drop down list is used to filter the list by specific modules. If you open the list and enter text, the list of available modules will be filtered to that text:
You can add Modules to the filter to limit the licence list to only those licences where the selected modules are included:
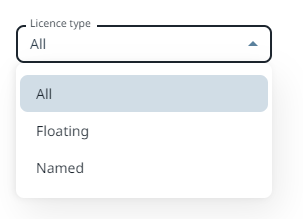
The Licence type drop down is used to limit the licences list to only the selected type:
If you select a licence in the list, the details of that licence are displayed:

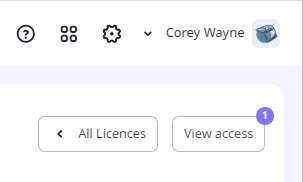
For Named licences, any available seats will be indicated by a number on the View Access button:
Note: For users who are not Administrators, the View Admins button will be displayed instead:
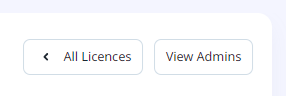
Clicking the View Admins button will open a list of the users with Admin role so that Admin access can be requested if required.
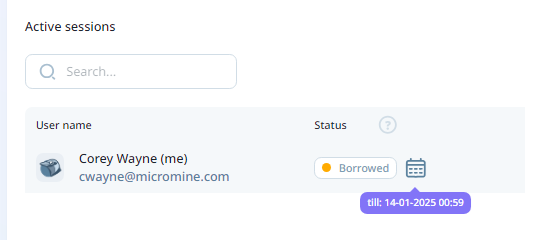
For Borrowed licences, the expiry date for the licence loan will be displayed if you hover on the calendar beside the status indicator:
The All Licences button will return you to the Licence page.
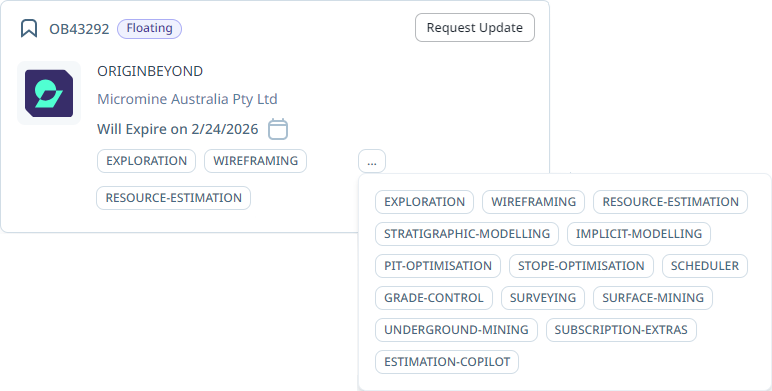
Information on the selected licence and some included modules is displayed in the top left panel. You can click the ellipsis button to view the complete list of the modules included with the licence:
If a licence is close to expiry, an icon and a warning message will be displayed in the panel:
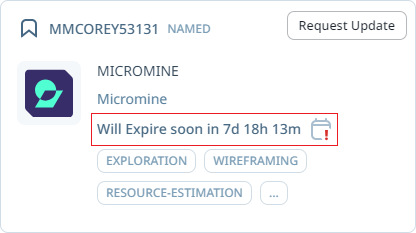
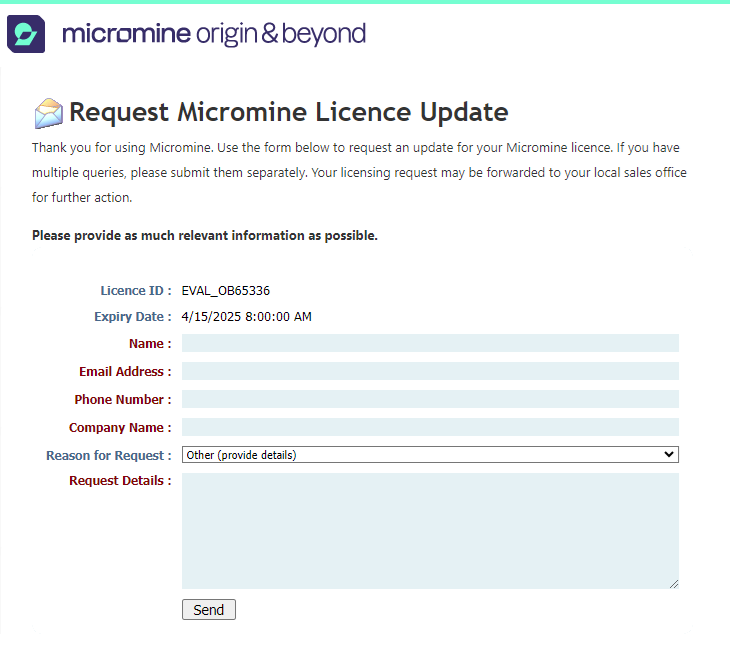
You can use the Request Update button to open the Request Micromine Licence Update form and enter the details of your request:
The panel at the right displays information on the number of seats available for the selected licence, as well as a graph of statuses for each of the available seats:
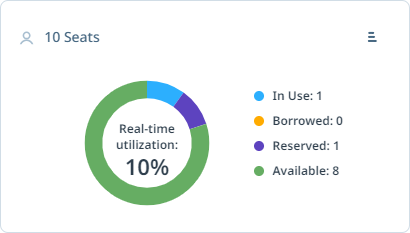
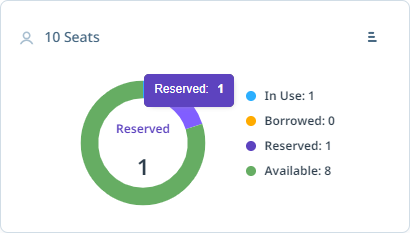
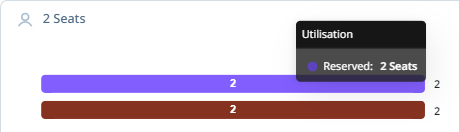
If you hover on a piece of the graph, the status information will be displayed in a pop up:
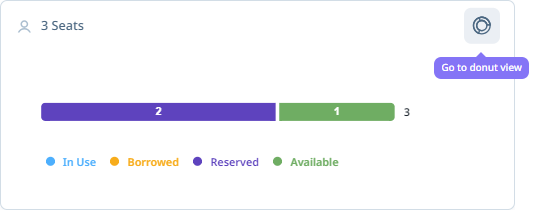
You can use the Chart type button at the top right of the panel to toggle between Scaled View and Donut View for the graph:
Further information on your available licences can be viewed from the Real-time Usage Report page.
For Named licences, Donut view is not available and more status information is listed:
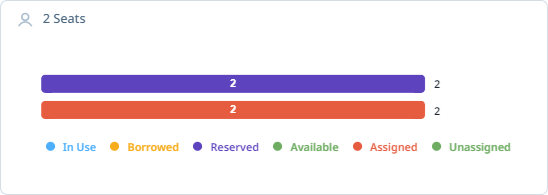
The Assigned and Unassigned status information is displayed in the licence information panel.
Assigned seats are licence seats that have been reserved for a user - i.e. a Named licence. Unassigned seats are available to be reserved for a User. If you hover on a bar in the licence information panel, a pop up is displayed:
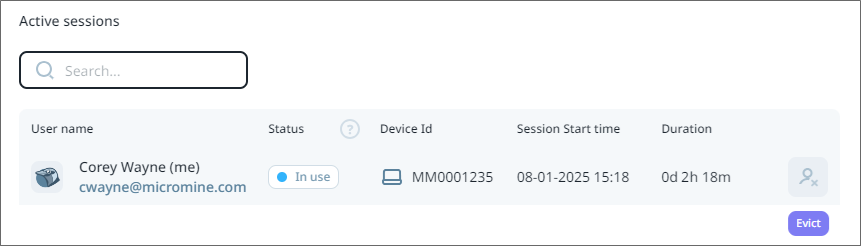
The Active sessions section of the Licence details page displays the In Use and Borrowed licence users. The following statistics for each user are displayed in the grid:
-
User name - The user name of the user for the licence seat.
-
Status - The current status of the user and licence seat.
If you click the question icon next to the Status label in the heading bar, an information panel describing the available statuses is displayed:
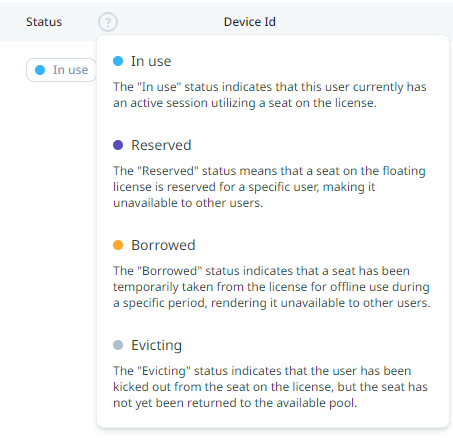
Note: The Reserved status is changed to In use when the User with a Reserved seat has an active session.
-
Device ID - The Device ID for the device currently being used with the licence for the user.
-
Session Start Time - The date and time at which the session for the current user begun.
-
Duration - The length of time for which the current session has been active.
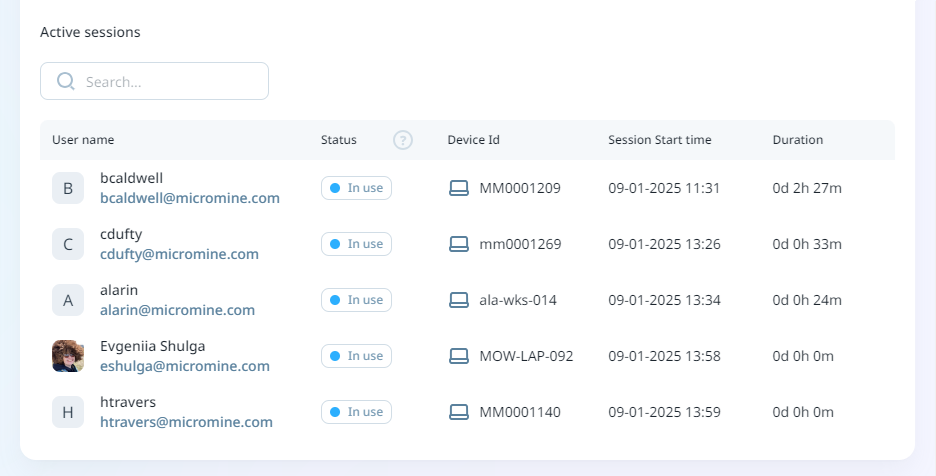
You can search for a specific active session user or licence using the Search field.
The session owner, users with Manager or Admin role, and users with Manage permission on this licence will have access to the Evict button. If you need to log a user with an In Use licence out of all applications, hover over the row for the user and click the Evict button:
For In use sessions, the user session will be stopped and the user can select whether to Continue or Terminate the session. For example, in Micromine Origin & Beyond, the following prompt will be displayed:
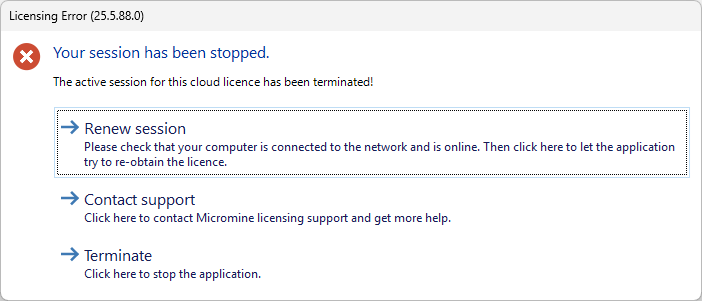
Upon selecting Renew session, the user session is renewed and the status of the licence in the Manage Licence page will return to In Use. If the user selects Terminate, the application for the current session will be shut down and the users session will be evicted and the licence will become available.
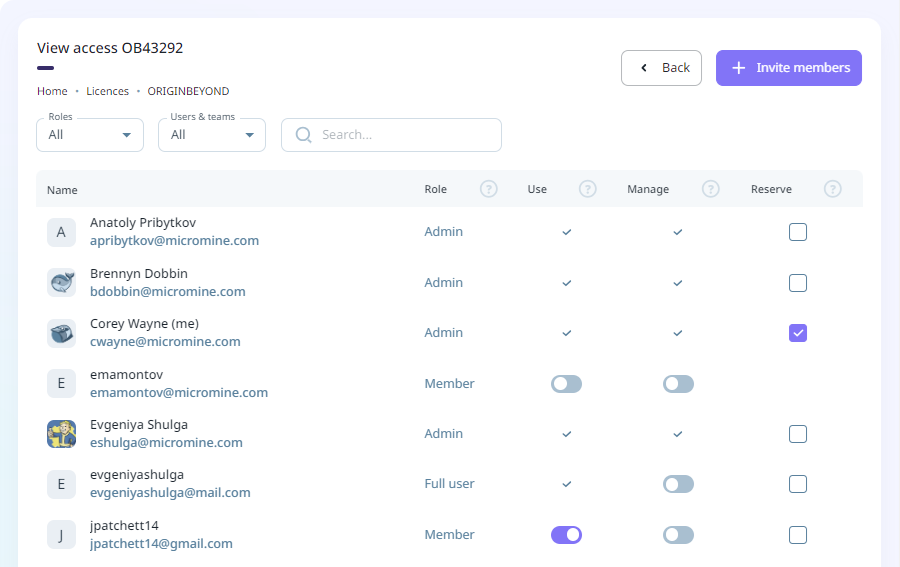
The View Access button opens the View Access page. Depending on the Licence type selected, the View Access page will contain the following information on each user:
-
Name - Includes the user name and email address.
-
Role - The assigned Role for the user. This information is read-only and can only be changed with the required permissions. For information on the available roles, see Users.
-
Use - Whether the user has Use permission for this licence. This option is only available for Floating licences.
Use permission allows a user to utilise (occupy a seat) on the licence.
-
Manage - Determines whether the user can manage user permissions for the licence.
Manage permission allows the user to administer user permission for the licence.
-
Reserve - For each user, you can select the Reserve check box to indicate that the user has reserved that licence seat. This is especially relevant to Floating licences where a user can reserve a seat - making it essentially a Named licence for that user.
If a User does not have a Member Use role, the Reserve option will not be displayed for them. Turning on Use will automatically display the Reserve option.
For a Named licence, the View access page will display the number of allocated seats available for the licence:
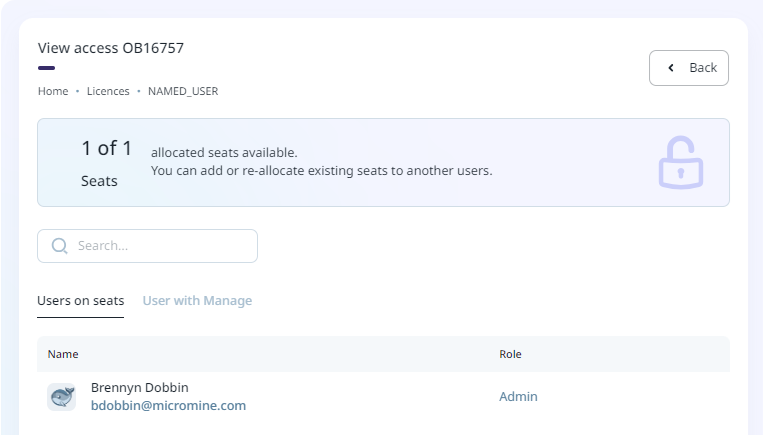
To assign an available seat to a user who has already been invited to the company,
-
Click the Assign seat option for the available seat.
The Assign Users dialog is displayed.
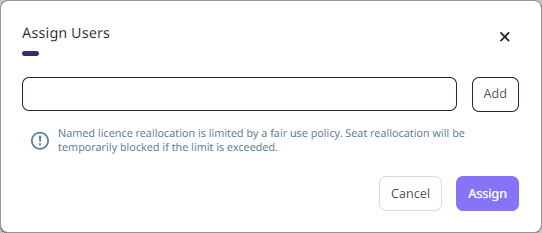
-
Enter the email for the user you want to assign to the available seat.
-
Click Add.
As long as the user has already been invited to the company, their email and user details will be displayed under the field:
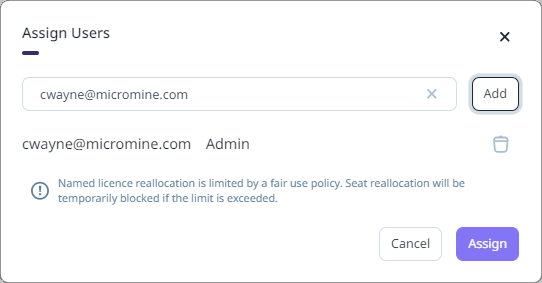
-
Click the Assign button to assign the selected user to the availble seat.
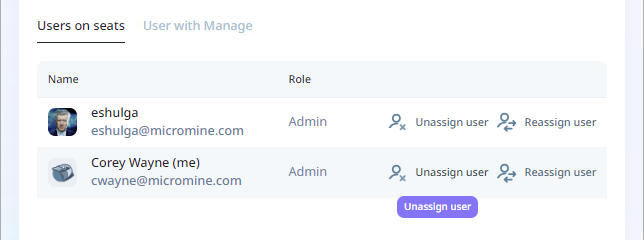
To unassign a Named licence assigned user from the View Access page:
-
Click the Unassign User option at the right of the user to be unassigned:
-
Click Confirm in the prompt:
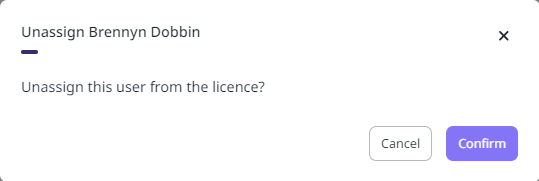
Note that the number of times you can unassign and reassign a user is limited. The remaining number of times you can unassign a user is displayed in the prompt.
All users must be online to use a Cloud licence. If there is a connection error or failure, the user will have a grace period to complete their work. If network connection is restored before the end of the grace period, the user can seamlessly continue working in the MMO&B application. If the connection is not restored, the seat is released back to the floating license pool, making it available for others. The user will receive a license error message from MMO&B and will need to close the application, with any changes saved.
The Borrow function in MMO&B can be used for the licences, to provide access to the software offline. The borrow period is defined in the Borrow Licence wizard and cannot exceed the maximum period specified in the licence itself. At the end of the borrow period, this seat will be released back to the license pool. For more information, see Borrow Licence in the MMO&B Online Help.
The Invite Members button is displayed on the View Access page for the Manager and Admin user roles. The button opens a form for inviting users as Members via their email address:
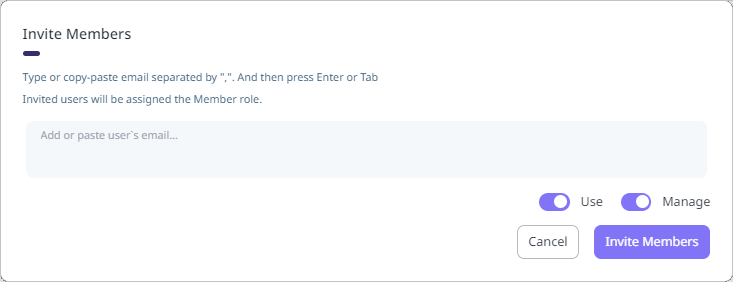
As outlined in the form, users invited here will be assigned the Member role. You can update the role at a later time.
For the emails entered in the invite, you can toggle On or Off the Use and/or Manage permissions. These permissions can be updated by an Admin at any time.
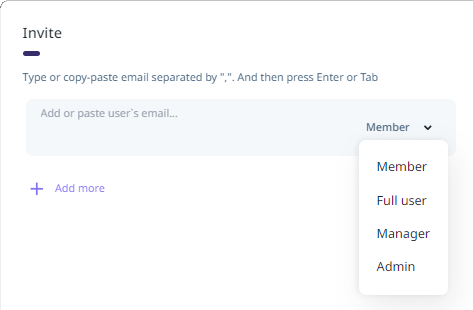
The available Roles for users with permission to use or manage a licence are as follows:
-
Member - The Member role allows you to be assigned any permission for any company licence. However, without additional permissions, this role does not grant access to use the licences. Member roles can be granted different combinations of Manage and User permissions for specific purposes - such as providing Licence Administrator functions with Member + Manage permission.
-
Full User - The Full User role grants access to all company licences, except for Named licences.
-
Manager - The Manager role allows you to manage all company licences, invite/delete users, create user teams, and assign permissions for each licence.
-
Admin - The Admin User role enables management of all company licences and grants access to use all licences, except for Named licences.
Alternatively, you can use the Invite form, opened from the button on the Users page to select the relevant Role for each invite.
You can manage the Users for Nexus - Home on the Users page. See: Users.