Job Manager
The Job Manager provides functionality to Add new core extraction jobs, as well as Clone existing jobs and use Add Output to create images with different properties from the same job.
Information on the jobs that have been created or are in progress is displayed in the Jobs grid, while progress information is displayed in the Progress Log.
Note: A User must have Panorama enabled (and be logged into Nexus from the backstage menu) in order to open Panorama job manager.
Prerequisites
In order to open the Job Manager, you must be signed into Nexus. For details on signing in, see Nexus.
To create jobs in the Job Manager, you will need either:
-
A catalogue which associates image files with drillholes and depths - for example a .dat file. OR
-
Sufficient information available to process and catalogue the images:
-
Each hole must have a unique folder that contains all core tray photos for that hole / single folder with the hole name in the file name.
-
It is recommended that each photo have a name based on a consistent format that must include the Hole Name and Interval (From and To) and optionally the Tray number (the format must be able to be parsed using a Micromine/dev expression).
Images without the recommended name format (such as "image.jpg") can be still be processed if Validation is turned off at the Input stage and the Output stage is configured not to write to the database.
-
-
Additionally, each photo should have the same orientation (core run begins at top left).
Panorama Job Manager
From the Home tab,
-
Click the Jobs button in the Panorama section of the ribbon.

The Panorama Job Manager opens.
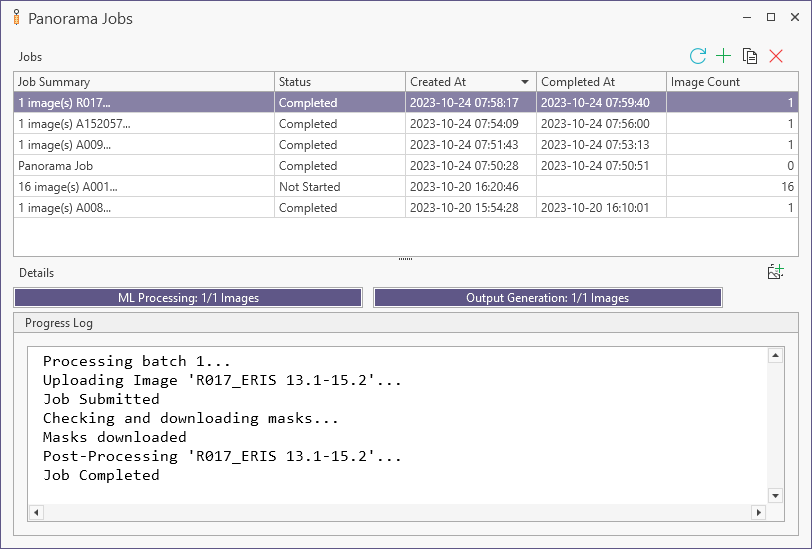
Information on the jobs that have been created is displayed in the Jobs grid of the Panorama Job Manager.
-
The Job Summary field displays a summary title for the job.
-
The Status field displays the current status for the job.
This will be Not Started before the job processing has commenced and Complete when it is finished.
Status Message In Geobank 0 Not Started 1 Uploading 2 Processing 3 Downloading 4 Post Processing 5 Completed 6 Error -
The Created At field displays the date and time at which the job was begun.
-
The Completed At field displays the date and time at which the job was completed.
-
The Image Count field displays a count of the number of images processed by the job.
This value is dynamic, and will update as the job progresses and be finalised when it is complete.
About In Progress Jobs
When a user opens the Panorama Job Manager, any in-progress jobs for the machine (whether uploading, downloading or in post-processing) will start running. However, they will only run if there is a single instance of Micromine Geobank version 24+ running. If user has two or more instances of Micromine Geobank version 24+ running on the same machine, opening the Job Manager on any of the active instances will not run the jobs. This is by design to avoid concurrency issues. To resolve this issue, the user will need to close all other instances of Micromine Geobank version 24+ before opening the Job Manager.
Also important to note is that jobs will only run on the computer that first ran the job. For example, if a user creates and starts any jobs on ComputerA, then logs in to ComputerB and opens the Job Manager using the same model database, then the job/s created in ComputerA will not run on ComputerB - only on ComputerA. This is to avoid the user running the same job on multiple computers.
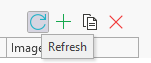
The Refresh button in the Job Manager ribbon will update the current status of the jobs in the list.
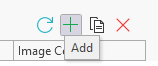
You can add a new job to the Job Manager using the Add button.
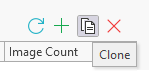
If you select a job from the list and click the Clone button at the top right, a new job will be opened in the Panorama Job form with the same details as the one you selected.
Selected Jobs can be deleted from the list using the Delete button at the top right.
If you select a job from the list and click Delete, a prompt will be displayed.
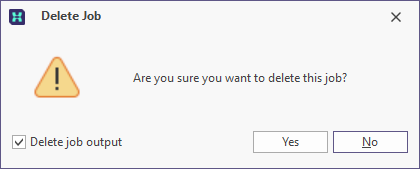
If you select the Delete job output check box, the output image files generated by any post-processing that has occurred for the job will also be deleted.
Clicking Yes in the prompt will delete the selected job. If the job is currently running, it will be cancelled.
The Details for the selected job, for ML Processing and Output Generation, are displayed above the Progress Log.
The Progress Log displays information on the progress of the job while it is active.

Panorama log files which can be used to debug any job framework issues, are located in C:\ProgramData\Micromine\Geobank\Logs\Panorama.
For information on adding a job to the Job Manager, see Add a Panorama Job.