Step 1 - Check Logging Names
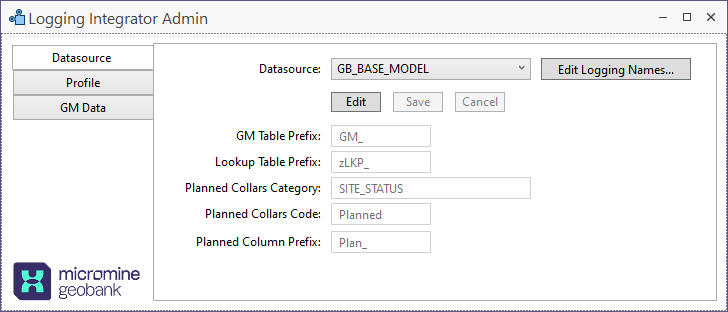
The first step in the process of setting up the logging profile is to check the logging names using the Logging Integrator App.
-
From the Datasource tab, open the Edit Logging Names Dataview.
Note: These are set per database; your system may have more than one Datasource defined.

If planning a logging profile for drillhole data:
-
Select and activate all the downhole tables to which data will be captured.
-
Set the Table Logging names- e.g. Collar instead of GB_SITE or Muesta (Spanish) instead of GB_SAMPLE
-
Use the same logging name again to specify a database table which should be combined with the database table already using that Logging name, so that the data from the tables is collected together
-
Where this is used, for each Database table, select one column as the "Load_Check_Column' - if no value is logged to the column, then a row will not be loaded into the underlying database table
-
-
Set the Column logging names
-
Column not included in this list will automatically be given more 'readable' names with only the first letter capitalised e.g. PROJECT becomes Project
-
So, include columns for which:
-
the name from a collection perspective should be different e.g. the database uses INCLINATION, but 'Dip' makes more sense to the person logging the data
-
there is special capitalisation e.g. AziM should have a capital M as it means 'Azimuth Magnetic'
-
-
Also include any Collar or Sample columns for which you want to push planned data out to the people doing the logging with a special prefix such a "Plan_", so the person logging can see the planned value and capture the actual value in a different column.
If planned attributes are not likely to, or intended to, be changed by the logger then it can go directly to the main column - so a separate column for the planned value is not needed. Thus, only label "Can_be_Planned" as "Y" where an extra column with the refix is needed.
-
If planning a logging profile which is not for drillhole data:
-
Just set the desired logging names for tables and columns where they are different to the database names.
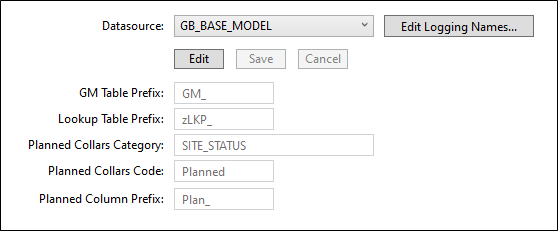
Finally, check the other settings and Edit if required.
Note: a general prefix and a second prefix for lookup/reference tables is used to easily find then correctly sequence logging tables.

Step 2 - Create then Review/Edit Metadata
Step 3 - Create the Geobank For Field Teams logging profile