Step 3 - Create the Geobank For Field Teams logging profile
Once you are satisfied that the correct tables and columns have been defined for the New Logging profile then:
-
Check the Outbound Tab settings - deciding whether you want to be able to:
-
Push out Planned drillhole collars to the loggers (using data from existing drillhole planning processes).
-
Push out a "Sample Cut Sheet" which will be the samples for the planned collars.
-
Keep the logging codes in Geobank For Field Teams in step with the master set of logging codes stored in the central Geobank Database.
-
The GM_CODE flag in the GB_LKP_CODE table determines which codes are sent, and if any codes are deactivated, they move to the bottom of the drop-down lists.
-
-
-
Once satisfied that these settings are complete, select the Confirm outbound settings are valid checkbox.
-
Then click Create Template Table. Once the process is complete, a message will be displayed.
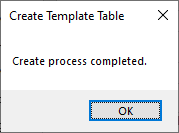
This creates a set of temporary 'template' tables in the Geobank database with the specified prefixes so that these can be used to rapidly build a Geobank For Field Teams Logging Profile.
-
Now open Geobank For Field Teams and create a new Logging Profile.
-
Name the new profile with the same name used in the Logging Integrator App definition (this is not checked, but is valuable for consistency).
-
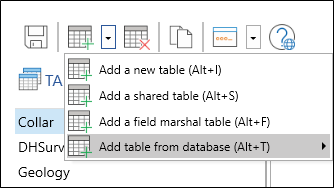
Use the Add table from database option to connect to the Geobank database (add a connection if required).
-
Find and select the logging tables with the specified prefix (e.g. GM_) and select the Include Data checkbox. (Lookup tables do not have to be selected now as you will be prompted about these).
-
Click the green down arrow to add the tables.
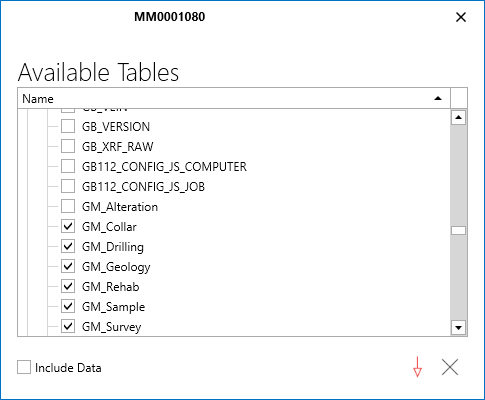
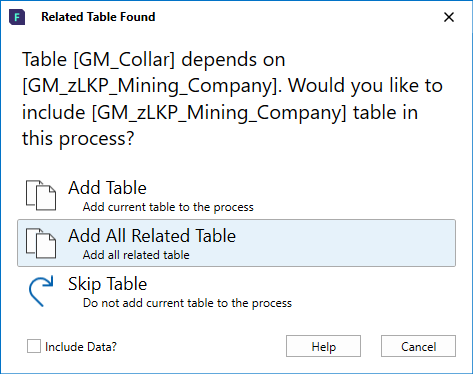
You will be prompted to include the lookup tables.
-
Select Add All Related Tables.
-
Click OK once the tables are loaded.
-
Now Save the profile (this prompts the lookup data to load)
-
Next Add a synchronisation connection (new or existing) and ensure that Create Matching database views is selected.
-
Save the profile again to set up the synchronisation and sync the profile.
-
Now additional configuration of the profile can be done:
-
Such as setting up Initialisations, Validations, Device etc.
Note: Table and column names must not be changed. Changing them will cause errors or misalignment when transferring data.
-
Once complete, Save and Close the Logging profile.
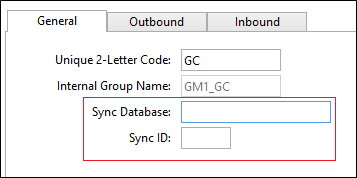
Next, find and fill in the Sync database name and Sync ID.
-
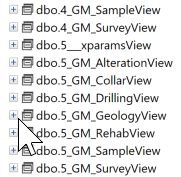
To find the sync ID, open the sync database in SQL Server Management studio and expand its views.
The highest number will be the most recent profile (e.g. 5 in example below).
-
In the Logging Integrator App, fill in the Sync database name and the Sync ID.
