Job Scheduler Migration
When Micromine Geobank has recently performed a configuration database (see: Database Upgrades), the first time a user runs the Job Scheduler may result in a required migration.
If there are any jobs in the upgraded configuration database that need to be migrated, the following dialog will be shown when an Admin opens the Job Scheduler tool (if there are active Jobs to migrate):
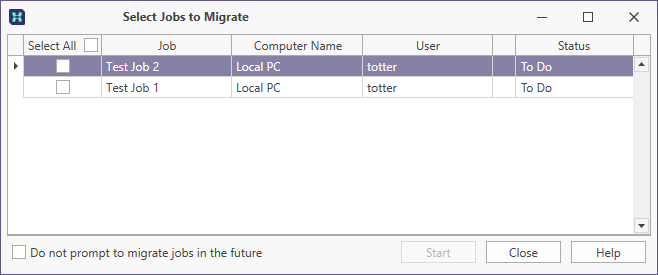
To perform the migration, from the dialog,
-
Select the jobs you want to migrate to the new version.
-
Click the Start button.
You will be prompted for the password for each job.
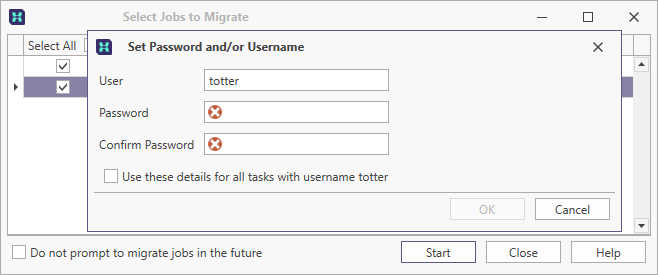
If you want to use the password details for all selected jobs for the username,
-
Select the Use these details... check box.
-
Enter the Password in the fields provided.
-
Click OK.
The migration dialog will then show the migration status as it migrates each job.
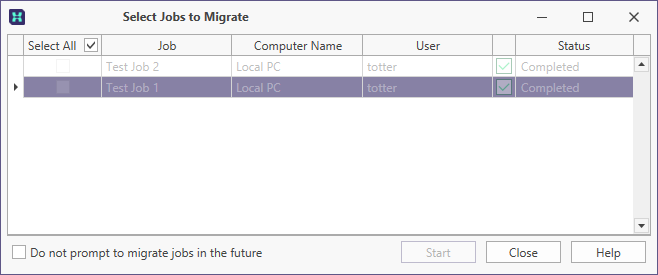
The Do not prompt to migrate... check box will prevent the Select Jobs to Migrate dialog from being shown each time the Job Scheduler is run. If this option is selected, you can use the Migrate button in the Job Scheduler ribbon to run the migration manually.

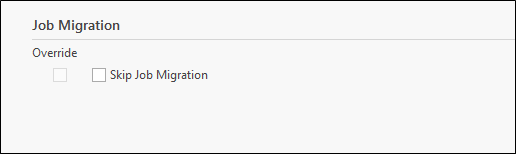
Additionally, you can deselect the Skip Job Migration option in the Geobank Options dialog to reset the migration behaviour.
After migrating and testing, the Administrator can deactivate Jobs which use a previous version; either in the previous version or directly in Windows Task Scheduler.
Note: The Job Scheduler migration does not remove the old Job Scheduler tasks for the previous version of Geobank. Instead, it creates new Job Scheduler jobs saved to the correct folder in the Windows Task Scheduler; using the correct Geobank executable to run the task. This way if the user is still running the previous Geobank version, the existing Job Scheduler jobs are not affected.