Design
This
A new Block Model Layer now allows block model data to be imported, loaded and manipulated as Design Elements in the Design Window. This is supported by the introduction of dedicated Block Model Fields and Properties.
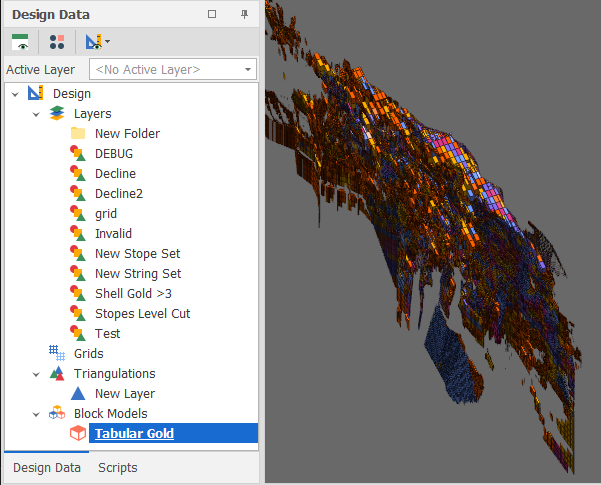
You can import a Block Model file into the application when either the Design Data window or the Animation window is open. In the Design Data pane, select Import | Block Model from the Block Models context menu.
You can also select an Interrogate Block Model utility on the Triangulation tab, in the Utility group. Interrogate Block Model allow you to generate quality values from one or more Block Models and populate the attribute values of the design elements you have selected. A pre-requisite is that the quality fields you want to interrogate (Gold Grade and Density, for example) have already been mapped to those attributes on the Interrogation tab of the Block Model Properties.
Legend
The colours and the filter you have applied to the block model on the Block Model Properties > Filter tab are also applied to a tabbed Legend panel:
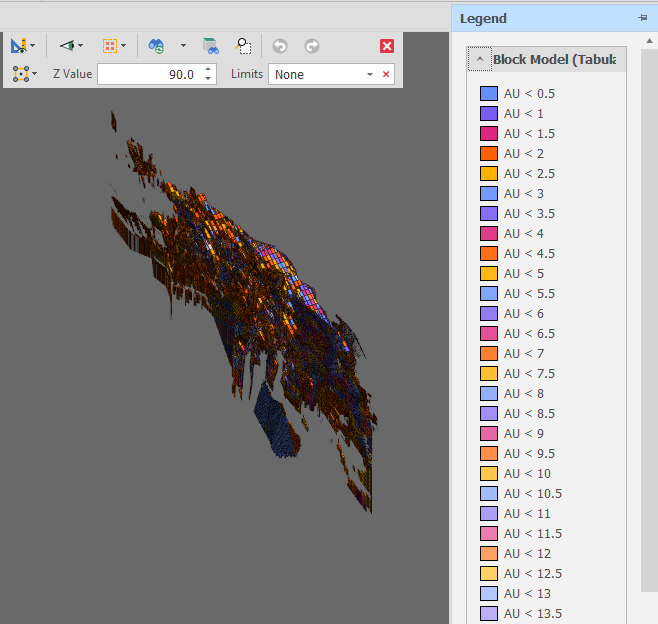
An animation_legend_group_show_expand_button settings can also be set via All Settings and default to True. This allows each legend group to be collapsed (hidden) which is useful when many block models/legend groups are displayed.
In the Design Data pane, when you right-click on the Design node and select Setup | Stratigraphies to define and manage stratigraphies that can be used to cut or interrogate solids, you can now choose internal grids (and triangulations) as the grid source:
|
Source |
Grid Folder |
|---|---|
|
File |
Navigate to a folder location where one or more external grid files are located. |
|
Grid |
Choose a folder under the Grids node in the Design Data pane and/or select individual grids. |
|
|
Given the (typically) very large number and size of the grid files used to define stratigraphies, choosing project grids as the grid source may adversely affect performance. |
|
Triangulation |
Choose a folder under the Triangulations node in the Design Data pane and/or select individual triangulations. |
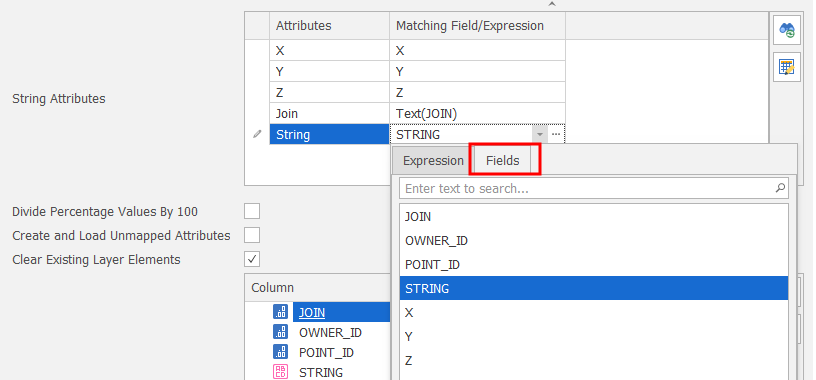
When you import design strings or solids, there are now two ways in which to match the attributes you want to import to fields in the project. In addition to clicking the ellipsis button to build a field expression in the expression editor, you can now click the drop-down to select a Matching Field for each import attribute:
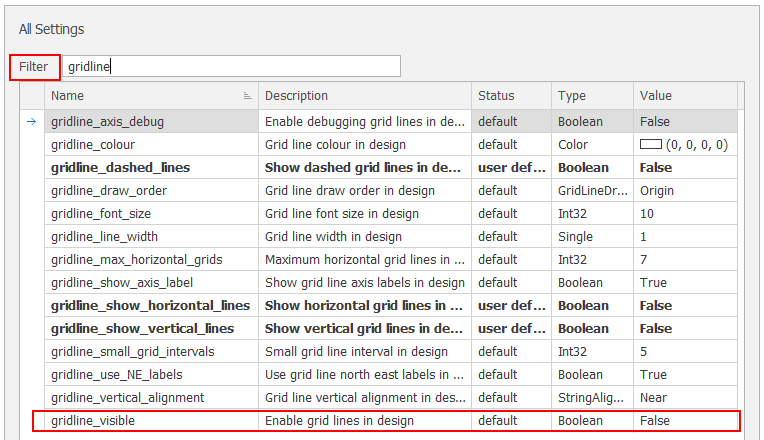
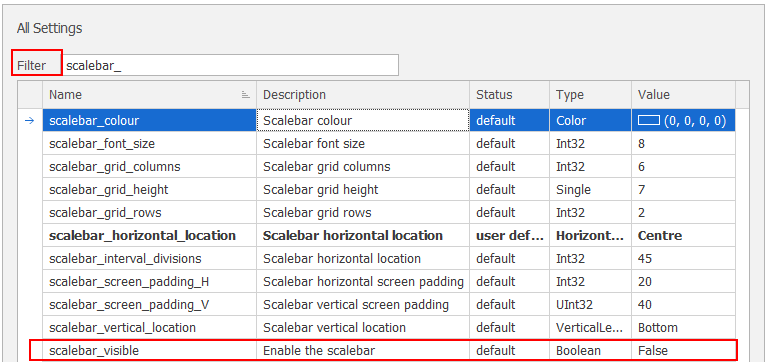
Show Gridlines and Scalebar
Under Settings > All Settings, you can now configure the appearance and the visibility of a scalebar and gridlines in the Design Window:
Design Sub-menus
Under Settings > All Settings, you can now control which parts of the Design Panel context menu use sub-menus:
|
Option |
Description |
Default |
|---|---|---|
|
design_use_submenu_for_groups |
Place standard design action menu items in sub-menus. |
True |
|
design_use_submenu_for_recent_actions |
Place the recent design actions in sub-menus. Otherwise the design action items are placed in the primary context menu. |
True |
|
design_use_submenu_for_favourite_groups |
Place favourite design action menu items in sub-menus. |
True |
|
design_use_submenu_for_custom_action_groups |
Place custom design action menu items in sub-menus. |
True |
|
design_use_submenu_for_custom_overlay_groups |
Place custom design overlay menu items in sub-menus. |
True |
Snap Limits
On the Design tab, in the Snap group, in the Limits drop-down pane, when you select Plane as the snap limits mode, additional Vertical, Horizontal and Slope plane selection modes are now available on a toolbar. You can also select an option to invert the currently defined plane.

The same selection modes are also available when you select Clip by Plane on the Triangulation tab, in the Split/Merge group, when you select Create Boundary from Plane on the Triangulation tab, in the Utility group and when you select Create Sectional View on the Design tab, in the Action group, to create a sectional view from a plane.
Clear Undo/Redo Buffer
On the Design tab, in the Action group, once a design action is complete, you can now click a Clear button (alongside the Undo and Redo buttons) to clear the Undo/Redo buffer:
![]()
![]()
![]()