Add Waypoints
To define waypoints and waypoint rules in the Pitram Reference Edit service:
- Select Groups | Configuration Items | Locations | Waypoint.
- Click Checkout on the toolbar.
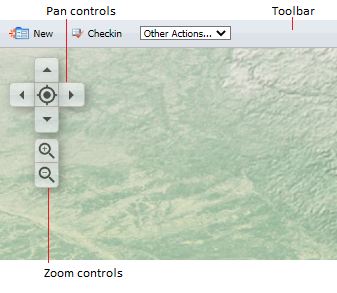
When you are working with waypoints you will find it easier if you zoom the image using the zoom slider to the left of the image. Move the slider up to zoom in, or move it down to zoom out.
You can also use the mouse wheel to zoom. Rotate the wheel forward to zoom in; rotate the wheel back to zoom out. You can also move around the image using the navigation wheel at the upper left of the screen. Alternatively, to pan the screen, click on a point and hold down the cursor. Drag the cursor in any direction to pan the screen.
- To define a waypoint, click the New button on the toolbar and resize and drag the circle that appears in the middle of the screen to the desired location; for example, a point that marks the ore pad—the start of the route from the destination to the source.
- Click the Plus sign in the centre of the circle to add the new waypoint.
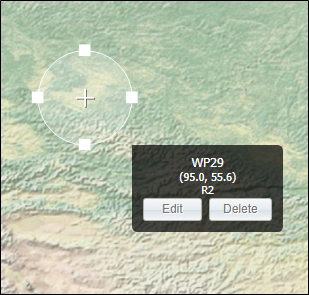
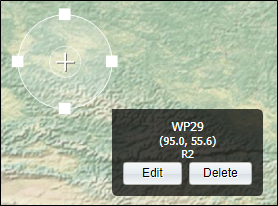
Once a waypoint has been created, you can hover over it and click the Edit button to view its properties. You can also double-click on the waypoint to edit its properties.
In the following example, our new waypoint has been given a default name (WP29), a default radius of influence of 2 metres (R 2), and the coordinates of the waypoint are also shown:
Once you have added a waypoint, you can double-click to Edit Waypoints.