Задачи
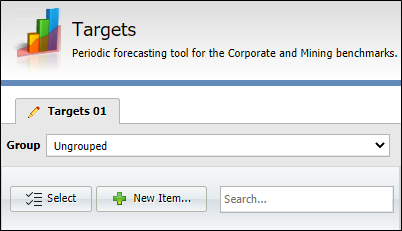
Задача - это метрическое измерение, которое вы намерены отследить, т.е. ТКМЧ, Пробуренные метры, Литры горючего и т.д. Чтобы создать задачу, нажмите на значок Новый элемент в панели задач:
Чтобы изменить целевой элемент, выберите элемент, который вы хотите изменить, и нажмите на значок Редактировать для элемента:
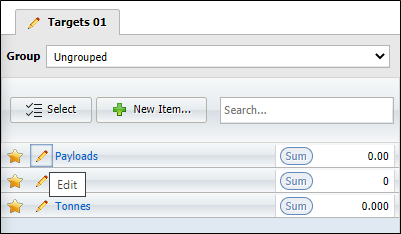
Как вариант, нажмите на элемент задачи, который вы хотите изменить. Если вы создаете или редактируете элемент (задачу), на экран выводится окно Свойства.
To create a new item,
-
Click the New button in the Targets pane.

-
On the Target Item dialog, specify the general properties of the item. You must specify a Name for the item. Other attributes are optional.
-
Optional Group and Subgroup names are useful when you want to aggregate your data at different levels.
-
If a Cost Code is associated with the measure, you can enter it here.
-
The Comment field can be used to enter descriptive text on the target item.
-
Select an Average or Cumulative measure type for the target item.
-
In the Decimal Places field, you can enter the number of decimal places for the target item measure. The default, used if you do not enter a value, is 3 decimal places.
-
If the target item relates to a measure attribute that is actively being recorded on-site, select the Active check box. If the measure relates to future rather than current development or production activities, the item is inactive and you need not select this check box.
The Target pane allows you to filter the list of items based on the active or inactive status of the items.
-
Select the Template check box if the target item is to be used as a template. Templates can be used to automatically generate targets using the Auto Targets feature.
Parameters
Таблица Параметры используется для настройки атрибутов и других сведений об элементе задачи.

Чтобы добавить параметр к элементу, нажмите на значок Новый элемент в таблице Параметры.

Опции параметров отобразятся на экране.

Use the Object drop down to select the applicable object for the target item parameter. The options are as follows:

Select the Attribute for the specified Object using the drop down list. The available options are dependent on the Object selected.
Select either In or Not In from the Operation radio buttons. The default behaviour is to assign attribute values using an In operator. You can also negate values by selecting a Not In
If you want to expand the values that can be entered for the target item, select a secondary attribute from the Expand Attribute drop-down list. The available options are dependent on the selected Object and the selected Attribute.
The Available Items table lists the target items that have been defined for the selected Object and Attribute which are available for selection.

Select an item or items to add to the parameter and use the left arrow to add the selection to the Selected Items table. Items added to the Selected Items table are included in the parameter.
The Undo icon is used to clear all configuration from the parameter being modified.
When the parameter is configured as required, click the Accept icon to save the details.
You can add more parameters to the target item using the New Item icon and repeating the process described above.
When the Target Item is configured, click the Save button to add the new item. You can also use the Apply button to save the item without closing the Target Item dialog.

You can use the Delete button to delete the open Target Item.
The Duplicate button will create a copy of the open Target Item. You can make any necessary changes and click Save to save the copy as a new target item.
Click Cancel to close the Target Item dialog without saving any changes.
The Target Items you create are displayed in the Targets pane under the relevant Group.

You can select a group to display in the Targets pane using the Group drop down.
If you enable the star icon for the target item, it will be included in the Favourites group.
![]()
For each target item displayed in the Targets pane, value information is displayed and can be configured in the panel at the right.
The Shift Roster drop down is used to select the applicable roster to be displayed in the panel. Shift rosters are configured using the Планировщик смен .
The Periods: button opens the Edit Range Filter dialog from which you can configure the date range and production periods for which to display or configure information.

Use the arrows at the top of the Start Date and End Date calendars to scroll to the year and month, then select a day of the month for the date range you want to display.
Click the Production Periods tab to filter the information by production periods that have been configured using the Модуль Отчетность.

When the date range and production periods have been set and selected, click OK to display the relevant information.

The buttons along the top of the panel are used to select the display mode for the information.
-
Shift - Displays information for the selected period/s by Shift configured in the Планировщик смен.
-
Day - Displays information for the selected period/s in single day blocks.
-
Week - Displays information for the selected period/s in per week values.
-
Period - Displays the total values for each selected period.
-
Month - Displays information on the selected period/s, month by month.
For information on entering targets, see Ввод целевых значений.