Upload Drillhole Data
The Upload Drillhole Data tool provides a convenient method of uploading drillhole data to Nexus as a drillhole object, directly through the browser without requiring extra work in Micromine Origin & Beyond.
Drillhole data can be uploaded in a series of CSV files for the Collar, Survey, Interval and Event tables and converted to a Nexus Drillhole object which can be read by Micromine Origin & Beyond or previewed inside Nexus viewer.
To begin importing drillhole data from your CSV files, in the Nexus application window,
-
Select Upload | Upload drillhole data
The Upload drillhole data page is displayed.
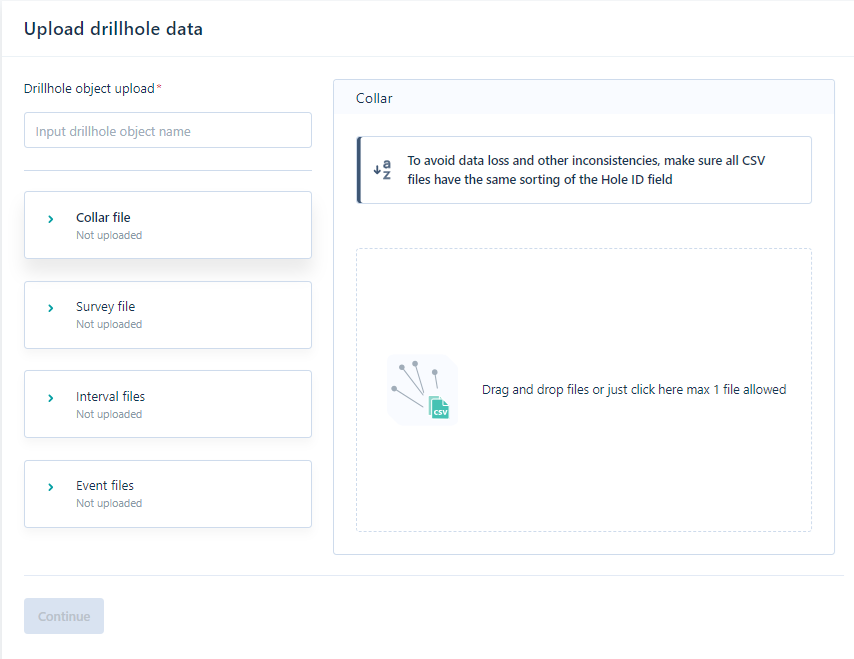
Note: As displayed in the Upload drillhole data page, all drillhole tables imported from CSV must be sorted by the HOLE_ID field, in the same order, to prevent data loss.
The Upload drillhole data page contains the Object name field used to name the Nexus drillhole object that will be created from the imported data. This field is compulsory.
-
Enter a name for the Nexus drillhole object in the Object name field before configuring the data to be imported.
For each drillhole data file to be imported, there is button at the left which will activate the Upload for that file: For example,
-
Click the Collar file option at the left to open the Collar upload panel.
This is the panel displayed in the screen above.
-
Use the Drag and Drop control in the panel (or click it) to select the Collar file to be imported.
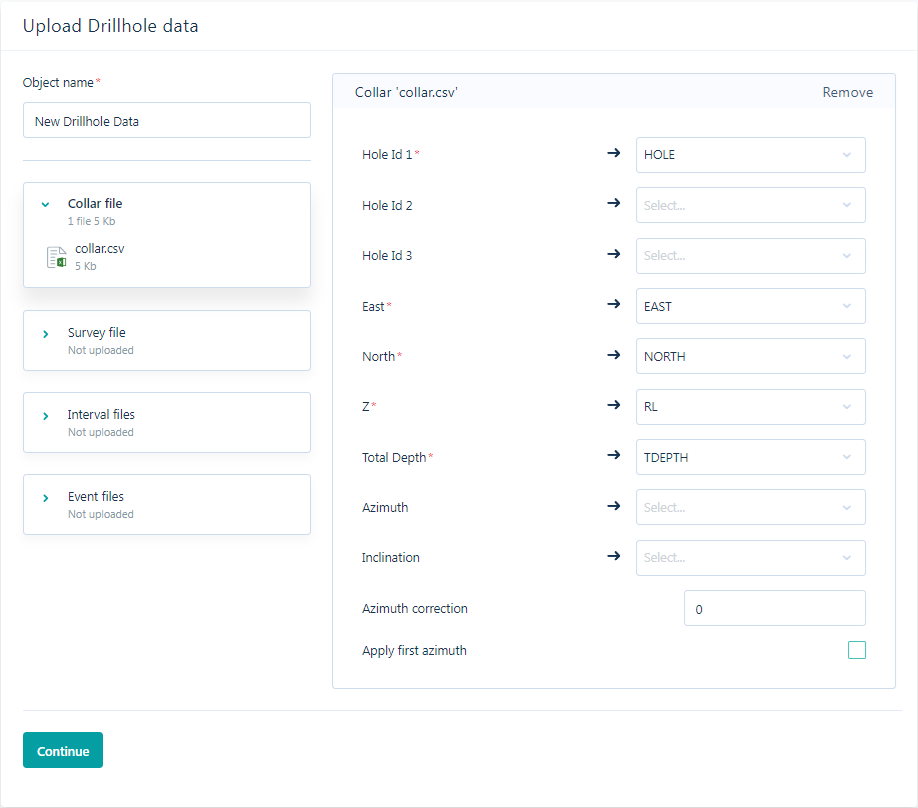
The Collar file is selected and the fields to be mapped will be displayed.
Only one file can be selected for the Collar. If you need to select a different file,
-
Click Remove at the top right of the panel and select the required file.
You can map the fields from the selected Collar file to the Collar fields in the panel. Fields are automatically mapped where found and the required fields are marked with an asterisk.
For the Collar file, the fields are:
-
Hole ID 1 (* required) Hole ID 2 and Hole ID 3
-
East, North and Z (* required)
-
Total Depth (* required)
The Azimuth correction field is used to apply a correction to all values in the Azimuth field. The correction occurs to the values output to the Interval or (trace) Coordinate files. This is useful when the survey azimuths are recorded in terms of magnetic North with a known deviation from grid North. By default this value is 0.
Selecting the Apply to first Azimuth option will cause the azimuth correction to be applied to the first azimuth and all subsequent azimuths.
Note: Where drillhole collar surveys have an azimuth taken in terms of grid north and subsequent downhole azimuths are taken in terms of magnetic bearings, do not apply the azimuth correction to the first azimuth.
With the Collar fields configured,
-
Select the Survey file option at the left to open the Survey panel.
-
Use the Drag and Drop control in the panel (or click it) to select the Survey file to be imported.
The Survey file is selected and the fields to be mapped will be displayed.
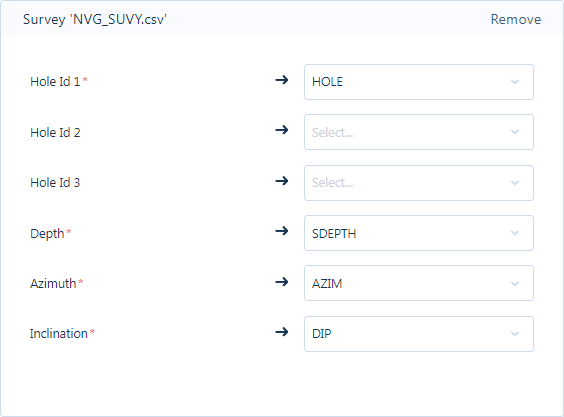
Like the Collar file and others, the fields to mapped for the Survey file are automatically mapped if found and the required fields are marked with an asterisk.
The fields to be mapped for the Survey file are:
-
Hole ID 1 (* required) Hole ID 2 and Hole ID 3
-
East, North and Z (* required)
-
Azimuth (* required)
-
Inclination (* required)
When the Survey fields are mapped as required,
-
Click the Interval files option at the left to open the Interval panel.
-
Use the Drag and Drop control in the panel (or click it) to select the Interval file/s to be imported. More than one Interval file can be imported for the drillhole object if required.
With the Interval file/s selected, the fields to be mapped will be displayed.

Note: You can see from the example above that multiple Interval files have been selected at the left.
The fields to be mapped for the Interval file/s are:
-
Hole ID 1 (* required) Hole ID 2 and Hole ID 3
-
Depth from (* required)
-
Depth to (* required)
When the Interval file/s have been selected and mapped as required,
-
Click the Event files button at the left to open the Events panel.
-
Use the Drag and Drop control in the panel (or click it) to select the Event file/s to be imported for the drillhole object. More than one Events file can be imported for the drillhole object if required.
With the Event file/s selected, the fields to be mapped will be displayed.

The fields to be mapped for the Events file/s are:
-
Hole ID 1 (* required) Hole ID 2 and Hole ID 3
-
Depth (* required)
Once the required files have been selected and mapped, and a name for the Nexus drillhole object has been entered,
-
Click Continue at the bottom left of the page.

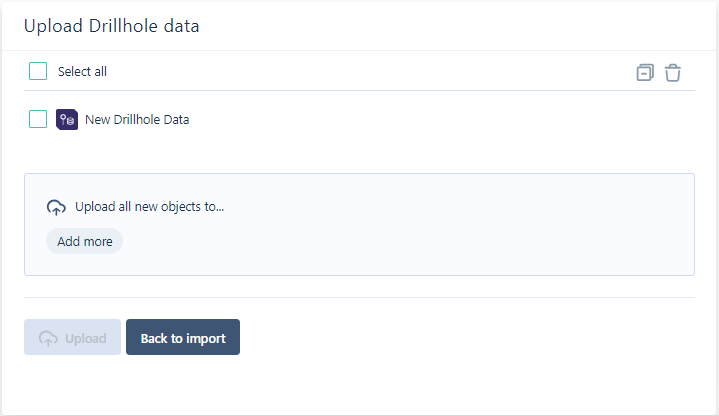
The named Nexus drillhole object that will be created by the import is displayed in the next screen.
-
Select the Nexus drillhole object for uploading to a project.
-
Select the project folder/s to upload the new object to using the pane in the panel.
When at least one location is selected, the Upload button is enabled.
Click Upload to begin the import and create the drillhole object.

Note: You can go back to the file selection page by clicking Back to Import
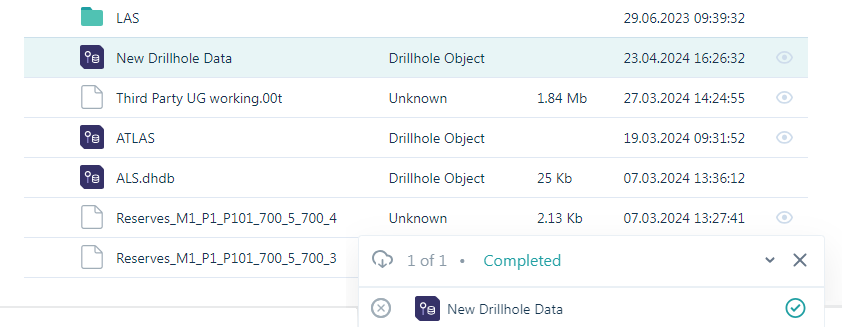
When the data is imported and the Nexus drillhole object created, it will be available in the specified folder/s.
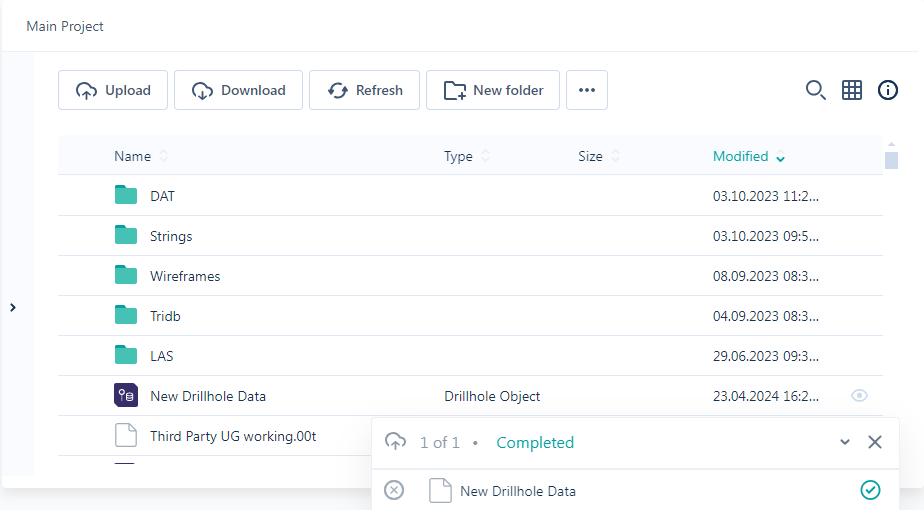
From the location/s where the object was imported, it can be downloaded, moved, copied, attached to a task and deleted as normal.
.
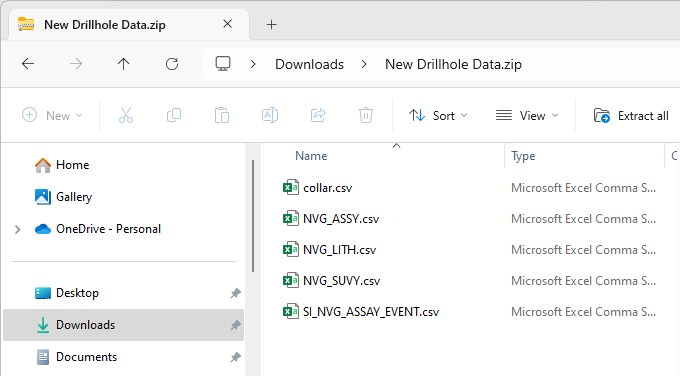
The drillhole object is downloaded as a .zip folder containing the CSV files used for the import:
In Nexus, the new drillhole object can be displayed in the Viewer - as indicated by the eye icon for the file.
