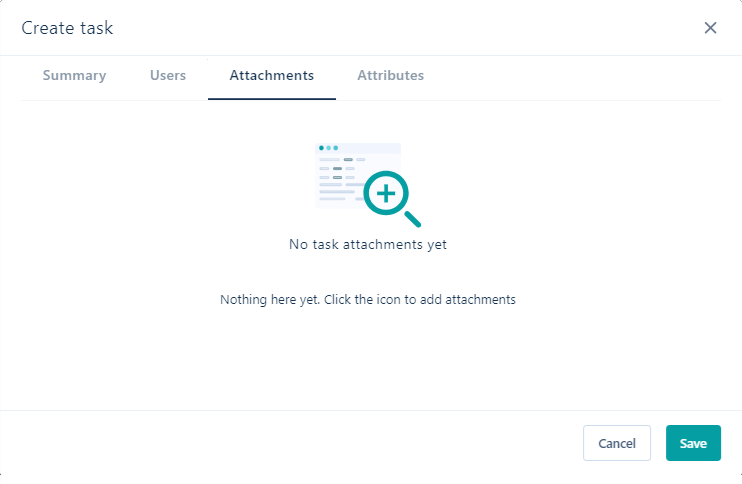
Attachments
On the Attachments tab of the Task Properties dialog, select the files that will be associated with the task. * A red asterix indicates a mandatory field.
Existing Objects
On the Existing Objects tab of the Attachments dialog, you can select one or more files in a workspace library, workspace tasks folder, or a project folder:
-
Select the workspace where the file you want to attach is located.
-
Use the Library, Projects or Tasks options to locate the file to be attached.
-
Use the check boxes to select the file/s you want to attach:
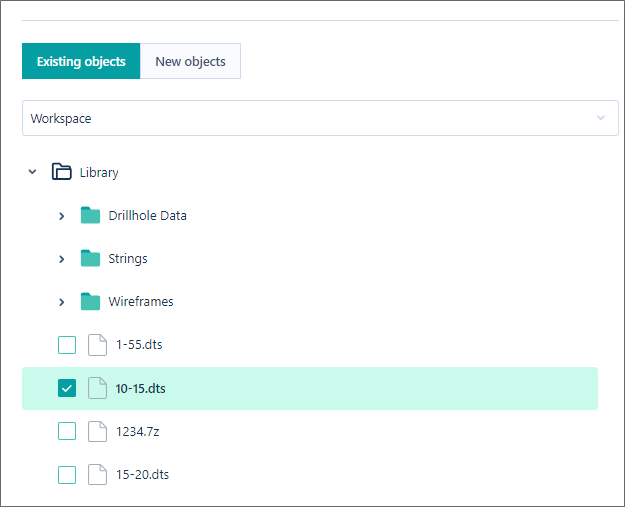
To select new files to attach, click to select the New Objects tab.
-
Finally, click Save to attach the file/s you have selected.
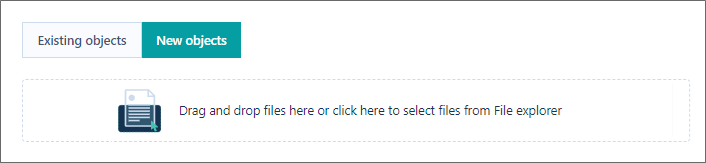
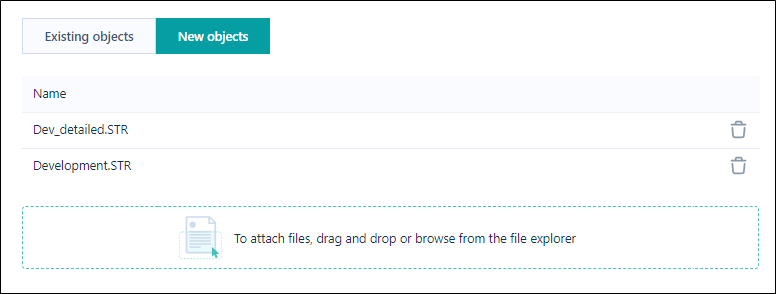
New Objects
On the New Objects tab of the Attachments dialog, you can use Windows File Explorer to select one or more files you want to upload to Nexus and attach to the current task:
-
Click to browse for the files you want to attach.
Alternatively, in Windows File Explorer, navigate to the location of the files you want to upload and use your mouse to drag and drop the files onto the New Objects tab:
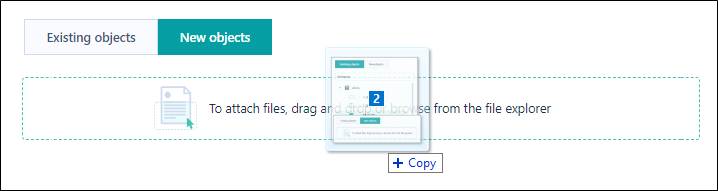
The files you dragged and dropped with the mouse are shown on the New Objects tab:
To attach existing files in your workspace library, workspace tasks folder, or a project folder, click to select the Existing Objects tab.
-
Click Save to attach the files you have selected.
The files attached to the task are listed on the Task page and can be downloaded using the process outlined in Download. When the task is in Edit mode, the listed attachments can be removed from the task using the Clear all attachments button:
![]()
When the relevant files are attached to the task, you can set the task attributes.