Create User Groups
Setting permissions for individual Users can be a time-consuming task. To make things easier, you can create User Groups, assign users to them and then set the Workspace and Project permissions for the whole group. Any exceptions to the group rules can then be made more easily at an individual level - including File or Folder levels.
When assigning users to a group, remember that one person can be a member of multiple groups. For example, a chief geologist can be part of the Head office group and the Geology department group. A recommended practice is to create a Group for each Workspace, including all its members and name it in a similar way. For instance, create a Geology department Workspace in the Tenant, and a Geology department Group which includes all the users from the Geology department Workspace. In this way, Groups are also convenient when assigning Informed and Consulted roles for tasks.
To create a user group:
-
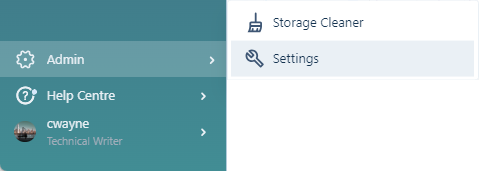
Click to select the Users tab.
-
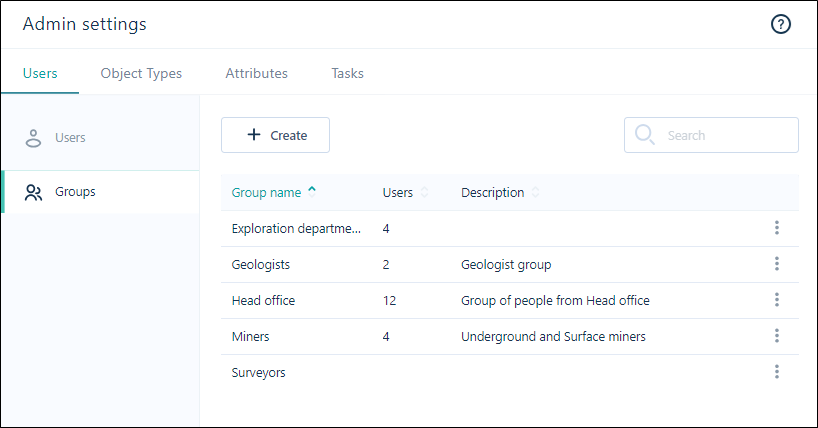
Click Groups to switch to the Groups pane. Any groups that were previously created are listed:
-
Click the Create button to create a new group.

-
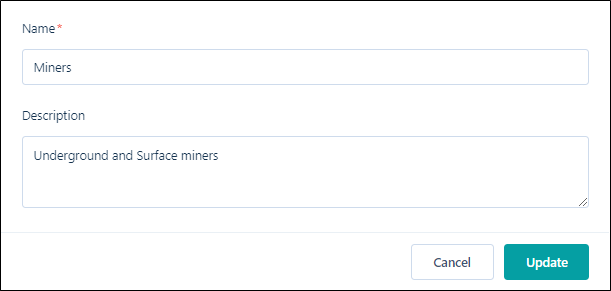
Enter a Name and a Description for the group:
-
Click Create.
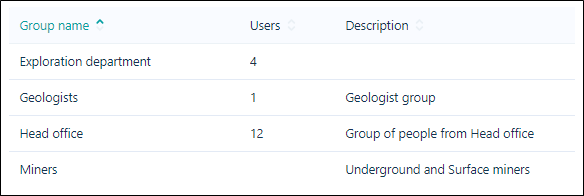
The new user group is listed in the Groups pane:
To add users to the groups you create, see Manage Groups.