Manage Groups
Edit
To make changes to a group:
-
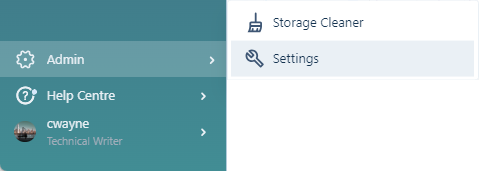
Click to select the Group tab.
-
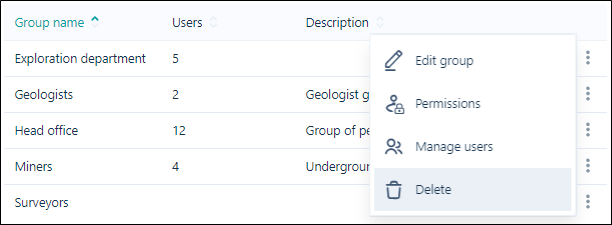
Click the More menu option for the group you want to manage.
-
Select Edit Group
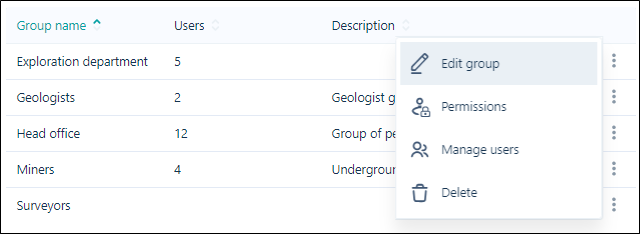
The Edit Group dialog will open.

-
You can modify the name and description for the group directly.
-
Click Update to save the changes.
Permissions
To manage permissions for user groups:
-
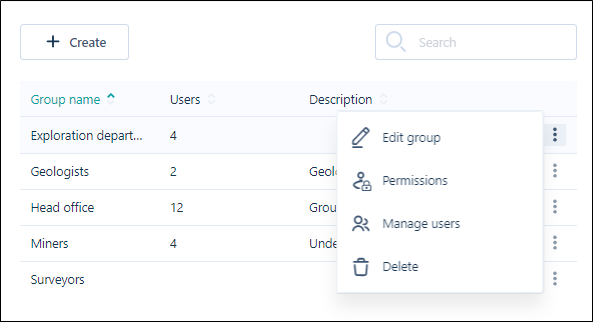
Click the More menu option for the group you want to manage.
To apply permissions to the selected group,
-
Select Permissions from the More menu.
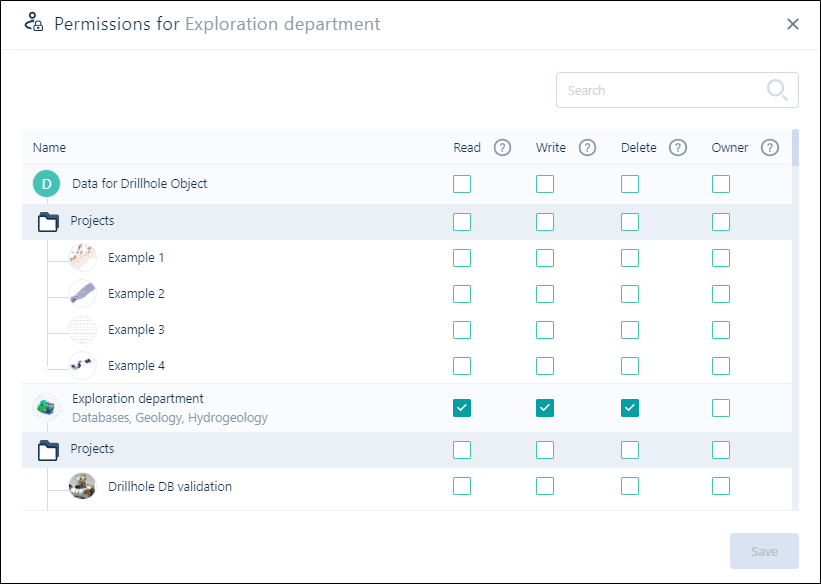
The Permissions window is displayed.
-
The permissions for the group can be modified using the Read, Write, Delete and Owner check boxes for each Workspace and Project. You can set permissions for the Workspace and/or the Projects it contains.
-
If you select a permission check box at the project level, all projects in the Workspace will be set with that permission.
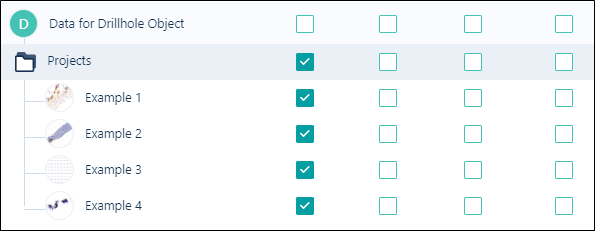
Deselect the project level permission and use the check boxes for each Project if you want to set project permissions individually.
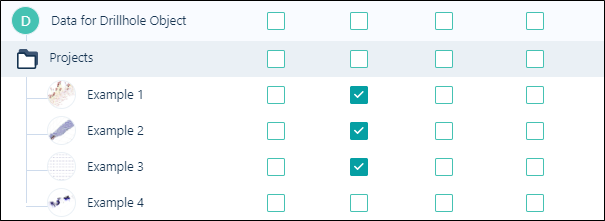
Unless you set a permission for the Workspace, the user permission will only be for the selected Projects at the permission level set for each.
-
If any changes are made, click Save to retain the settings .
-
Click the cross at the top right to close the window and return to the Admin Settings window.
For information on how permissions work within Nexus, see the Permissions section in Tips and Tricks.
Users
To manage the users for user groups:
-
Click the More menu option for the group you want to manage.
-
Select Manage Users from the menu.
The Users window for the selected group is displayed.
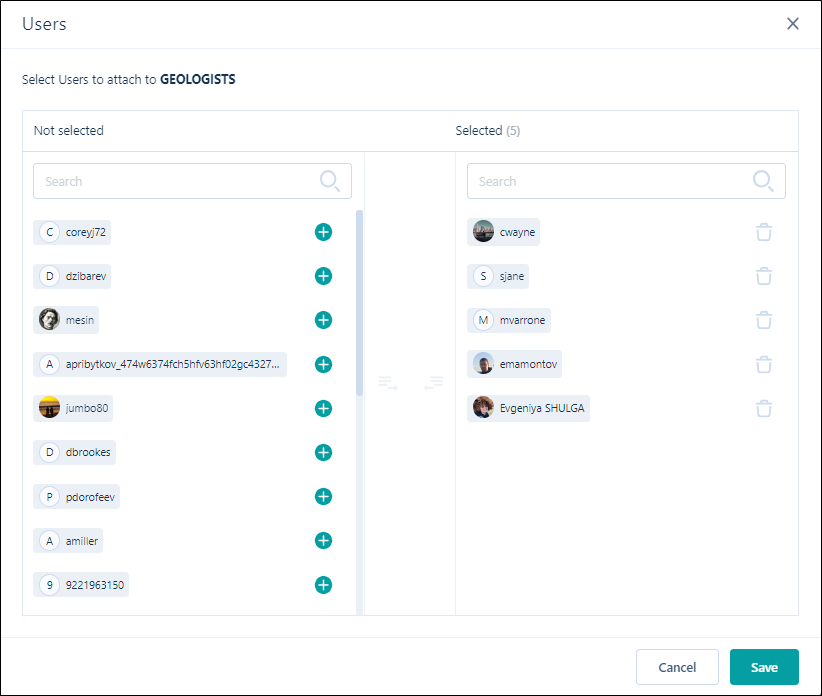
Not Selected
The users that have been configured on the Users tab of the Admin Settings window, are available for selection in the Not selected pane. Click on the Add icons to move them to the Selected pane and add them to the group.
Selected
The users attached to the current group are listed in the Selected pane. Click on the Trash can icons to remove them. This moves them back to the Not selected pane.
Save
-
To save your changes and exit, click Save.
Delete
Admin users with the requisite permission can delete user groups from the Admin Settings window. To do this,
-
Click the More menu for the user group to be deleted.
-
Select Delete from the menu.
-
A confirmation prompt will open and you can enter YES and click Yes to delete the group.

Note: As displayed in the prompt, this action cannot be undone. Please confirm the action before proceeding.
-
Click No to exit out of the prompt without deleting the group.