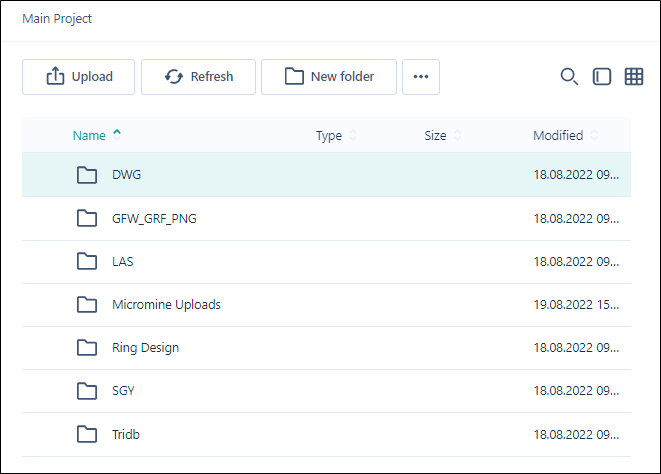
Project Browser
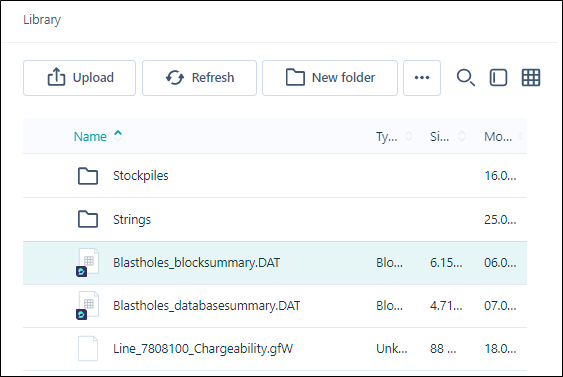
When you open a Nexus project, the contents of that project are shown in a Browser window.
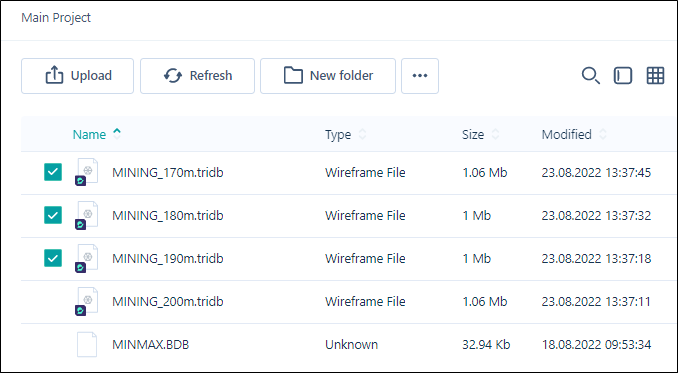
To select multiple files or a folder, use the selection check boxes to the left of each file name:
Use the options on the ribbon to manage your project folders and files:
|
|
Click to Upload files to your |
|
|
Click to Refresh the page. The data and metadata on the page is refreshed by querying |
|
|
Click to create a New Folder in your |
|
Click to Show unavailable files in your |
|
You can toggle off the display of unavailable files with the Hide Unavailable button. |
|
|
Click to Download the selected file(s) or folder in your |
|
|
Click Copy to to copy the selected file(s) or folder to another location in your |
|
|
Click Move to to move the selected file(s) or folder to another location in your |
|
|
Click Attach to task to attach the selected file(s) or folder to a task in your |
|
|
Click to Delete the selected file(s) or folder. The files or folder (and its contents) will be deleted from |

|
If you require access to an unavailable file, you click the Permissions button in the panel at the right. |

|
Click Subscribein the panel at the right to subscribe to a selected file or files in your |

|
Click the Share Link button to create a link to download a selected file that can be shared with other users. A URL is created which can be provided to external people without access to Micromine Nexus, in order to share data and allow the download of the file. You will be prompted to select a lifetime for the link to be valid - 1 day, 1 week or 1 month. After the lifetime has expired, the file will not be accessible through the generated link. |
|
|
Toggle between Show Search and Hide Search to display the text search field for the |

|
Toggle the Show Folder Tree icon to display the folder tree to the left of your |
|
|
Toggle between Icon Mode and List Mode to change the display of the |


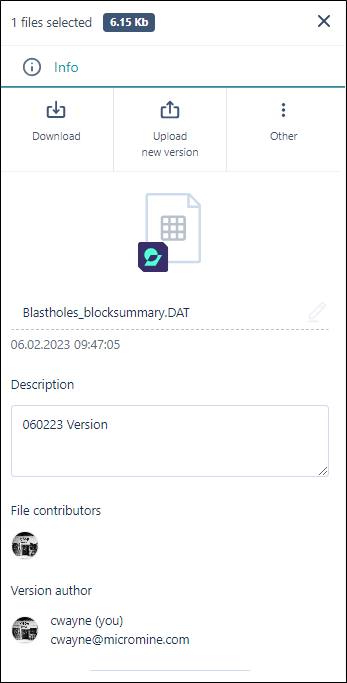
File Information
When a file is selected, the properties of the file are shown in an Info pane:
-
The icon associated with the file type of the file.
-
The name and an optional description of the file.
-
Versioning information including the author who uploaded the file and contributors (if any) who updated the file.
To view version, attribute and permissions information about the file selected in your Nexus project:
-
Select the file for which you want to view information.
-
An Info pane is displayed on the right-hand side of the screen:
Three tabs allow you to set the metadata and attributes of the file, and view or enter comments for the current and/or previous versions of the file:
Note that Nexus project storage is completely independent of workspace library and task storage.