Vector (GIS/GPS) Data
![]()
There are two input options:
Input
File
Depending on the file format, one or more (Point, Line, or Polygon) feature types and attribute layers can be imported.
For more detailed information, refer to the Vector File Formats topic.
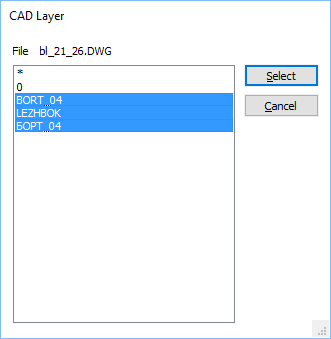
Layer
All layers will be imported by default unless you click on the ellipsis button to choose a layer or layers to import. To select multiple layers, hold down the CTRL or the SHIFT key as you select layers with the mouse.
To select all layers choose the wildcard (*) character.
MS SQL Spatial Database
Select this option to set the connection parameters of the database you want to import data from. See: Spatial Database Settings
Click the Forms icon in the String input box, to select a saved form set. Right click (F4) to Edit the current form set, or select New to create a new form set.
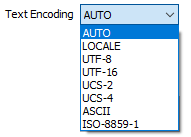
Text Encoding
The default encoding option is AUTO, however it may be necessary to override the default encoding if there is a disparity between the encoding of the file and the actual data in the file.
Import attributes
Choose which (if any) attributes to import by selecting one of the following options:
- All
- None
- Select
Attributes may comprise textual descriptions and other metadata, as well as spatial (line, point, or polygon) features. ArcGIS (.shp) shapefiles, for example, store attributes in a separate dBASE (.dbf) file. Other file formats, such as Microstation Design (.dgn) files, have an attribute layer in the same file.
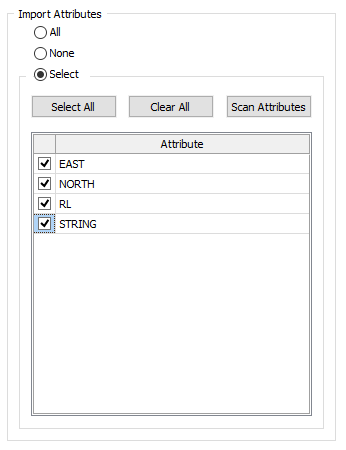
Select
If you have chosen to select the attributes you want to import, click the Scan Attributes button to populate the Attribute list. You can then use the check boxes, or click the Select All and Clear All buttons, to select and deselect attributes.
Output
File
Enter the name of the output file that the GIS/GPS data will be imported into. The type of data file (DATA or STRING) you select will depend on the feature types (POINT, LINE, POLYGON) being imported.
When you click Run to run the import process, if the specified output file already exists and matches the structure of the GIS/GPS file, you will be given the option of overwriting the file, or appending data to the file.
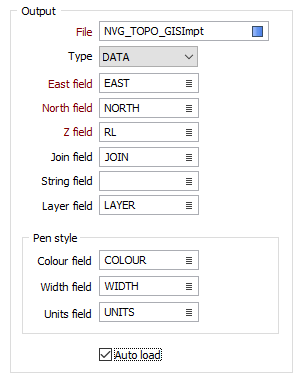
East and North and Z fields
Specify the names of the fields in which Easting, Northing, and Z coordinates will be stored in the destination data file.
You can use the Convert Coordinates option on this form (see below) to convert projected or local coordinates to geographic (latitudes and longitudes) during the import.
Join field
If you selected a string file as the file type, specify the name of the field that will contain values that define whether data points will be joined by a line i.e. strung. If successive records have the same value in this field and no String field is defined (see below) a line will join the points. If a String field is defined, then values in each field in successive records must be the same before the points will be strung.
String field
If you selected a string file as the file type, specify the name of the field that will contain values that define whether data points will be joined by a line. The values of this field in successive records must be the same before the points will be strung.
Layer field
Specify the name of the field that will contain values which can be used in subsequent file operations to filter the data based upon a feature type (layer).
The name of each layer is written to this field. The import process will enumerate through the layer names to obtain a maximum width for the field.
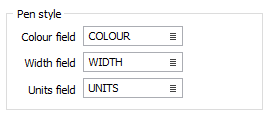
Pen Style
If native colour and style information is available, this information is used to populate COLOUR, WIDTH and UNITS fields in the Output file. If you prefer not to output this information, clear the field prompts.
Auto load
To display the data in Vizex once the file has been imported, select the Auto load option.
You can load GIS files data directly in Vizex using the Display | Vizex | GIS menu option.
Convert Coordinates
Select the Convert Coordinates check box to convert between coordinate systems during the export process.