Data View Property Editor: Notebooks
Use the Notebooks tab of the Data View Property Editor to configure the notebooks that will be displayed in the data view.
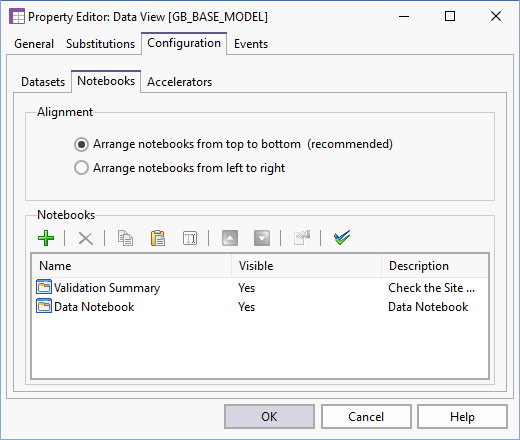
There are two options for the Alignment of the notebooks. Top to bottom alignment is recommended, since this generally makes the best use of the available screen width.
Use the editor toolbar (or the Quick Configure options on the right-click menu on the Datasets tab) to manage the notebooks of the data view.


|
Click the Add button to add a new notebook to the data view. |

|
Click the Delete button to remove the notebook currently selected in the list. |

|
Click the Copy button to save a copy of the selected notebook to the clipboard. |

|
Click the Paste button to create a new notebook using the details copied to the clipboard. |

|
Click the Rename button to rename the notebook currently selected in the list. |
  |
Click the Move Up and Move Down buttons to adjust the order of the notebooks in the data view. |

|
Click the Properties button to Property Editor: Notebook currently selected in the list. |

|
Click the Select All button to select all of the notebooks in the table. |