Geobank Field Logging Instructions
These instructions describe how to synchronize and check the logging profile and then capture field data.
Getting Started
Your Geobank Administrator will instruct you on how to download a logging profile designed for your specific data collection task.
Once you have downloaded the profile, click or touch the Synchronize button.

Check that:
-
Planned or in-progress data is shown in the relevant tables, and
-
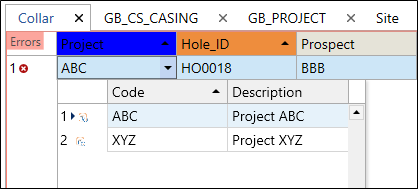
Lookup codes are shown when you select the drop-down in a cell which has lookup codes.

Capturing Field Data
You can now use Micromine Geobank For Field Teams to collect the data relevant to you task. You can do this either when connected to the network or when disconnected from it.
Geobank For Field Teams has workflow status actions for your data. once you reach a logging milestone as agreed with your manager, such as completing the data capture for a drillhole, then carry out the agreed handover step.
This handover step will be either:
-
To simply Approve the completed rows and their associated child rows, or
-
Approve then Export this data.
-
The Export step will produce a set of files which should be zipped up and kept as a set of audit files. There is no need to send these files to the Administrator.
-
Plan to connect to the network as regularly as possible, so that your data can be synchronised.
For information on using the Geobank Logging Integrator App, see Geobank Logging Integrator User Instructions.