Configure a Sample Receipt
To add a receipt object to the current configuration:
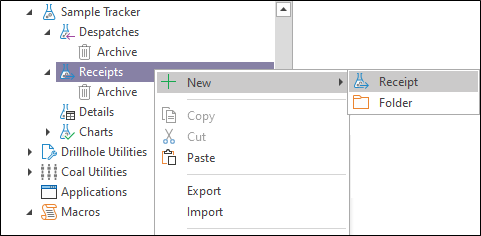
- In the Configuration Manager, right-click on the User Interface | Sample Tracker | Receipts node of the tree and select New |Receipt.
- Enter the general properties (Name, Description) of the receipt you are creating:
- If you need to prompt the user for values when running queries, Substitution Parameters can be inserted.
- To configure input file and output options for the receipt, click on the Configuration tab.
- To configure the messages to be shown, or the scripts to be executed, when the task form is opened or closed, click on the Events tab.
- When you have finished adding or editing the receipt, click OK to close the Receipt Property Editor.
Use the Configuration menu of the Receipt Property Editor to configure the basic building blocks of a receipt. It may be necessary to configure several receipt objects in order to process lab result files in various formats.