Advanced Job Options
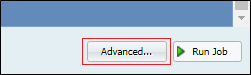
To the left of the Run Job button is the Advanced button. This button is used to define:
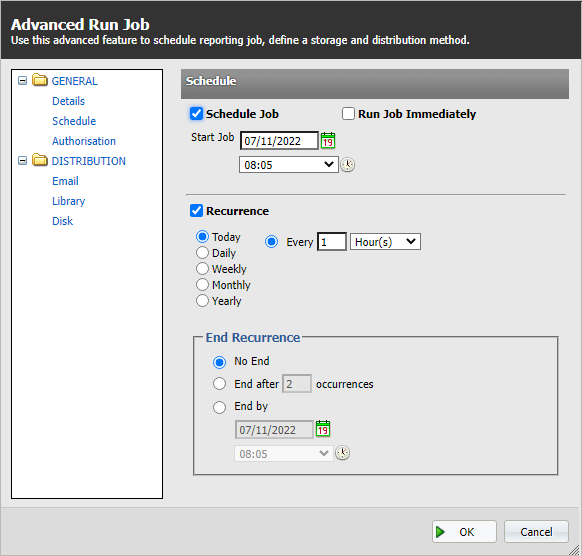
- A schedule for the current report. Select the start and end dates, and the frequency that the report is to be generated.
- The distribution for the report—via email, to the Library service, or saved to disk.
-
Whether authorisation is required to distribute the report, and the authorised user's address.
Advanced Options
Click the Advanced button and you will find the dialog opens with:
- A list of options on the left. The main headings are General and Distribution.
- Each of the options has an associates options to be defined.
Once the selection process has been completed, click either:
- Submit. To action the selection and exit the dialog.
- Cancel. To exit the dialog without any action.
Advanced: Distribution
If General | Authorisation has been defined, a report will not be distributed until the nominated authority has approved its distribution.
Email. Define the following:
- To. Send the attached report in the selected format to the included email addresses.
- From. The senders email address.
- Subject. A short message.
- Text box. Include any message that you want to send.
- Output Format. Select from one of the defined proprietary file formats.
Word, PDF, Excel, ExcelData. The latter file format the data in an Excel format without the shapes, lines and shades used to present a professional looking report.
- Orientation. Select either Portrait or Landscape for the report display.
Library
- Select to submit the report to the Pitram Portal Library service. Define the job name that will appear in the Library. The name can include one or more of the defined macros or variable values:
- When the Name of the report to be distributed to the Library has been defined, click Submit.
- Click the Library icon
 on the services toolbar. After processing, the file will be transferred.
 - The report will be listed in the Library window.
- Double-click on a report in the list to view its contents.
For example:
| [NAME] | The name of the report. |
| [DATE] | The date on which the report was generated. |
| [TIME] | The time at which the report was generated. |
| [AUTHOR] | The user name who ran the report. |
| Where | |
| Name | Hauling by Month [DATE] [Time][Author} |
| Job Name | Hauling by Month for 17 March 2009 14:06 J Bloggs |
Files saved to the Library present reports data as a snapshot in time.
Disk
Enter a path to the destination folder. Make sure that you have READ/WRITE access to the destination folder. If the destination drive is not local to the Dome server, you need to specify the full UNC path rather than specifying a mapped drive letter. You also need to include the filename in the path.
For example:
To save it in an Excel file.
\\MM00440\Data\Reports\Hauling by Month [DATE].xls
To save it in an Word file
\\MM00440\Project\Loading Hours [AUTHOR].docx
The job name can include one or more of the following macros or variable values:
| [NAME] | The name of the report. |
| [DATE] | The date on which the report was generated. |
| [TIME] | The time at which the report was generated. |
| [AUTHOR] | The user name who ran the report. |
| Where | |
| Name | Hauling by Month [DATE] [AUTHOR] |
| Job Name | Hauling by Month for 17 March 2009 Joe Bloggs |
If authorisation (General | Authorisation) has been selected, but the user name is not defined, you will receive a validation message to say that the authority must be defined before you can make any Distribution selection.
Click the Submit button at the bottom-right of the dialog to generate the report and distribute it as defined. Click Cancel to exit the dialog without generating the report.