Define a site image
This topic describes how to configure a georeferenced image of the mine site that can be used to spatially define the waypoints that will be used on-site.
The position coordinates of the waypoints on the image will be compatible with the GPS coordinates used to track the position of the equipment units operating on site.
To define the site image, you need two types of file:
- An Image file. This can be in JPG or PNG format. The image file needs to cover the area of the mine site in which the routes and waypoints are to be defined.
- A World file. This is the file that will be used to georeference the image. If the image file is a JPG file, the world file will have the same name as the image file but with a .JGW file extension. If the image file is a PNG file, the world file will have a .PNW file extension.
When you save an image as a JPG file in Pitram 3D, a .JPW world file is created automatically.
To configure the image in Reference Edit:
- Select Groups | Configuration Items | Locations | Waypoint from the navigation tree.
- Click Checkout on the toolbar at the bottom of the dialog.
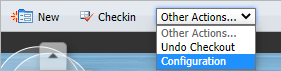
- Select Other Actions | Configuration from drop-down box on the header.
- Navigate to the location of the image and the world files you want to use as the site image:
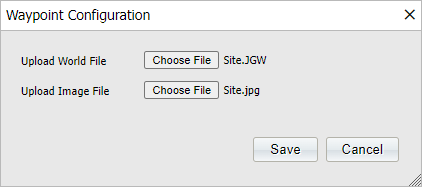
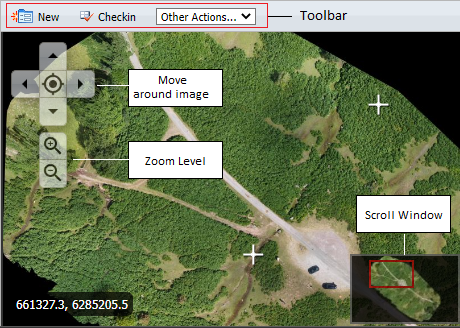
- Click OK. Wait until the image has been configured and is displayed. Depending on the size of the files you have selected, this may take a few minutes.
- Click Checkin. and then click Publish on the header of the navigation pane.
If there is not enough memory available to display the files, you need to free memory by closing other applications before you can successfully complete the configuration.
Once a georeferenced site image has been configured, you can define the routes and the waypoints in the area depicted by the image. Routes and waypoints may be defined in either order— waypoints and then routes, or vice versa.