Import Task List
The Import Tasks option in the Shift Planner toolbar is used to import Equipment or Location tasks to the Shift Plan from a .csv file.
In order to be successfully imported to the shift plan, a CSV file must be correctly structured and contain a number of columns. CSV files for import must adhere to specific criteria, including mandatory fields and specific formatting such as date and time. The shift planner importer also enforces validation rules to ensure data integrity.
Mandatory Attributes
| Attribute | Description |
|---|---|
| Token | This should be either an existing Equipment/Location, or an existing name or valid reference data token code for Templates. |
| Equipment | The Equipment unit for Equipment tasks. |
| Location | The Location for Location tasks. |
| Status | The current status of the Equipment/Location task. |
| Start Time | The start time for the Equipment/Location task. |
| Duration | The duration for the Equipment/Location task. |
Optional Attributes
| Attribute | Description |
|---|---|
| Task Description | The entered description for the task. |
| Is Multiple Location Task | Whether the task consists of multiple locations. |
| Measure | The Measure applicable to the task. |
| Target Value | The configured target value for the task. |
| Material | The material applicable to the task details. |
| Destinations | The destination/s for the task. |
| Primary Operator | The allocated primary operator for the task. |
| Primary Operator Role | The operator role for the primary operator. |
| Priority | The task priority level. |
| Alarm Threshold | The threshold set for any configured alarm for the task. |
| Colour | The colour code for the task. |
| Note | Any text notes for the task. |
| Automatically Complete on Equipment Status Change |
Whether the task is automatically set to Complete when the status of the Equipment is changed. |
| Automatically Complete on Location Change |
Whether the task is automatically set to Complete when the Location is changed. |
Note: The Shift Plan importer expects CSV files to match Regional Format settings. This mostly affects List separators, Decimal symbols and Date format.
To import a CSV file containing the required information on tasks for the Shift Planner,
-
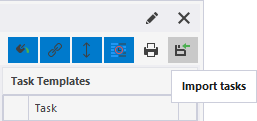
Click the Import Tasks button in the panel toolbar.
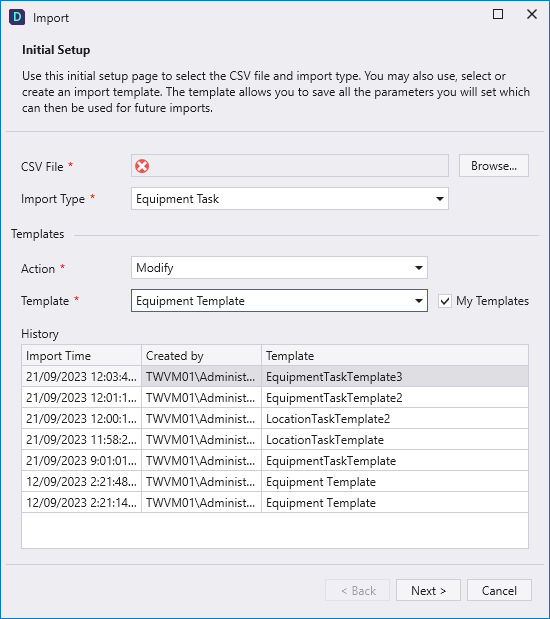
The CSV Import wizard opens.
![]()
The mandatory CSV File field is used to select the file for importing to the Shift plan.
-
Click the Browse button to navigate to and select the .csv file for import.
-
Use the Import Type drop down to select the relevant task type for the import - Equipment Task or Location Task.
In the Templates section of the wizard,
-
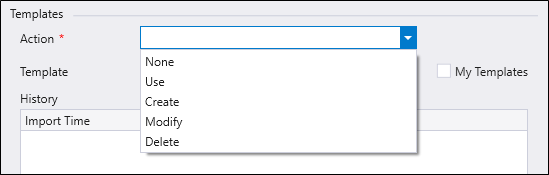
Use the Action drop down to select the action relevant to the use of an import template.
You can choose not to use a template, choose to create a template, or choose to use or modify a Template associated with the data being imported.
Any template you create is saved as a global template. Select the My Templates check box to filter the template list to only show the templates you have created.
The template name must be unique.
| Option | Description |
|---|---|
| None | Template functionality won’t be used during import, in this case, users need to fill in the row information and select mapping columns. |
| Use | Select and use any of the existing templates. When this option is selected, the user will be navigated to the Data Preview page and then to the validation page. |
| Create | Creates a new template using mappings selected during a successful import. |
| Modify | Select and modify existing templates. When this option is selected, parameters from the template are preselected in all wizard pages. All changes will be saved for this template. |
| Delete | Delete the selected template. |
| A Delete button will be enabled alongside the name of the template you select for deletion. Click the button to delete the template. | |

|
If you have selected an Action other than None from the drop down,
-
Select the relevant Template from the menu or field provided.
When the required information has been entered in the initial page of the wizard,
-
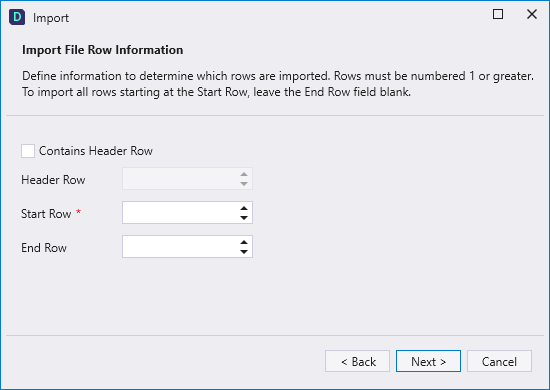
Click Next to proceed to the Row Information screen.
-
Specify whether or not a Header Row exists in the CSV file you are importing, and if so, set the Header Row Number.
Import Start Row and Import End Row parameters can be used to import a subset of the rows in the file. If you are importing all rows, Import End Row can be left blank.
-
Click Next to continue.
The Data Preview screen is displayed.
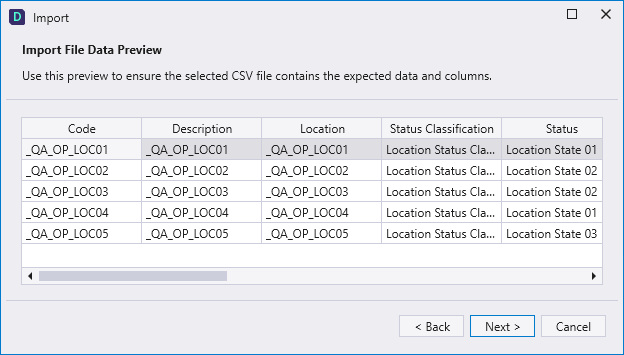
The Data Preview screen displays the data columns and the values that will be imported to the Shift Plan from the selected file. If the details are not correct, you can click Back and reconfigure the Row Information screen.
-
Click Next to continue when the information is correct.
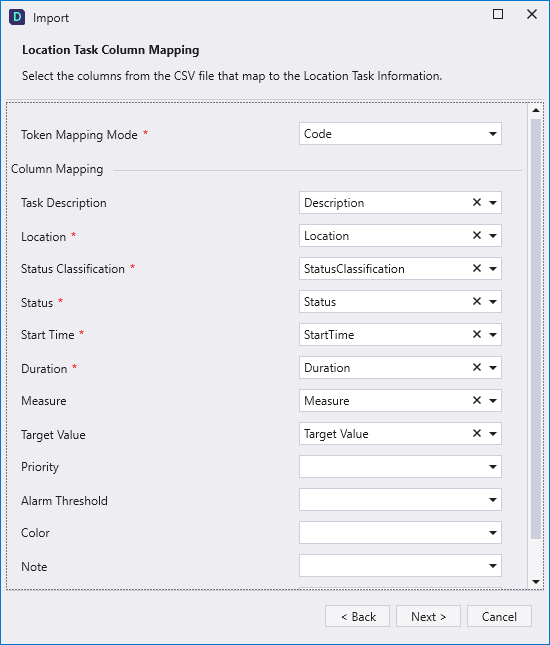
The Equipment Task Mapping or Location Task Mapping screen is displayed, depending on your import type.

The Task Mapping screen is used to map the columns in the selected CSV file with the database columns for the Equipment or Location task.
The Task Column Mapping page will only appear when creating or modifying a template or when importing shift tasks without the use of a template. If a template is used for the import, you won't need to manually select these mappings.
Mandatory attributes are marked with a red asterisk. These attributes must be mapped to the CSV using the drop down.
If Contains Header Row is set and the CSV file header matches the column mapping name, columns will be selected automatically.
-
Use the drop down for each attribute to map the columns as required.
-
Click Next to continue with the import.
The Validation screen is displayed.
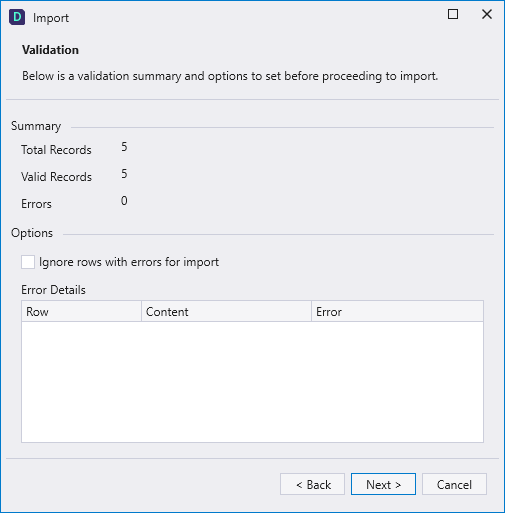
The Validation screen displays a Summary of the number of records to be imported, how many are valid and any validation errors. The page will show errors such as incorrect formatting and data that does not exist in the reference data.
If there are any errors, they are displayed in the Error Details grid at the bottom of the screen.
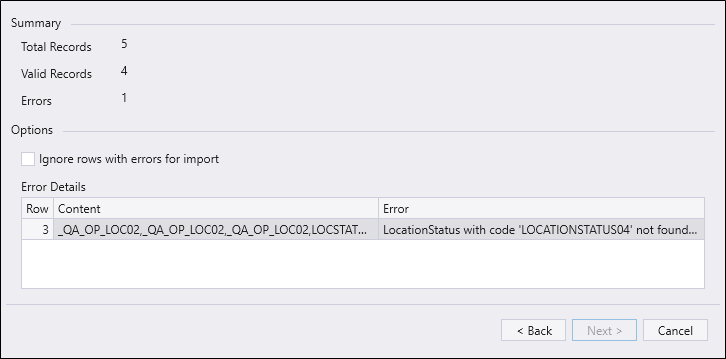
If there are errors, the import process cannot proceed. You can use the Back button to return to previous screens in the wizard, correct the errors in your CSV and step through again.
-
Select the Ignore rows with errors... option to ignore those rows which contain errors.
Note: The Import process cannot proceed unless you resolve or choose to ignore the reported errors. For the Import button to be enabled there must be at least one valid record.
When the required information is entered,
-
Click Next to proceed through the Import wizard.
The Task Conflicts screen is displayed.
The Task Conflicts screen displays any tasks from the import which conflict with existing tasks in the Shift Planner that have the same Equipment/Location and the same expected start time. If there are any conflicting tasks, they will appear in the Task Conflicts grid.
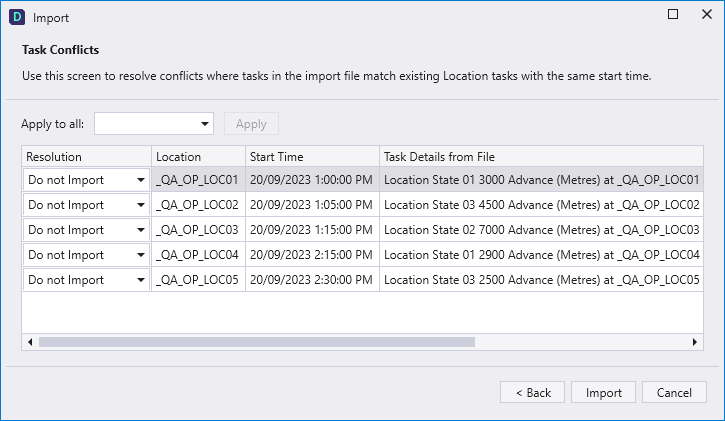
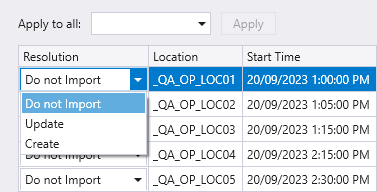
Using the Resolution drop down, you can select Do not import, Update the existing tasks, or Create the import tasks for each conflicted task.
You can also select one resolution option from the Apply to all drop down that will be set for each conflicted task in the list when you click Apply.

When there are no task conflicts found, the grid is replaced by confirmation:
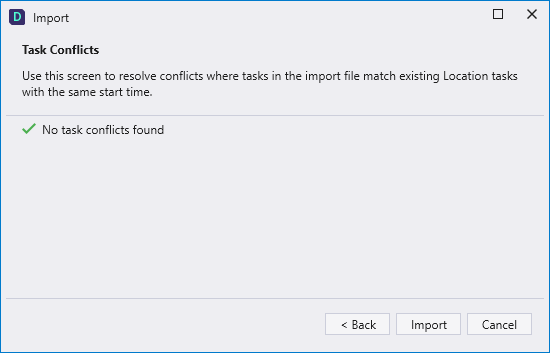
-
Click the Import button to proceed with the import.
Progress for the import will be displayed in the final screen of the wizard.
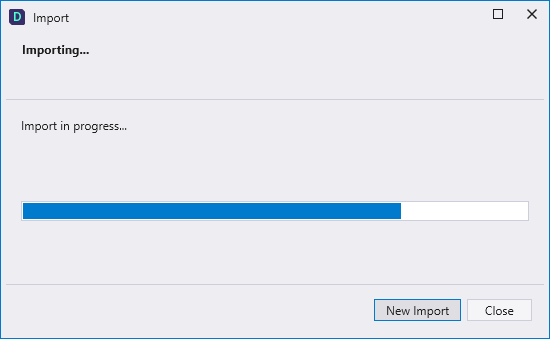
When the Import is complete, the Import screen will be updated:
You can click the New Import button to perform another import, if required, or Close the Import dialog to return to Data Acquisition.
If you run a new Import, you'll notice that the History grid in the Import dialog is populated with previous Import processes performed.