Формат печати

|
Click the Print button on the Shift Planner toolbar to open the Print Options dialog to print the current plan. |
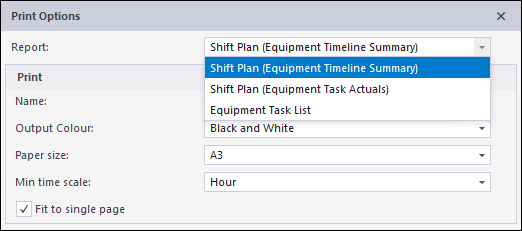
You can set the Report for the print job, which will determine the page layout and included resources.
Select the printer for the output from the Name drop down. The printers available on your system will be listed.
The Output Colour drop down is used to set the colour format for the print job - Black and White, Colour or Grayscale.
Set the Size for the print job from the drop down provided.
Specify the Minimum time scale for the output from the drop down provided.
Select the Fit to single page check box to scale the output to fit on a single page of the specified size.
Shift
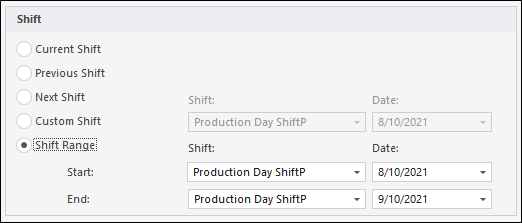
The Shift options in the Print Options dialog allow you to select the shifts for the printed output.
Select the applicable shift option to include the Current, Previous or Next shift only.
If you select the Custom Shift option, you can set the Shift and the Date for the shift you want to include.
To include a range of shifts in the printed output, select the Shift Range option and set the Start and End Shift and Date for the range from the drop downs provided.
Locations
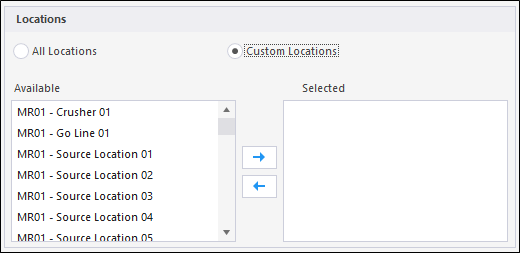
If your Shift Plan is in Location view, the Locations options appear in the Print Options dialog. You can select to include All Locations in the printed output, or use the list provided to select the Custom Locations you want to include.
Equipment
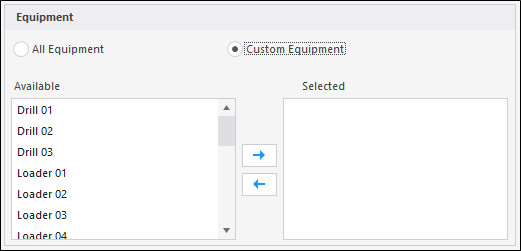
If your Shift Plan is in Equipment view, the Equipment options appear in the Print Options dialog. You can select to include All Equipment in the printed output, or use the list provided to select the Custom Equipment you want to include.
Preview
When the Print Options dialog is configured as required, you can preview the printed output. Click the Preview button to open the Preview window.
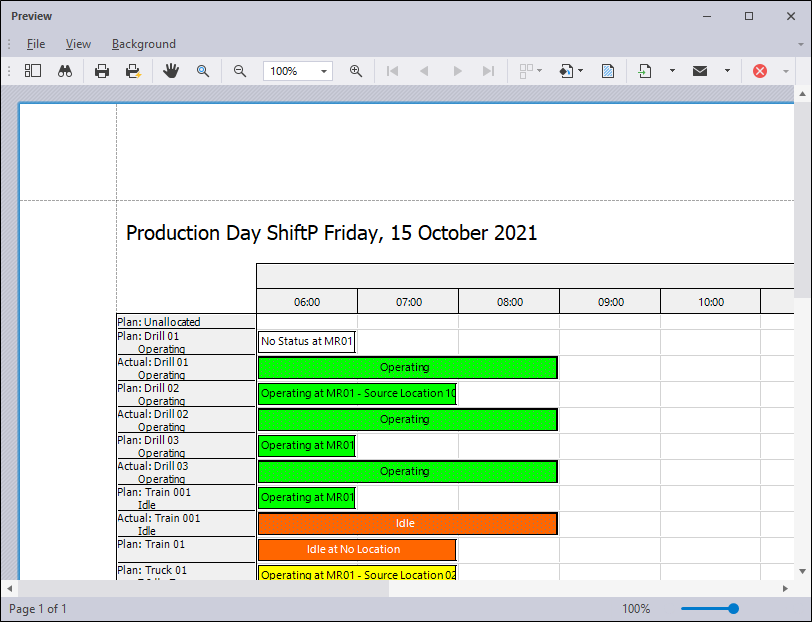
The toolbar in the Preview window contains tools to modify and print the output.

|
The Thumbnails button enables the Thumbnails pane at the left of the print preview. |

|
The Search button enables the Search filter that can be used to find text in the printed output preview. The search term can be set to Case Sensitive / Whole Words only. |

|
|

|
The Print button will open the Print dialog, from which you can select the printer and configure print details for the output before sending it to print. |

|
The Quick Print button will send the configured output to the default printer using the default settings; bypassing the Print dialog. |

|
The Hand Tool button enables you to move the content in the preview window around by clicking and dragging it in all directions. Toggle the button off to return to normal scroll mode. |

|
The Magnifier tool, when enabled, will zoom in to 100% view on any area you click. This is useful where the Preview window is in multiple page view or less than 100%. Toggle the Magnifier button off to return to normal scroll mode. |

|
Use the Zoom In button to decrease the zoom level by percentage increments with each click. |

|
Use the Zoom In button to increase the zoom level by percentage increments with each click. |
| The Zoom level drop down provides a quick way to select a specific zoom level for the view. | |

|
|

|
The First Page and Previous Page buttons are used to navigate backwards through the pages in the Preview window. |

|
The Last Page and NextPage buttons are used to navigate forwards through the pages in the Preview window. |

|
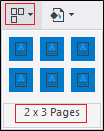
The Multiple Pages button is used to set the page layout for the Preview window. The button contains a menu of layout options. You can select the number of pages and the layout configuration by hovering to select a page. A label at the bottom of the menu will display the number and layout of pages selected - shown here in a 2 x 3 example. |
|
|
| Up to 24 pages in a 4 x 6 layout can be selected. | |

|
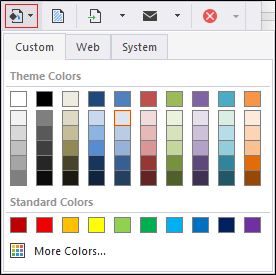
The Colour button is used to select a custom background colour for the printed output. The menu for the Colour tool provides palettes of Custom, Web and System colours. |
|
|

|
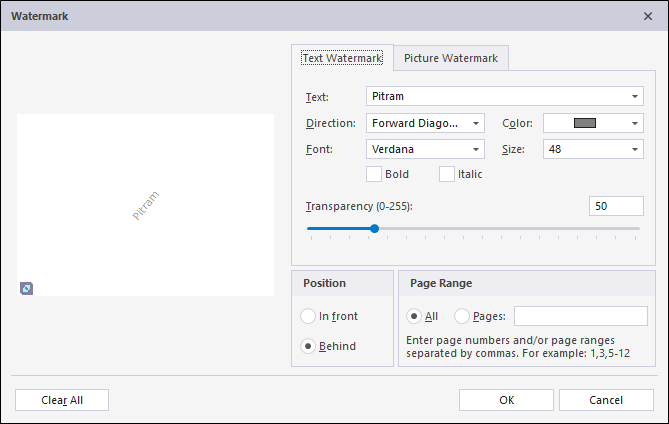
The Watermark button is used to insert configurable watermark text and/or images on the printed output for selected pages of the printed output. Clicking the Watermark button will open the Watermark form from which the details can be set. |
|
|

|
The Export button is used to export the information included in the Shift Plan print preview. The drop down for the Export tool provides export to a variety of formats. |
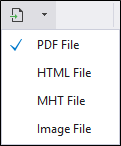
|
|

|
The Email button is used to send the contents of the Shift Plan print preview via email. The drop down menu for the Email tool provides a number of formats in which the contents can be sent. |
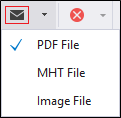
|
|

|
The Exit button will close the Preview window and return to the Shift Plan panel. |