Upload
The current project folder is opened in the Windows File Explorer by default.
Note: While you can navigate to any folder location, a message will be displayed in the Output Console if an attempt is made to upload files located outside of the current project folder. Upload is not supported for non-project files. This includes Vizex layers which refer to files outside the project. To upload non-project files to Nexus, use the upload functionality in Nexus itself.
From Windows Explorer you can,
-
Select the files to be uploaded to Nexus and click Open.
The files you selected are displayed in the Upload window.

New Files
The files you are uploading for the first time are listed here:
-
An instance of the same file is shown in each new destination.
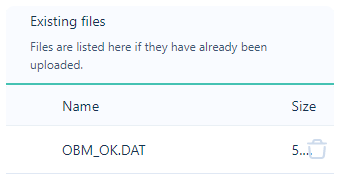
Existing Files
The files you are uploading and which have previously been uploaded (if any) are listed here:
To proceed with the upload of new files, at least one upload destination must be specified. Existing files do not need the destination selected.
To edit the destination,
-
-
Click the Folder icon to open the Select Destination window.
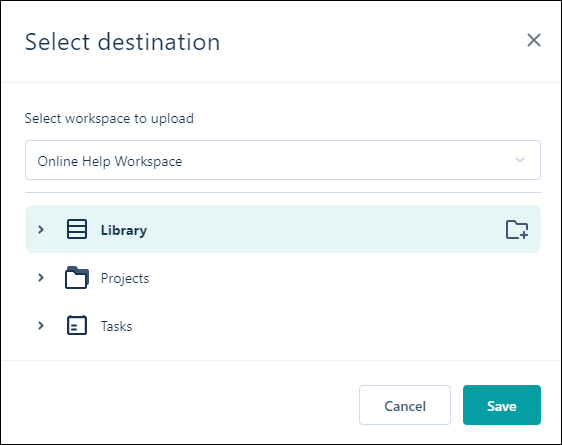
Files can be uploaded to a workspace library or tasks folder, or to a linked Nexus project folder.
-
Select the destination for the files and click Save.
Note: Within a workspace, project storage and task storage are completely independent of your workspace library storage. You can select any workspace library, project folder or task folder as the upload destination.
When you upload files to multiple destinations, instances of the same file are shown at each destination. Version control is applied at the file level.
A Nexus project is typically a container for files which serve to achieve a single outcome, for example, a finalised block model or a periodic mining plan. You can link to a project when you integrate other Micromine applications with Nexus.
Version control is applied at the file level.
To add additional destinations,
-
Click the Add button.

-
Repeat the process to add a destination.
When all of the required destinations have been added to the Upload window,
Click Upload Files.

The selected files will be uploaded to the specified destinations in Nexus.
Close the Upload window when the upload is complete.
Note that the files you can download from a Micromine Nexus project to a Micromine Origin & Beyond project are the files you have previously uploaded to a linked Nexus project.
Uploading from Vizex
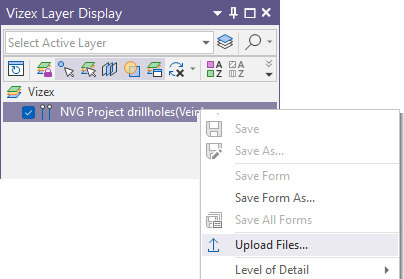
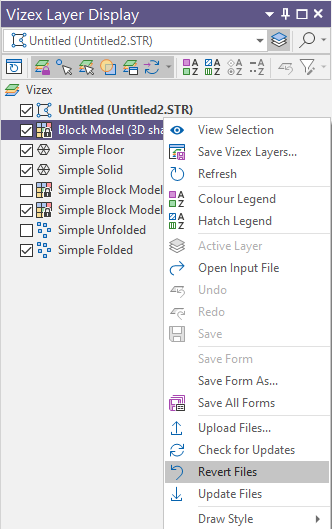
To upload the files associated with a Vizex layer, right-click and select Upload File:
-
On a layer in the Vizex Layers Display pane, right-click on the layer in the Vizex Layer Display pane and select Upload Files:
-
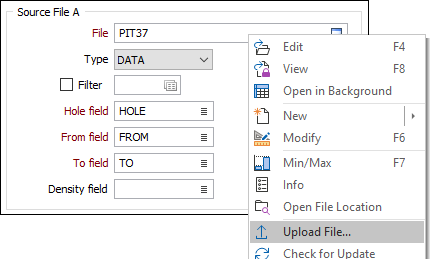
Alternatively, in any File input or output response in a form, right-click and select Upload File:
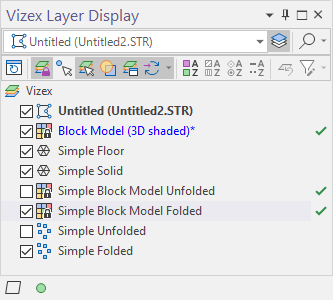
When files have been uploaded to Nexus, an icon will appear in the Vizex Layer Display pane for each file.
If changes are made to any file, the icon will change.
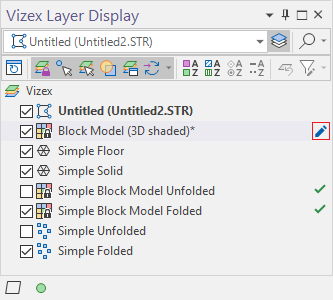
The changed file can be Uploaded again to replace the Nexus version, or Reverted to reload the Nexus version in Vizex.
A Note About Staging
In a Micromine Origin and Beyond project, the files you select for upload to Nexus are staged. When a file is staged, a temporary copy of the file is prepared for upload.
When files are uploaded, a link is created on the Nexus server for each upload destination of the file.
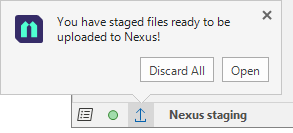
If you close the Upload Files dialog without uploading the files you have selected, a flashing upload icon on the application status bar indicates that the upload of one or more files is pending:
![]()
If you click on the flashing upload icon, you can choose to either Discard All the files currently selected for upload or Open the Upload Files dialog before deciding whether to proceed with the upload:
When you open the Upload Files dialog you can:
-
Discard files individually by clicking the trash can icon alongside each file name.
-
Click the Add Files button to select more files to upload.
-
Modify one or more upload destinations.
-
Click Upload to upload the files listed in the dialog.