Using Scenes
Nexus Scenes provide a fast and convenient way to save the visual contents of the Viewer, allowing users to easily share a link or quickly reload the scene in their next session.
Scenes are saved as a Nexus object which will retain the following details:
-
The list of objects in the Layers panel
-
Whether each layer within the wireframe objects is hidden or shown
-
The colour and transparency settings for all objects
-
The orientation of the Viewer screen
-
Any applied Section view and the applied corridor of view settings
-
Edit colour sets details for Drillhole objects, including;
-
Selected field
-
Selected colours
-
Number of ranges
-
Solid Trace radius
-
Hidden options
-
-
Any applied Vertical exaggeration setting
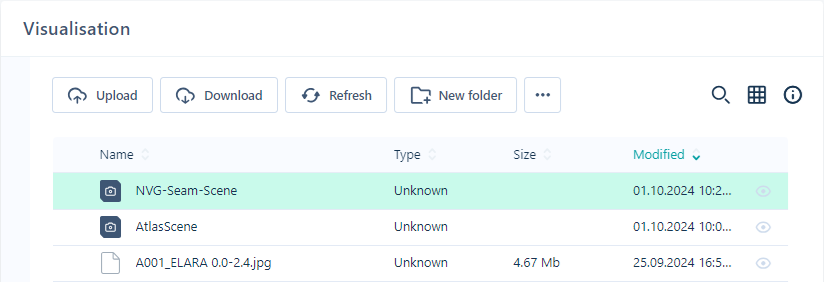
Saved scenes are visible from any file manager, so users can click on it (or use the preview icon) to quickly open it in the Viewer.
Permissions for Scenes can also be defined. If a user has READ and WRITE permissions for a scene, they will be able to Save the changes made to a scene or Save As a new scene object. A user with READ permission for the Scene will have READ access to all the objects included in the scene.
Open Scene
If you have been provided a link to a scene, you can follow the link to open it directly in the viewer. If you or another user have saved a scene to a location, and you have READ and/or WRITE access to the scene, with the Viewer open,
-
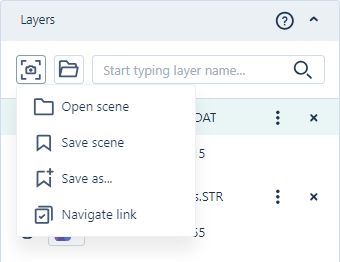
Open the Scene menu in the Layers Panel and,
-
Select Open Scene.
-
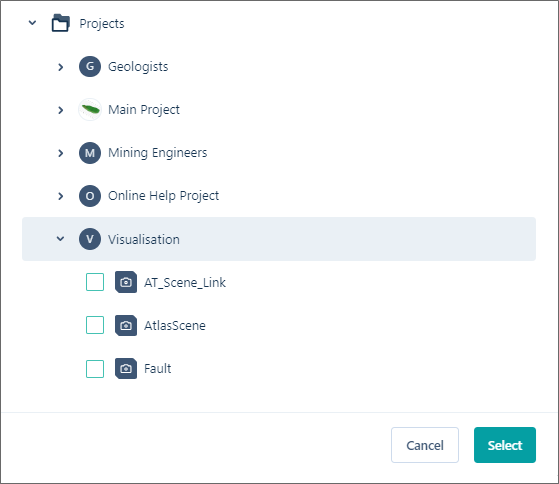
Navigate to the location for the scene.
Only scenes will be displayed in the navigation list.
-
Select the check box for the scene/s to open and,
-
Click Select.
The selected scene/s will be opened in the Viewer with the relevant settings loaded.
If you have WRITE permissions to the scene, you can make changes to the objects in the Viewer and use either Save Scene or Save As to save the changes / a new scene.
Save Scene
In the Viewer, the Save Scene option will save any changes made to an open scene, overwriting the opened object. If no scene is open, the Save Scene option is disabled:

In this case, you can use the Save As option to save a new scene.
To save the changes to an open scene,
-
Open the Scene menu in the Layers Panel and,
-
Select Save Scene.
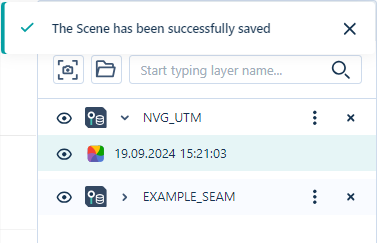
Changes to any opened scene objects will be saved and the snapshot will be saved to the clipboard.
Save As
The Save As option is used to save the contents of the Viewer, including any open objects and/or scene/s as a new Scene object.
To save a new scene,
-
Open the Scene menu in the Layers Panel and,
-
Select Save As.
-
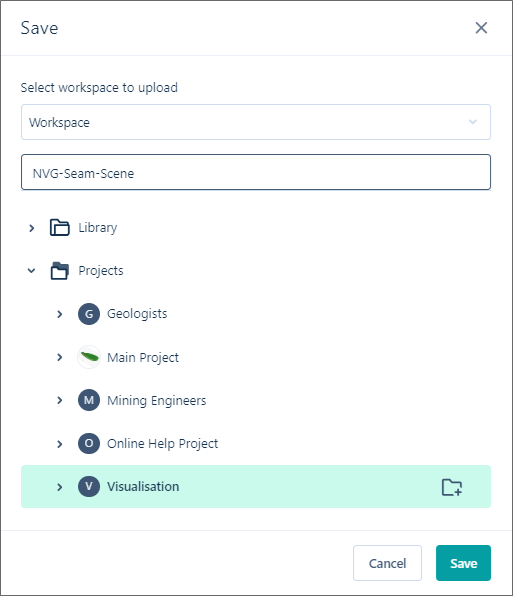
In the Save dialog that opens, navigate to the location where you want to save the scene and enter a Name in the field provided.
-
Click Save to save the scene to the selected location.
The new scene can be opened from the Scene menu Open Scene option in the Layers Panel, or from the chosen location:
You can also use the Navigate Link option to copy a link to the clipboard that can be shared with other users or opened in a new window.
Navigate Link
The Navigate Link option will copy a link to the clipboard that can be used to share the Viewer scene with others. If no scene has been saved or opened, the Navigate Link option is disabled:
In this case, you can save the current view as a scene, or open an existing scene before creating the link.
To share a link to the scene,
-
Open the Scene menu in the Layers Panel and,
-
Select Navigate Link.
The contents of the Viewer will be 'snap-shotted', copying a link to the clipboard that can be opened to the current scene by other users with the link.
If you have received a link to a scene, you can follow it to open the scene in the Viewer directly.